Cloud storage solutions have become integral to our digital lives. They offer an easy and efficient way to store, access, and share data securely across multiple devices. However, while mainstream services like Google Drive, Dropbox, and OneDrive are widely used, they often come with concerns about privacy and data control. What if you could have your own cloud server that you control? This is where ownCloud and Raspberry Pi come in.
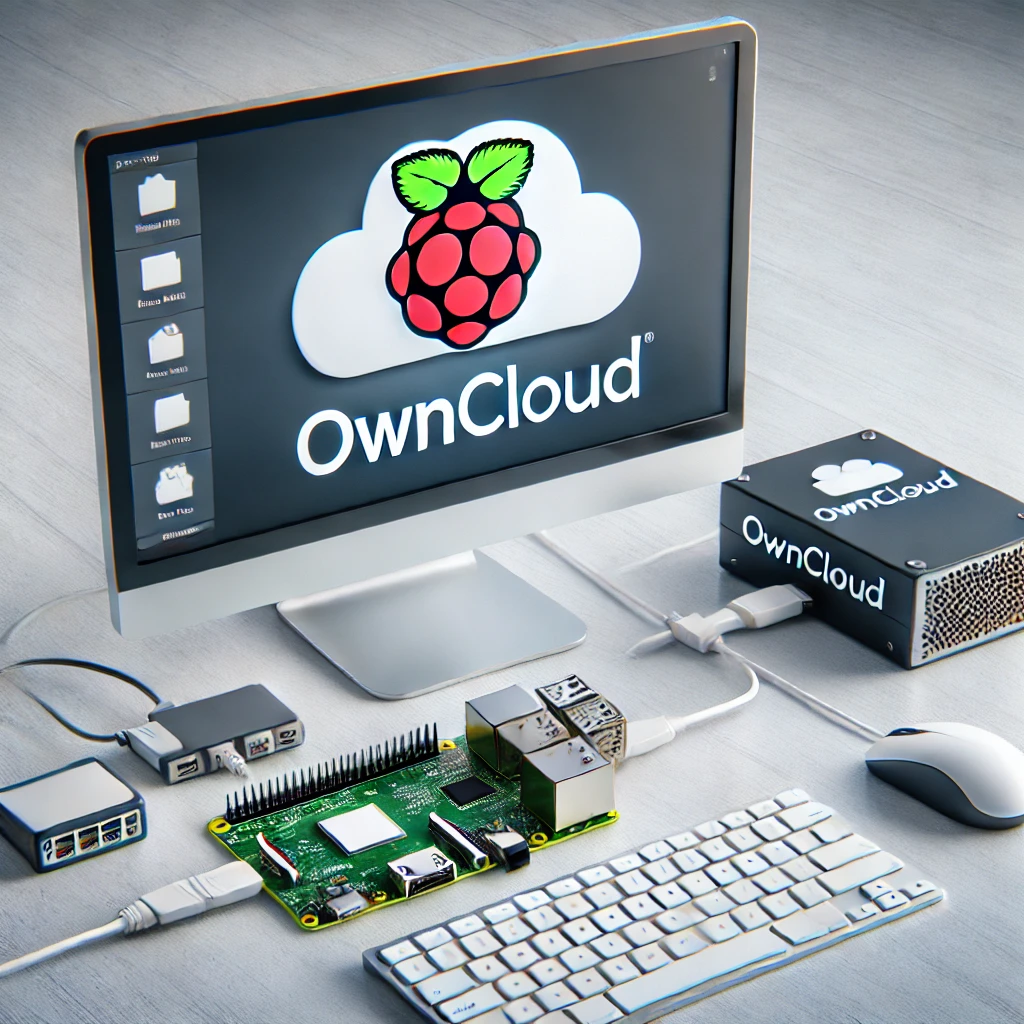
ownCloud is a powerful open-source software solution that allows you to create your own cloud storage server. By running it on a Raspberry Pi, a low-cost, energy-efficient single-board computer, you can set up your very own private cloud at home or in the office. Not only is it an affordable alternative to paid cloud services, but it also offers complete control over your data, ensuring your privacy is never compromised.
This guide will take you through each step required to prepare for, install, and configure ownCloud on a Raspberry Pi. The steps are designed to be easy to follow, ensuring that even beginners can implement this setup with minimal effort.
Understanding ownCloud and Raspberry Pi
What Is ownCloud?
ownCloud is an open-source file sync and share platform that allows individuals and organizations to store, manage, and share data across various devices. Unlike traditional cloud services, ownCloud gives you complete control over where your data is stored and how it’s accessed. You can set up ownCloud on a private server or on a machine like the Raspberry Pi to create your own private cloud.
With ownCloud, you can access your data from any device, whether it’s a computer, smartphone, or tablet, and sync files between devices. It supports a variety of file formats, and you can even share files with others by generating public links or creating private user accounts. Additionally, ownCloud includes powerful collaboration tools such as file versioning, activity tracking, and even integration with third-party services.
Why Use Raspberry Pi?
The Raspberry Pi is a single-board computer that has become a popular choice for various DIY projects, including setting up personal cloud servers like ownCloud. Its appeal lies in its affordability, versatility, and small form factor. Despite being a low-cost device, it offers sufficient processing power to run lightweight servers and handle everyday cloud storage tasks.
Here are a few reasons why Raspberry Pi is a great choice for running ownCloud:
- Low Cost: Raspberry Pi boards are very affordable, especially when compared to the costs of renting server space or using paid cloud services.
- Low Energy Consumption: The Raspberry Pi consumes very little power, making it an energy-efficient solution for hosting your own server.
- Small and Portable: The small size of the Raspberry Pi allows it to be set up virtually anywhere. It can fit in tight spaces, and if you need to move it, it’s easy to pack up and relocate.
- Flexible and Expandable: Raspberry Pi supports a wide range of accessories like external hard drives, network adapters, and custom cooling solutions, allowing you to customize your cloud server according to your needs.
- Strong Community Support: The Raspberry Pi community is extensive and active, providing countless resources, guides, and troubleshooting support.
By using the Raspberry Pi for your ownCloud server, you can enjoy the benefits of a personal cloud system while keeping costs low and your setup flexible.
Planning and Preparation
Step 1: Check Hardware Requirements
Before proceeding with the installation, ensure that you have the necessary hardware components to support the setup. Here’s a list of the basic hardware requirements:
-
Raspberry Pi: For optimal performance, it is recommended to use a Raspberry Pi 3 or later (Raspberry Pi 4 is the best option for more demanding tasks). Older models might struggle with handling larger file systems or heavy traffic.
-
MicroSD Card: You will need a microSD card to install the Raspberry Pi operating system and ownCloud. A 16GB card will suffice for light use, but for better performance and more storage capacity, a 32GB or 64GB card is ideal. Make sure to choose a high-quality card with fast read/write speeds to ensure smooth operation.
-
Power Supply: Raspberry Pi boards require a stable and sufficient power supply. If you’re using a Raspberry Pi 4, a 5V/3A USB-C power supply is required. Using an underpowered supply can result in system instability and poor performance.
-
Ethernet Cable or Wi-Fi: While Raspberry Pi supports both wired (Ethernet) and wireless (Wi-Fi) connections, Ethernet is recommended for better stability, especially when streaming or sharing large files. A wired connection ensures less interference and faster data transfer speeds.
-
External Storage (Optional): If you plan to store large files or data, consider using an external hard drive (HDD) or solid-state drive (SSD). Raspberry Pi can handle USB drives, making it easy to expand your storage. A USB 3.0 hard drive or SSD will provide a much faster and more reliable data transfer rate compared to using the microSD card.
Once you have all the hardware in place, you are ready to begin preparing your Raspberry Pi for the setup.
Step 2: Select an Operating System
The next step in preparing your Raspberry Pi is choosing the right operating system (OS). For this guide, Raspberry Pi OS (formerly known as Raspbian) is recommended because it is the most compatible OS for Raspberry Pi and has the necessary packages to run ownCloud smoothly.
There are a few versions of Raspberry Pi OS available:
- Raspberry Pi OS Lite: A minimal, command-line-only version that’s ideal for headless setups and lightweight applications like ownCloud.
- Raspberry Pi OS with Desktop: A full-featured version that includes a graphical user interface (GUI). This version is recommended if you plan to interact with the Raspberry Pi directly using the desktop interface.
You can download the Raspberry Pi OS image from the official Raspberry Pi website. Afterward, you will flash it onto a microSD card using a tool like Raspberry Pi Imager or Balena Etcher.
Step 3: Prepare the Network Environment
It is essential to configure your network to ensure that your Raspberry Pi will be accessible at all times. Here are the steps to prepare your network:
-
Assign a Static IP Address: By default, your Raspberry Pi will obtain an IP address dynamically via DHCP from your router, which might change over time. To ensure your Raspberry Pi always uses the same IP address (so you can access it without worrying about IP changes), assign it a static IP. You can do this either by configuring your router’s DHCP settings or by directly editing the network configuration file on the Raspberry Pi.
-
Enable SSH: Enabling SSH (Secure Shell) allows you to remotely access your Raspberry Pi’s terminal from another computer. This is helpful for managing your server and installing software packages. You can enable SSH by running
sudo raspi-configand selecting the appropriate option. -
Test the Network Connection: Before proceeding further, ensure that the Raspberry Pi is properly connected to the network. If using Wi-Fi, you can test the connection by running
ping google.comfrom the Raspberry Pi terminal to confirm internet connectivity.
With these initial preparations complete, your Raspberry Pi is ready for the installation of ownCloud.
Setting Up Raspberry Pi
Step 1: Flash the OS to the SD Card
-
Download Raspberry Pi OS: Download the Raspberry Pi OS image from the official website (https://www.raspberrypi.org/software/).
-
Flash the OS onto the MicroSD Card: Use a flashing tool like Balena Etcher or Raspberry Pi Imager to write the Raspberry Pi OS image onto your microSD card. Ensure that you select the correct target device (the microSD card) to avoid overwriting any important data.
-
Insert the microSD Card into the Raspberry Pi: Once the flashing process is complete, remove the microSD card from your computer and insert it into the Raspberry Pi.
-
Power Up the Raspberry Pi: Connect your Raspberry Pi to a monitor (optional), keyboard, and mouse (optional) if you’re using the desktop version of the OS, or you can access it remotely via SSH if you’re using the Lite version.
Step 2: Boot and Configure Raspberry Pi
On first boot, the Raspberry Pi will walk you through some initial setup steps:
-
Language, Timezone, and Keyboard Layout: Select your preferred language, timezone, and keyboard layout.
-
Update the System: Run the following commands to update your Raspberry Pi’s system packages:
-
Set Up SSH: If you haven’t done so earlier, run
sudo raspi-config, navigate to Interfacing Options, and enable SSH. This will allow you to connect to your Raspberry Pi remotely. -
Set a Strong Password: Set a secure password for the default user (
pi), or change it to another user if desired.
Once you’ve completed these steps, your Raspberry Pi should be ready for the installation of ownCloud.
Installing ownCloud
Step 1: Install Prerequisite Software
Before you can install ownCloud, you need to install several required software packages, including a web server (Apache or Nginx), PHP, and a database (MySQL or MariaDB).
-
Install Apache: Apache is the most commonly used web server for ownCloud. Install it with the following command:
-
Install PHP: ownCloud requires PHP for its backend operations. Install PHP along with the necessary extensions using the following command:
-
Install MariaDB: MariaDB is the preferred database management system for ownCloud. Install it with:
-
Install Additional Dependencies: Some additional dependencies are needed to ensure ownCloud runs smoothly:
Step 2: Download and Install ownCloud
Once the necessary packages are installed, it’s time to download and set up ownCloud.
-
Download the Latest OwnCloud:
Replace
<latest-version>with the actual version number. -
Extract and Move Files:
-
Set Permissions:
Step 3: Configure Database for ownCloud
-
Create a Database for ownCloud:
-
Configure OwnCloud to Use the Database: You will now configure ownCloud by navigating to the web interface at
http://<Raspberry-Pi-IP>/owncloudand entering the database details.
Implementing ownCloud on a Raspberry Pi provides an easy-to-manage, low-cost solution for private cloud storage. With proper preparation and setup, you can enjoy the benefits of a cloud server that gives you complete control over your data. By following this step-by-step guide, you’ll ensure a smooth installation process and have your own cloud up and running in no time.
Feel free to check out our other website at http://master3dp.com/ where you can learn to 3D print anything needed for a project.


