The Raspberry Pi Pico has revolutionized the world of DIY electronics with its affordability and versatility. One of the exciting projects you can undertake is transforming your Raspberry Pi Pico into a keyboard and gamepad HID (Human Interface Device) using an NES controller. This project is perfect for retro gaming enthusiasts and anyone looking to add a unique twist to their keyboard setup. In this guide, we’ll walk you through the process step by step.
Materials Needed
- Raspberry Pi Pico
- NES Controller
- Breadboard and jumper wires
- Micro USB cable
- Soldering iron and solder (optional for a more permanent setup)
- CircuitPython or MicroPython
Step 1: Setting Up the Raspberry Pi Pico
Before we dive into the hardware connections, you’ll need to set up your Raspberry Pi Pico. Install the latest version of CircuitPython or MicroPython on your Pico. This allows you to write and upload code that will enable your Pico to act as a keyboard and gamepad HID.
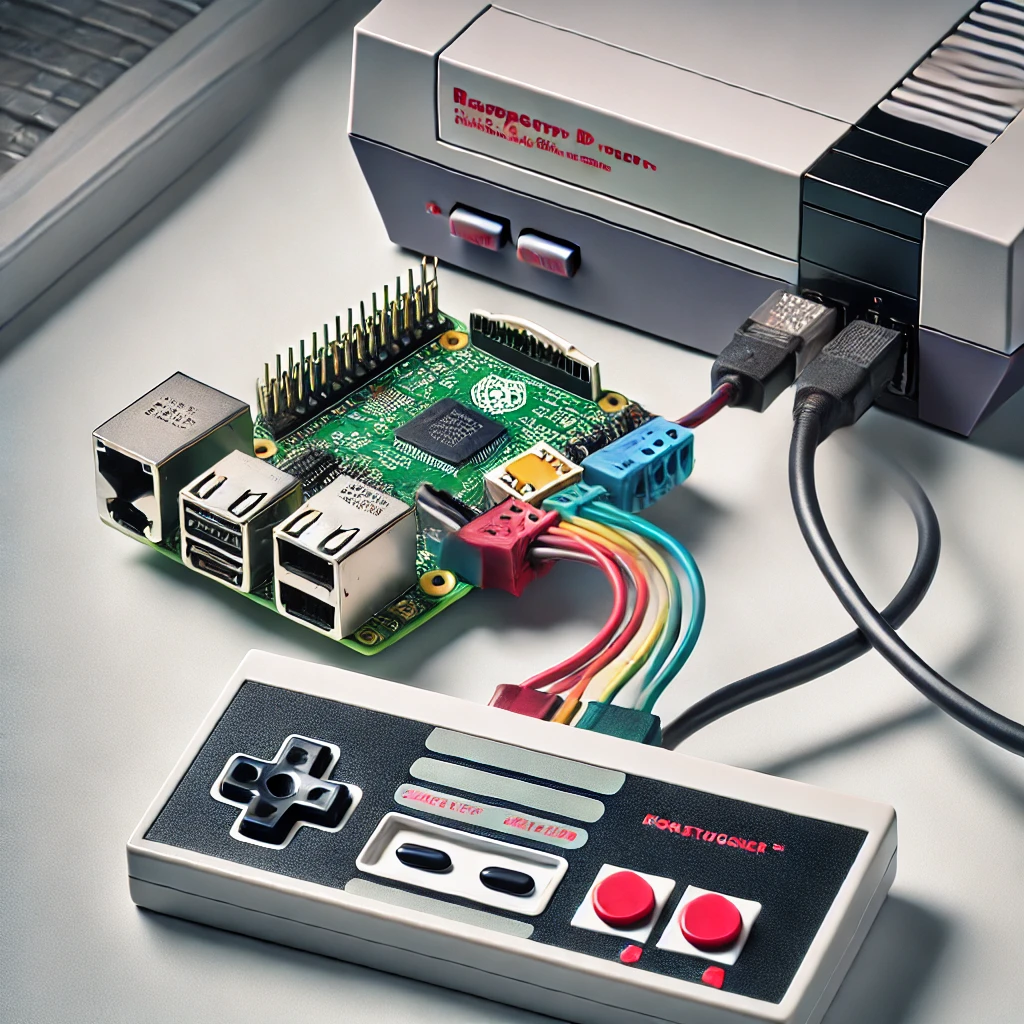
Step 2: Connecting the NES Controller to the Raspberry Pi Pico
The NES controller uses a simple serial interface, making it straightforward to connect to the Raspberry Pi Pico. Here’s how you can connect it:
- VCC on the NES controller to 3.3V on the Pico.
- GND on the NES controller to GND on the Pico.
- Data pin on the NES controller to a GPIO pin (e.g., GP2) on the Pico.
- Latch pin on the NES controller to another GPIO pin (e.g., GP3).
- Clock pin on the NES controller to a third GPIO pin (e.g., GP4).
If you’re looking for a more durable connection, consider soldering the wires directly.
Step 3: Writing the Code
Now that the hardware is set up, it’s time to code. Here’s a basic example in CircuitPython that reads the NES controller’s inputs and sends corresponding keyboard commands or gamepad signals.
import board

import digitalio

import usb_hid

from adafruit_hid.keyboard import Keyboard

from adafruit_hid.keycode import Keycode

from adafruit_hid.gamepad import Gamepad
# Define NES Controller pins

latch = digitalio.DigitalInOut(board.GP3)

clock = digitalio.DigitalInOut(board.GP4)

data = digitalio.DigitalInOut(board.GP2)
latch.direction = digitalio.Direction.OUTPUT

clock.direction = digitalio.Direction.OUTPUT

data.direction = digitalio.Direction.INPUT
keyboard = Keyboard(usb_hid.devices)

gamepad = Gamepad(usb_hid.devices)
def read_nes():

    buttons = 0

    latch.value = True

    latch.value = False

    for i in range(8):

        buttons |= data.value << i

        clock.value = True

        clock.value = False

    return buttons
while True:

    buttons = read_nes()
    if buttons & 1:

        keyboard.press(Keycode.SPACE)  # Example: Spacebar for A button

    else:

        keyboard.release(Keycode.SPACE)
# Continue mapping other buttons...
This script reads the NES controller’s button presses and sends corresponding keystrokes or gamepad inputs via USB.
Step 4: Testing and Troubleshooting
Connect your Raspberry Pi Pico to your computer and test the setup. If everything is wired and coded correctly, pressing the buttons on your NES controller should result in keystrokes or gamepad actions on your computer. If something isn’t working, double-check your wiring and code.
Step 5: Enhancements and Customization
Once your basic setup is working, you can enhance your project by mapping additional buttons, adding LED indicators, or even creating custom key combinations for specific games. The possibilities are endless!
Conclusion
Turning your Raspberry Pi Pico into a keyboard and gamepad HID with an NES controller is a fun and rewarding project that combines retro gaming with modern technology. With a little bit of coding and hardware tinkering, you can create a unique input device that’s perfect for gaming or custom keyboard setups.