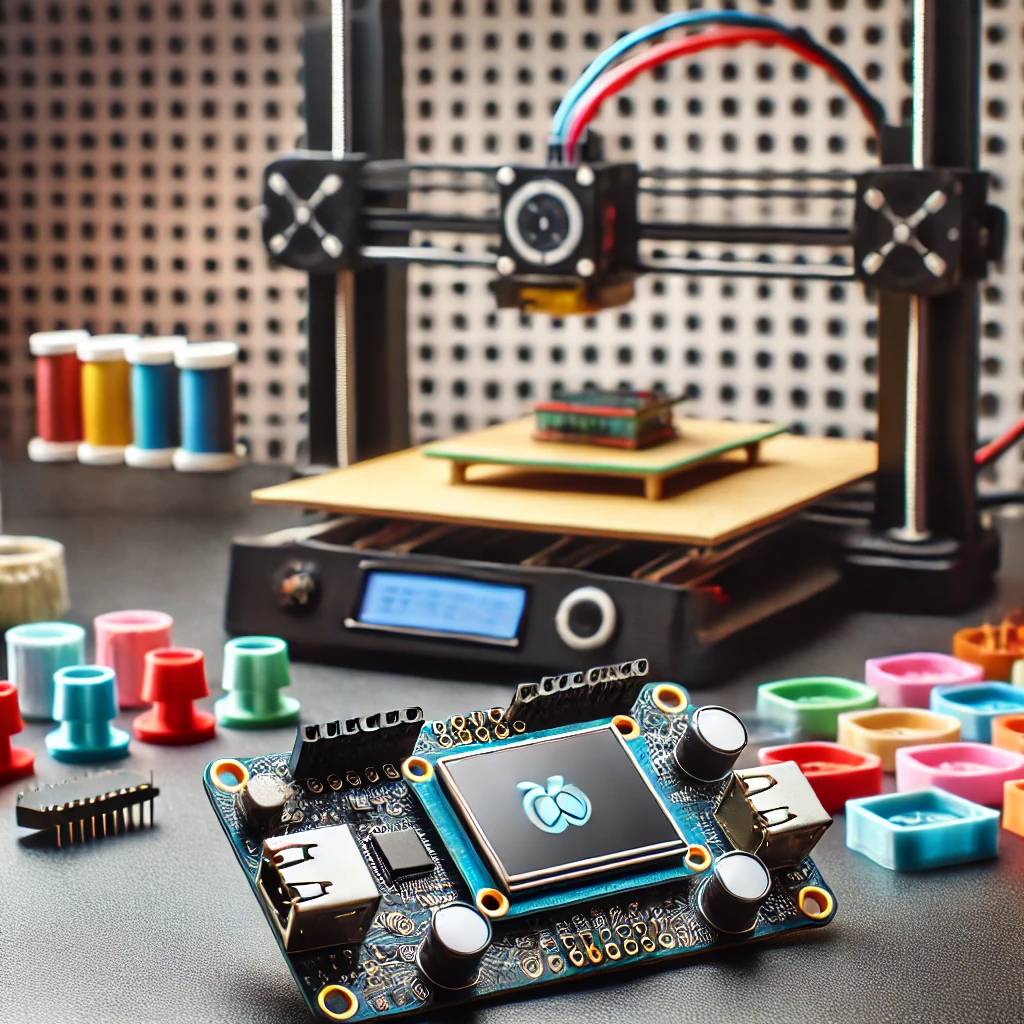
Banana Pi is a popular, flexible, and affordable single-board computer (SBC) that offers a wide range of possibilities for DIY projects. It’s known for its performance, affordability, and versatility, which has made it a go-to tool for hobbyists, developers, and professionals. However, as technology advances and new demands arise, upgrading your Banana Pi can ensure that it remains capable of handling more complex and resource-intensive tasks.
Whether you are building Internet of Things (IoT) applications, running home automation systems, or experimenting with robotics, upgrading your Banana Pi will make it much more efficient, secure, and capable of handling advanced applications in 2024.
This guide will explore how to upgrade both the hardware and software of your Banana Pi. You’ll learn about increasing RAM, enhancing storage capacity, optimizing the power supply, improving cooling systems, and upgrading the software environment. This article is designed to be clear and comprehensive, providing step-by-step instructions so you can confidently enhance your Banana Pi setup for more ambitious DIY projects.
Understanding the Basics of Banana Pi
Before diving into the process of upgrading your Banana Pi, it’s essential to understand the device’s core specifications and what each model offers. This knowledge will guide you in selecting the right upgrades based on the specific capabilities of your device.
-
Processor and Memory:
The Banana Pi comes equipped with an ARM-based processor that provides sufficient computing power for many applications. Depending on the model, the Banana Pi typically has between 512MB and 2GB of RAM. The amount of memory directly impacts multitasking and the ability to run complex programs or multiple processes simultaneously. For instance, more RAM is beneficial for resource-heavy applications like video processing, machine learning, and running web servers. -
Storage Options:
The Banana Pi primarily uses microSD cards for storage, but many models also support SATA interfaces for connecting external hard drives or SSDs. The microSD card is used for booting the system, and the speed and class of the card significantly affect system performance. Models like the Banana Pi M2+ offer both microSD and USB 3.0 for additional external storage, while others like the R64 model support SATA connections. -
Connectivity:
Banana Pi supports Ethernet and Wi-Fi connectivity, enabling the device to connect to local networks, the internet, and other IoT devices. The inclusion of GPIO pins allows users to connect and control a wide range of sensors, motors, and other hardware, making the device ideal for robotics, automation, and hardware interfacing.
Knowing these features will help you determine which upgrades are appropriate for your needs, whether you’re aiming to boost performance, extend storage, or improve connectivity.
Hardware Upgrades
1. Increasing RAM Capacity
One of the most effective ways to improve your Banana Pi’s performance is by upgrading its RAM. While some models feature soldered RAM that cannot be upgraded, others allow for expansion. More RAM means the device can handle multiple processes without crashing, making it ideal for tasks like running virtual machines, media servers, or IoT applications that require continuous data processing.
-
Preparation:
- Check the specifications of your Banana Pi model to confirm if RAM upgrades are possible.
- Purchase compatible RAM from a trusted supplier that matches the required form factor and speed for your model.
-
Step-by-Step Process:
- Power off your Banana Pi and remove all connected peripherals.
- Ensure you’re working in an anti-static environment to prevent damaging the components.
- If the RAM is soldered, you’ll need specialized equipment, such as a soldering iron, to remove the old RAM module. Ensure that you have the proper skills or seek professional help if necessary.
- Carefully solder the new RAM module to the designated slots, being cautious of static damage.
-
Testing:
- After the upgrade, boot your Banana Pi and run memory tests using tools like
memtesterto confirm the new RAM is functioning correctly. The increased memory should improve performance for multitasking, especially when running memory-intensive applications.
- After the upgrade, boot your Banana Pi and run memory tests using tools like
2. Enhancing Storage Capacity and Speed
Upgrading the storage on your Banana Pi can also yield significant performance improvements, especially when working with large files, databases, or media files. An upgrade to faster storage, such as using a solid-state drive (SSD) or a higher-class microSD card, will reduce latency and speed up boot times, file access, and application loading times.
-
MicroSD Card Upgrade:
- For most users, upgrading to a high-speed microSD card is the simplest and most cost-effective option. Look for Class 10 or UHS-I cards with read/write speeds of at least 90MB/s for optimal performance.
- Back up the data on your existing microSD card, as the process of upgrading involves wiping the old card.
- Flash the latest version of your operating system onto the new card using tools like Balena Etcher.
-
SATA SSD Installation:
- If your Banana Pi model supports SATA connections (such as the Banana Pi M2+), upgrading to an SSD will provide significant performance boosts, particularly for database-driven applications.
- Connect the SSD to the SATA port using a suitable cable and power supply. Many Banana Pi models require additional power to support an SSD, so ensure your power supply is sufficient.
- Format the SSD to the appropriate file system, such as
ext4, using the operating system’s disk utilities.
-
Testing Performance:
- After upgrading the storage, benchmark the read/write speeds of your new storage using tools like
fioorhdparm. This will give you insight into the improvements and how they affect the overall system performance.
- After upgrading the storage, benchmark the read/write speeds of your new storage using tools like
3. Upgrading Cooling Systems
When working with demanding applications, the processor and other components of the Banana Pi can generate substantial heat, leading to thermal throttling or even hardware damage. A dedicated cooling solution will prevent overheating, maintain stable performance, and extend the lifespan of your device.
-
Installing Heatsinks:
- Purchase heatsinks designed for your Banana Pi model or a generic heatsink kit with appropriate size for the CPU.
- Apply thermal adhesive or double-sided tape to the bottom of the heatsink. Press the heatsink onto the processor, ensuring full contact for maximum heat dissipation.
-
Adding Cooling Fans:
- To further improve cooling, consider attaching a small cooling fan directly to the Banana Pi’s GPIO pins or a dedicated fan header if available.
- Many Banana Pi models support the installation of 5V cooling fans, which can be powered through the GPIO pins. Ensure the fan is placed in such a way that it directs airflow over the heat-generating components.
-
Thermal Paste Application:
- For optimal heat transfer, you can apply thermal paste between the processor and heatsink. Use a small amount and spread it evenly to avoid overheating the processor.
4. Expanding Connectivity
For more advanced projects, you may need enhanced connectivity options such as faster network speeds, additional USB ports, or improved wireless connectivity.
-
Wi-Fi Module:
- If your Banana Pi doesn’t have built-in Wi-Fi, you can install a USB Wi-Fi dongle. Most modern Wi-Fi adapters are compatible with Linux-based operating systems, but it’s always a good idea to check compatibility before purchasing.
- Insert the Wi-Fi dongle into a USB port and install the necessary drivers. Once installed, configure the Wi-Fi network settings in your operating system’s network configuration menu.
-
Gigabit Ethernet Adapter:
- If you require faster network speeds for tasks like streaming or data transfer, consider upgrading to a USB-to-Ethernet adapter that supports gigabit speeds.
- Connect the adapter to a USB port and configure it in your operating system. Gigabit Ethernet will provide faster data transfer speeds than the standard 10/100 Ethernet ports on older Banana Pi models.
-
USB Hub:
- Expanding the number of USB ports is often necessary for projects that require multiple peripherals. A powered USB hub will allow you to connect additional storage devices, sensors, or cameras without overloading the Banana Pi’s power supply.
Software Upgrades
1. Operating System Updates
Updating the operating system is crucial for security, stability, and compatibility with newer software packages.
-
Step-by-Step Process:
- Start by downloading the latest operating system version for your specific Banana Pi model from the official website.
- Use flashing software such as Balena Etcher or Raspberry Pi Imager to flash the operating system onto a new microSD card.
- Insert the new microSD card and boot up the Banana Pi. If you’re upgrading an existing system, use the
apt updateandapt upgradecommands to bring the system up to date.
-
Configuring the OS:
- After the upgrade, configure system settings, including localization, network settings, and default applications. This ensures a personalized and optimized environment for your projects.
2. Installing Development Libraries
For advanced projects, you’ll likely need to install specific libraries or development tools.
- Installing Libraries:
- Use package managers like
aptorpip(for Python) to install essential libraries. Common libraries include OpenCV for computer vision projects, TensorFlow for machine learning, and wiringPi for GPIO control. - Install development tools such as Git for version control, Docker for containerized applications, and Docker Compose for multi-container setups.
- Use package managers like
Upgrading your Banana Pi is a rewarding way to improve its performance, functionality, and longevity. Whether you’re enhancing hardware with additional RAM, faster storage, or a better cooling solution, or upgrading software for better security and compatibility, these improvements can make a substantial difference. With the steps outlined in this guide, you are well on your way to making your Banana Pi an even more powerful tool for your DIY projects.
By investing time in upgrading your Banana Pi, you can ensure it remains relevant and capable of handling more sophisticated tasks. Start with the basics and gradually enhance your system as your projects evolve.
Feel free to check out our other website at http://master3dp.com/ where you can learn to 3D print anything needed for a project.

