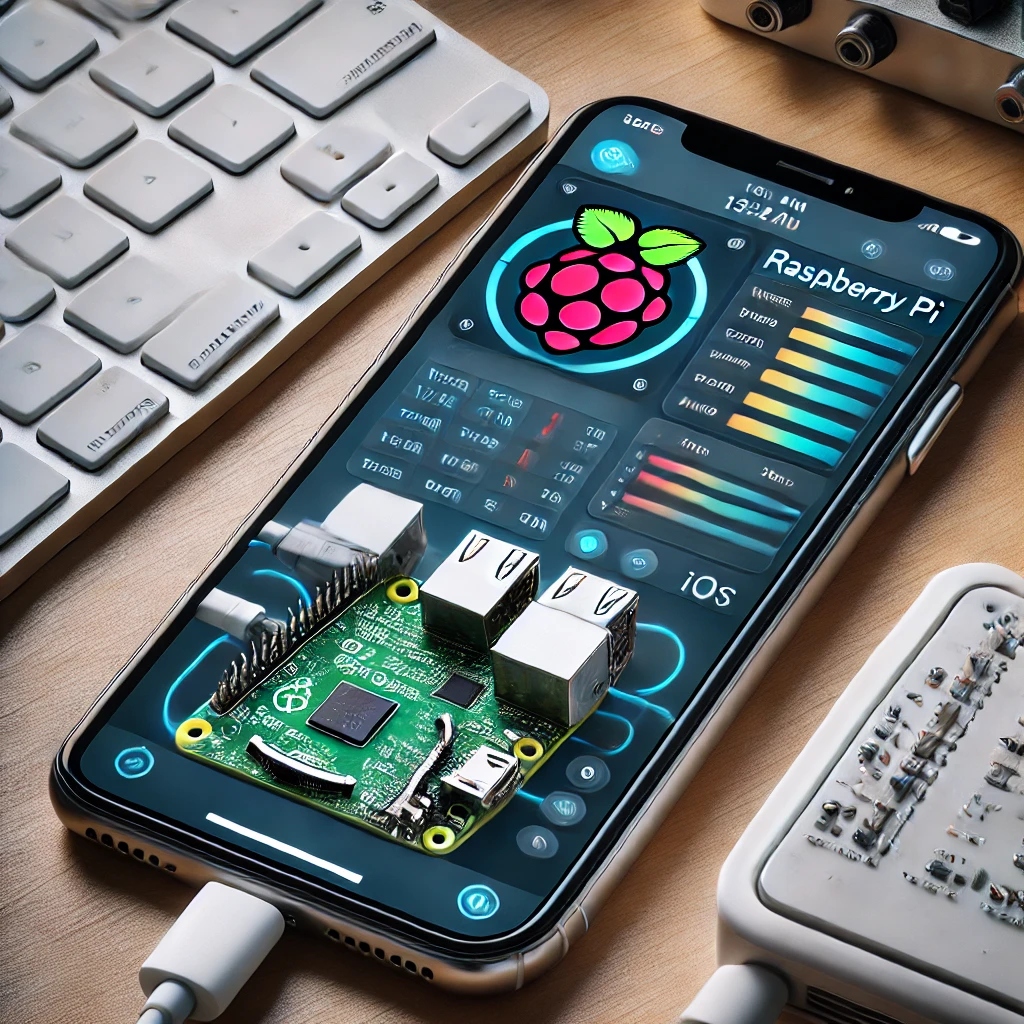
Turning a Raspberry Pi into a fully functional Android tablet is a fascinating DIY project. This guide will walk you through the process, providing all the necessary steps to transform your Raspberry Pi into a versatile Android-powered device.
Materials Needed
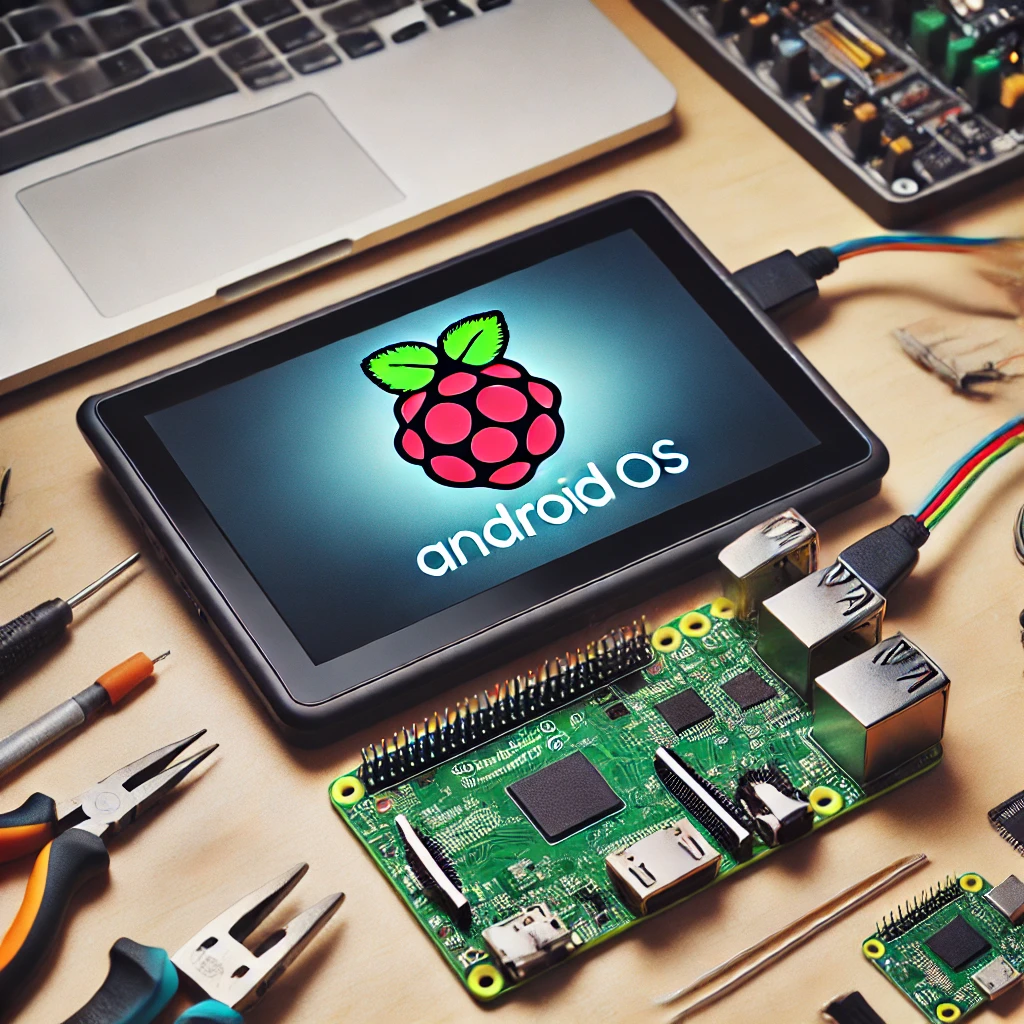
- Raspberry Pi 4: This is the brain of your tablet.
- Touchscreen Display: A compatible touchscreen to interact with your Android OS.
- MicroSD Card: At least 16GB, preloaded with Android OS.
- Power Supply: A 5V 3A power supply for your Raspberry Pi.
- Case or Frame: To house your Raspberry Pi and touchscreen neatly.
- Keyboard and Mouse: For initial setup.
Step-by-Step Guide
1. Prepare Your MicroSD Card
- Download Android Image: Get a suitable Android image for Raspberry Pi from a trusted source, such as LineageOS or Emteria.OS.
- Flash the Image: Use tools like Balena Etcher to flash the Android image onto your microSD card.
2. Connect the Hardware
- Insert the MicroSD Card: Place the flashed microSD card into the Raspberry Pi.
- Attach the Touchscreen Display: Connect the touchscreen to the Raspberry Pi using HDMI and USB connections.
- Power Up: Connect the power supply to the Raspberry Pi.
3. Initial Setup
- Boot Up: Power on the Raspberry Pi. The Android OS should start booting up.
- Configuration: Use a keyboard and mouse to complete the initial Android setup, including language selection, Wi-Fi configuration, and Google account setup.
4. Optimize Your Tablet Experience
- Install Apps: Download and install apps from the Google Play Store or other sources.
- Configure Touchscreen: Ensure the touchscreen is calibrated and functioning properly.
- Add Peripherals: Connect additional peripherals if needed, like a Bluetooth keyboard or external storage.
Tips for a Better Experience
- Power Management: Use a power bank or battery pack for portable use.
- Cooling: Consider adding a cooling solution to prevent overheating during extended use.
- Customization: Customize the Android interface with launchers and widgets for a more tablet-like experience.
Conclusion
Transforming a Raspberry Pi into an Android tablet is an exciting and rewarding project. With the right tools and steps, you can create a powerful and customizable tablet. Enjoy exploring the endless possibilities of your new Raspberry Pi-powered Android tablet!