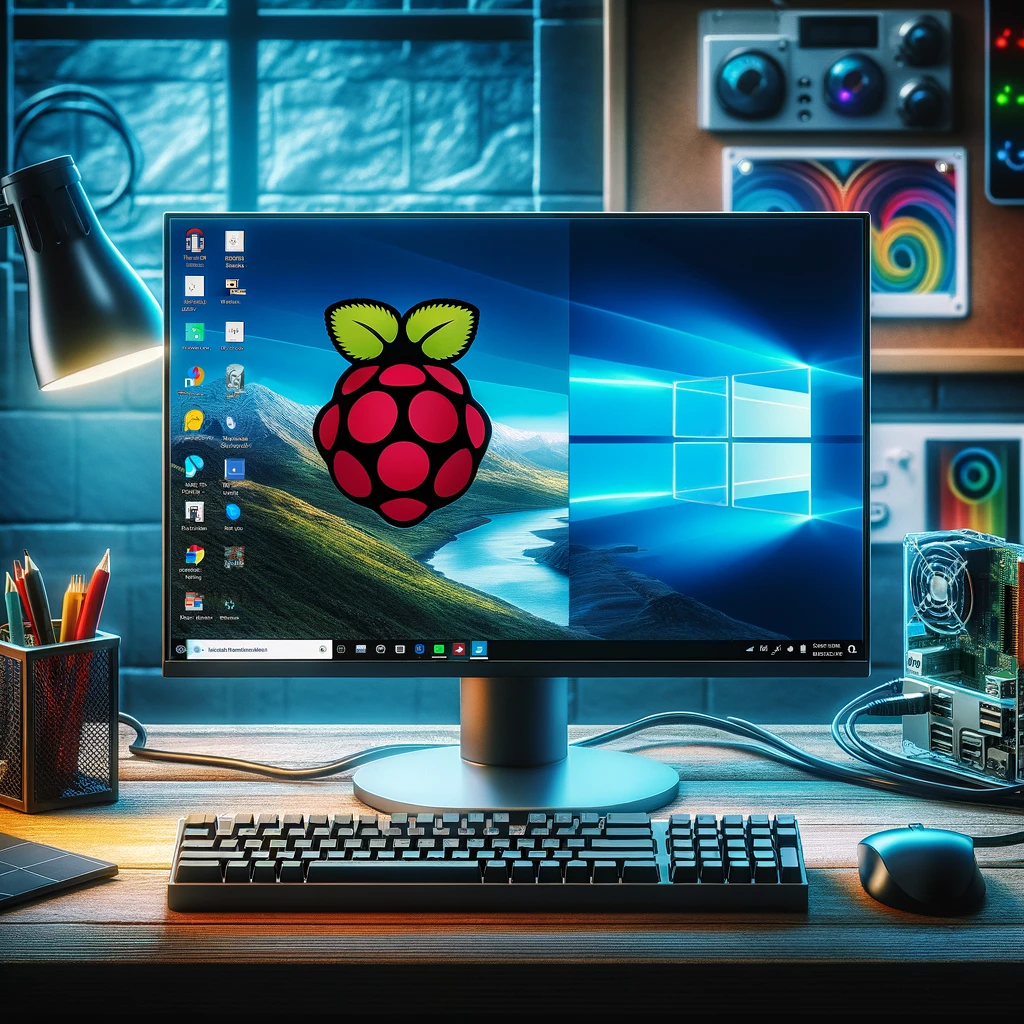
Raspberry Pi, a versatile and affordable mini-computer, can run various operating systems. Among these, running Windows on a Raspberry Pi opens up a world of possibilities for developers, educators, and hobbyists. This guide will walk you through the steps to install and use Windows on your Raspberry Pi.
Prerequisites
- Raspberry Pi 4 (recommended for better performance)
- MicroSD card (16GB or larger)
- Windows 10/11 ARM Image
- Keyboard and Mouse
- HDMI Monitor
- Stable Internet Connection
Step-by-Step Guide
1. Download Windows 10/11 ARM Image
First, download the Windows 10 or Windows 11 ARM image from the official Microsoft website or other trusted sources. Ensure you download the ARM version as it’s compatible with Raspberry Pi.
2. Prepare the MicroSD Card
Format the MicroSD card using a tool like SD Card Formatter. This step ensures your card is ready for the new OS installation.
3. Flash the Windows Image
Use a tool like Raspberry Pi Imager or balenaEtcher to flash the Windows image onto the MicroSD card. Follow these steps:
- Open the flashing tool.
- Select the downloaded Windows ARM image.
- Choose the target MicroSD card.
- Click on “Flash” or “Write” to start the process.
4. Boot Raspberry Pi
Insert the flashed MicroSD card into your Raspberry Pi. Connect the keyboard, mouse, and monitor, then power on the Raspberry Pi. The device should boot into Windows.
5. Initial Setup
Follow the on-screen instructions to complete the Windows setup. Connect to your Wi-Fi network, sign in with your Microsoft account, and customize your settings.
Optimizing Performance
Running Windows on Raspberry Pi can be resource-intensive. Here are some tips to optimize performance:
- Disable Unnecessary Services: Turn off services and features you don’t need.
- Adjust Visual Effects: Go to System Properties > Advanced > Performance Settings and choose “Adjust for best performance.”
- Increase Virtual Memory: Adjust the paging file size to ensure smooth operation.
Applications and Uses
With Windows on your Raspberry Pi, you can:
- Develop and Test Apps: Use it as a development platform for Windows applications.
- Educational Purposes: Teach and learn programming and computer science.
- Media Center: Install media server software and use it as a media center.
- IoT Projects: Integrate with IoT devices and control them via Windows.
Conclusion
Running Windows on a Raspberry Pi can greatly expand its capabilities, making it a powerful tool for various projects. Follow this guide to get started and explore the endless possibilities.