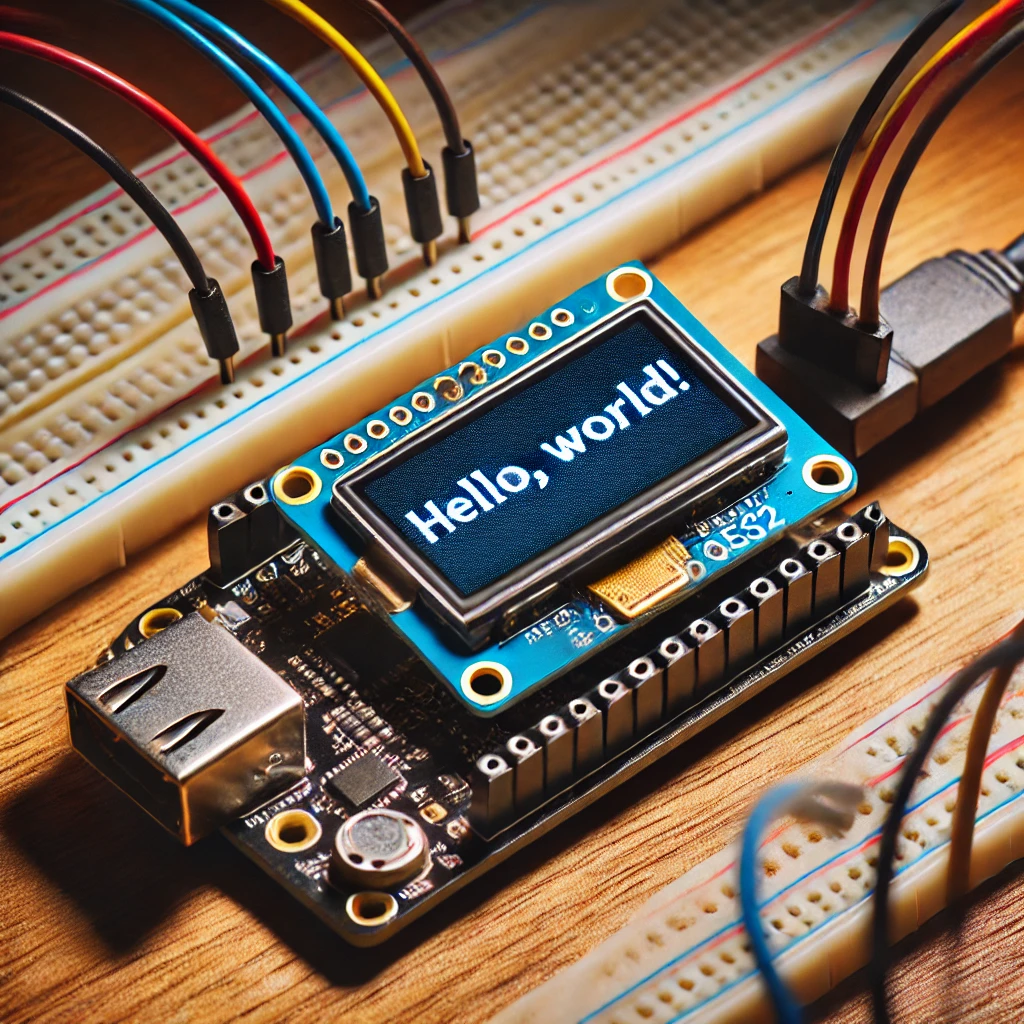
The ESP32 is a versatile and powerful microcontroller, widely adopted for IoT applications and embedded systems projects. Its built-in Wi-Fi and Bluetooth capabilities make it ideal for a range of applications. Adding a visual interface, such as an OLED display, enhances the interactivity and usability of ESP32-based projects. OLED displays are compact, energy-efficient, and capable of rendering crisp visuals, making them a perfect choice for wearable devices, data monitoring systems, and more.
This detailed guide will take you through the process of interfacing an OLED display with the ESP32. You will learn how to set up the hardware, program the ESP32, and display text and graphics on the OLED screen. The content is designed for beginners but includes enough detail to be valuable for more experienced developers as well.
By the end of this guide, you will be equipped with the skills to integrate OLED displays into your ESP32 projects confidently.
Why Use an OLED Display?
OLED (Organic Light-Emitting Diode) displays are an excellent addition to microcontroller projects. They offer several advantages that make them superior to traditional LCDs:
-
High Contrast and Brightness: OLEDs provide true blacks and vivid colors, as each pixel emits its own light.
-
Energy Efficiency: With no need for a backlight, OLEDs consume less power, especially when displaying darker content.
-
Wide Viewing Angles: The display remains visible from almost any angle, making it highly user-friendly.
-
Compact Design: OLED modules are thin and lightweight, perfect for projects with space constraints.
These features make OLEDs particularly popular for portable and battery-operated devices, such as smartwatches, IoT dashboards, and custom controllers.
Components Required
To get started with this project, gather the following components:
-
ESP32 Development Board:
-
Any ESP32 model compatible with your needs, such as ESP32 DevKit v1.
-
-
OLED Display Module:
-
Choose a display that uses the I2C protocol (e.g., SSD1306-based OLEDs).
-
Common sizes include 0.96-inch and 1.3-inch displays.
-
-
Jumper Wires:
-
For connecting the OLED module to the ESP32.
-
-
Breadboard:
-
To organize and test the circuit connections.
-
-
USB Cable:
-
To connect the ESP32 to your computer for programming.
-
-
Arduino IDE Installed:
-
The development environment for coding and uploading to the ESP32.
-
Step 1: Understanding OLED Displays and the I2C Protocol
OLED Display Basics
OLED displays consist of self-illuminating pixels, meaning each pixel generates its own light. This eliminates the need for a backlight, unlike traditional LCDs. The displays are driven by controller ICs such as SSD1306 or SH1106, which handle the rendering of text and graphics and facilitate communication with microcontrollers.
I2C Protocol Overview
The I2C (Inter-Integrated Circuit) protocol is a two-wire communication standard, making it an efficient way to connect devices like OLED displays to microcontrollers. The two main lines are:
-
SDA (Serial Data Line): Transfers data between devices.
-
SCL (Serial Clock Line): Synchronizes the data transfer.
The protocol supports multiple devices on the same bus, identified by unique addresses, making it suitable for applications requiring multiple sensors or peripherals.
Step 2: Wiring the OLED Display to ESP32
Pin Connections for I2C OLED
Below are the standard pin connections to interface an I2C OLED display with an ESP32:
| OLED Pin | Function | ESP32 Pin | Description |
|---|---|---|---|
| VCC | Power Supply | 3.3V | Provides power to OLED |
| GND | Ground | GND | Common ground |
| SDA | Data Line | GPIO21 | Transmits data |
| SCL | Clock Line | GPIO22 | Synchronizes data |
Wiring Instructions
-
Connect VCC and GND:
-
Attach the VCC pin of the OLED to the 3.3V pin of the ESP32.
-
Connect the GND pin of the OLED to the GND pin of the ESP32.
-
-
Connect SDA and SCL:
-
Wire the SDA pin of the OLED to GPIO21 on the ESP32.
-
Wire the SCL pin of the OLED to GPIO22 on the ESP32.
-
Ensure that all connections are secure to avoid issues during testing.
Step 3: Setting Up the Arduino IDE
Installing Libraries
To control the OLED display, you need the following libraries:
-
Adafruit SSD1306 Library
-
Adafruit GFX Library
Steps to Install:
-
Open Arduino IDE.
-
Go to Sketch > Include Library > Manage Libraries.
-
Search for Adafruit SSD1306 and click Install.
-
Search for Adafruit GFX and install it as well.
Configuring ESP32 in Arduino IDE
If you haven’t already set up your Arduino IDE for ESP32:
-
Go to File > Preferences.
-
Add this URL in the “Additional Board Manager URLs” field:
-
https://dl.espressif.com/dl/package_esp32_index.json
-
-
Go to Tools > Board > Board Manager.
-
Search for ESP32 and click Install.
Step 4: Writing and Uploading Code
Below is a sample code snippet to display “Hello, World!” on the OLED screen:
#include <Wire.h>
#include <Adafruit_GFX.h>
#include <Adafruit_SSD1306.h>

#define SCREEN_WIDTH 128
#define SCREEN_HEIGHT 64

Adafruit_SSD1306 display(SCREEN_WIDTH, SCREEN_HEIGHT, &Wire, -1);

void setup() {
  Serial.begin(115200);

  if (!display.begin(SSD1306_I2C_ADDRESS, 0x3C)) {
    Serial.println("SSD1306 allocation failed");
    for (;;);
  }

  display.clearDisplay();
  display.setTextSize(1);
  display.setTextColor(SSD1306_WHITE);
  display.setCursor(0, 10);
  display.println("Hello, World!");
  display.display();
}

void loop() {
}
Uploading the Code
-
Connect the ESP32 to your computer via USB.
-
In Arduino IDE, select the correct Board and Port under the Tools menu.
-
Click Upload to program the ESP32.
Step 5: Troubleshooting Tips
-
Check Connections: Ensure wires are properly connected to the correct pins.
-
Verify I2C Address: Use an I2C scanner script to confirm the OLED’s I2C address.
-
Power Supply: Ensure the OLED is receiving sufficient power.
-
Library Updates: Ensure libraries are up-to-date.
-
Serial Monitor Debugging: Use the Serial Monitor for error messages and debugging.
Applications of OLED Displays with ESP32
-
IoT Dashboards: Display real-time data from sensors.
-
Wearable Devices: Create smartwatches or fitness trackers.
-
Custom Controls: Build user interfaces for embedded systems.
-
Educational Projects: Teach programming and electronics with interactive visuals.
Interfacing an OLED display with the ESP32 is a fundamental skill for building visually rich projects. With this guide, you now have the tools to get started, from wiring and setting up libraries to writing and uploading code. The OLED display’s compact size, energy efficiency, and vivid visuals make it an excellent choice for enhancing your projects. Start experimenting and unlock the potential of combining the ESP32 with OLED displays!
Visit our other website: https://synergypublish.com

