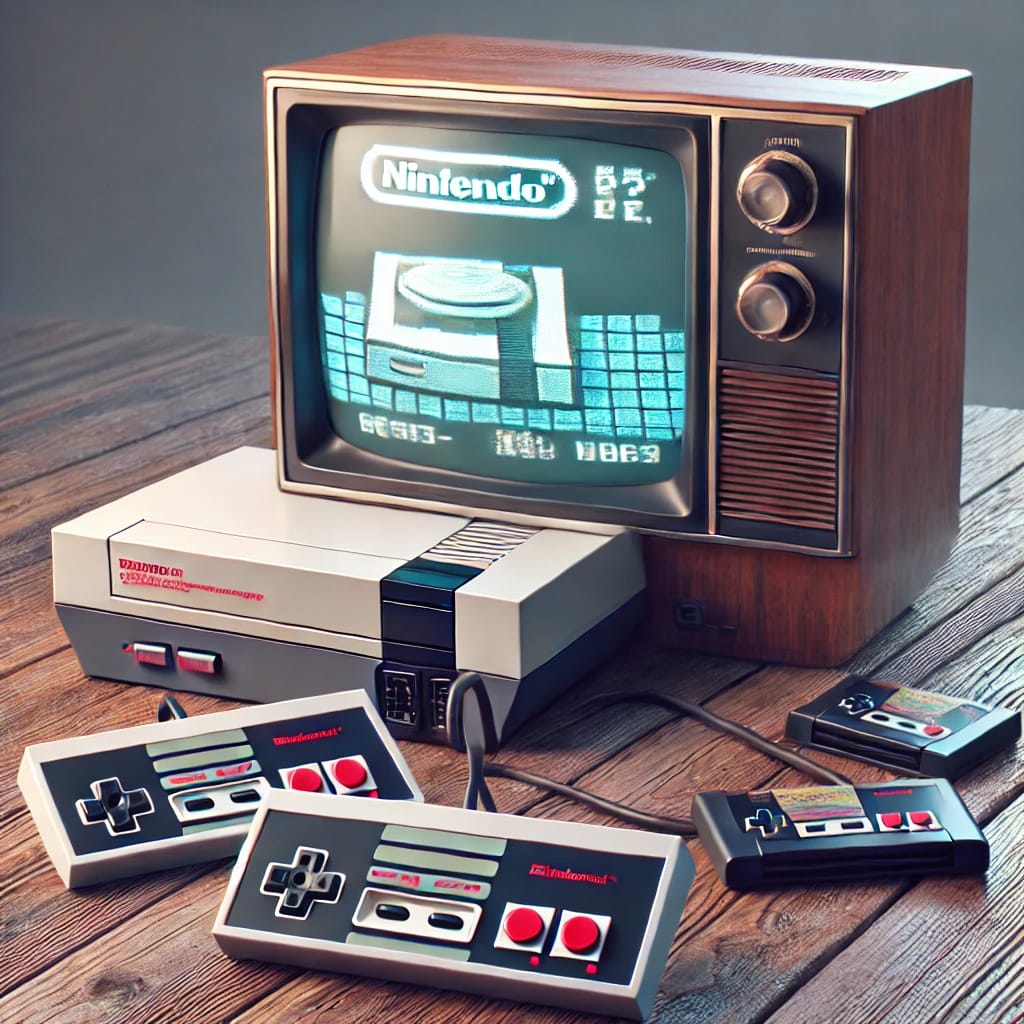
The world of 8-bit and 16-bit gaming consoles has become iconic in the annals of video game history. Systems like the Nintendo Entertainment System (NES), Super Nintendo Entertainment System (SNES), and Sega Genesis are more than just machines—they are symbols of a golden era of gaming that brought together families and friends in front of pixelated screens. The simple but addictive gameplay, memorable characters, and unforgettable soundtracks of these classic consoles are still deeply embedded in the memories of gamers worldwide.
If you’ve ever longed for those nostalgic moments, there’s good news. Thanks to advancements in DIY electronics and the growing retro gaming community, building your own retro game console has never been more accessible. Whether you’re an experienced tinkerer or a beginner with a love for gaming, you can now create your own custom console and play your favorite retro games. In this guide, we’ll cover everything from selecting the right hardware to customizing your console and programming it for a truly personalized experience.
Choosing the Right Hardware
Choosing the right hardware is the first and most important step in creating your retro game console. The hardware you select will affect the performance, customizability, and overall gaming experience. There are several options to consider depending on your technical skills, budget, and personal preferences.
1. Raspberry Pi
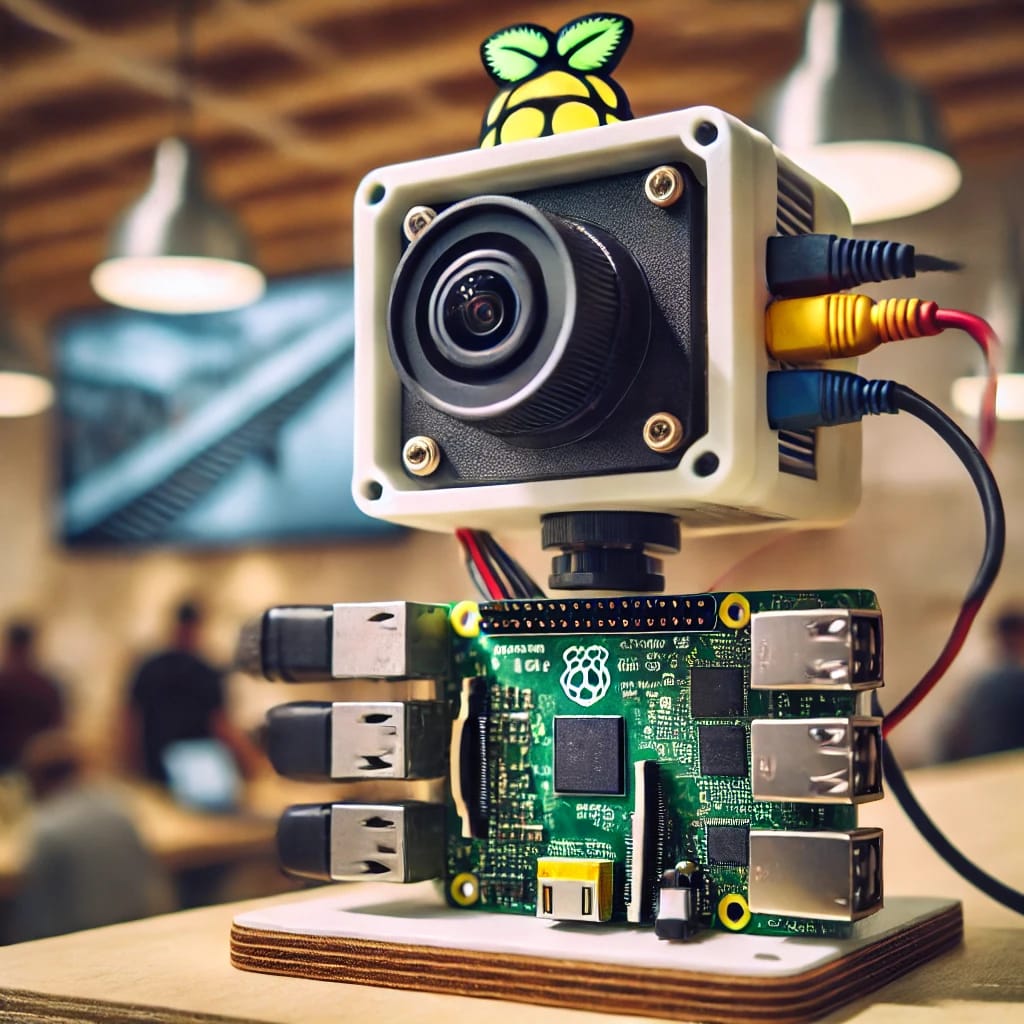
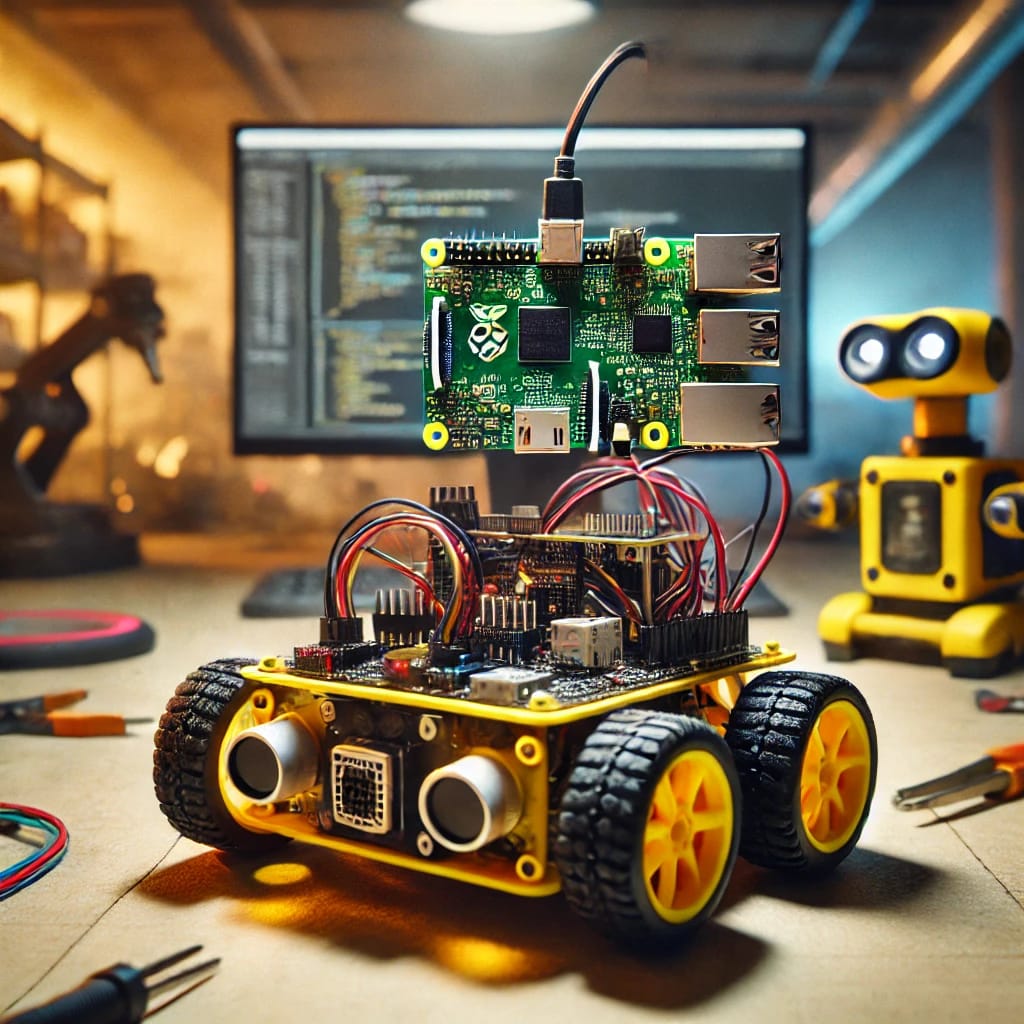
The Raspberry Pi has become the go-to platform for building DIY retro game consoles. It’s a low-cost, compact computer that can run various operating systems, including those suited for retro gaming. The Raspberry Pi’s versatility and large community of developers make it the perfect choice for this type of project.
-
Benefits:
- Affordable and easy to source.
- Supports a wide range of operating systems, including RetroPie, which is optimized for retro gaming.
- Offers a variety of connectivity options (HDMI, USB, Bluetooth).
- Great community support and resources for troubleshooting and customization.
-
Considerations:
- The Raspberry Pi’s hardware may struggle to emulate the most advanced consoles like the PlayStation 2 or Dreamcast without additional optimization.
2. RetroPie
RetroPie is a software package designed specifically for turning a Raspberry Pi into a retro gaming console. It comes pre-loaded with emulators for a wide range of retro gaming systems, from the NES and SNES to more modern platforms like the PlayStation 1. RetroPie also provides easy-to-use interfaces, allowing you to organize your game library, customize themes, and tweak emulator settings.
-
Benefits:
- Includes everything you need to get started, including pre-configured emulators.
- Features support for a wide range of controllers, including USB and Bluetooth.
- Large online community for support, custom themes, and guides.
-
Considerations:
- While RetroPie is highly customizable, it may require some basic knowledge of Linux and Raspberry Pi for more advanced tweaks.
3. Arduino
For those seeking a more hands-on, customizable approach, Arduino is an excellent choice. Arduino is a microcontroller platform that gives you full control over the hardware and software. While not an out-of-the-box solution like RetroPie, Arduino offers flexibility in creating custom retro game consoles and even building your own controllers or arcade machines.
- Benefits:
- Offers maximum customizability and control over the entire project.
- Can integrate sensors and other custom components, creating unique setups (e.g., arcade-style buttons).
- Considerations:
- Requires more programming knowledge and time to get up and running compared to plug-and-play solutions like the Raspberry Pi.
When deciding which platform to choose, think about how involved you want to be in the project. If you’re looking for a quick and simple solution, Raspberry Pi with RetroPie is your best bet. If you’re more into customizing hardware and programming from scratch, Arduino is the way to go.
Assembling the Console
Once you’ve chosen your hardware, assembling the console can be an exciting and rewarding task. Below is a detailed, step-by-step process for building a retro game console using the Raspberry Pi and RetroPie.
Step 1: Unbox and Prepare the Hardware
The first thing you’ll want to do is unbox all the components and ensure everything is accounted for. Your kit should include:
- Raspberry Pi board
- Power supply
- Case or enclosure
- SD card (with pre-installed RetroPie image if you’ve purchased a kit)
- Cables (HDMI, USB, power)
Make sure to check the list to confirm all parts are included. If not, you’ll need to buy any missing components before you proceed.
Step 2: Assemble the Case
The case is designed to house your Raspberry Pi and protect it from damage. Follow the instructions carefully to assemble the case, paying special attention to where the Raspberry Pi board will sit. Secure the Raspberry Pi into the case using the provided screws, ensuring there’s no movement that could potentially damage the components.
Step 3: Install the Raspberry Pi
Once the case is assembled, install the Raspberry Pi board inside. Make sure it’s seated properly in the case. You may also need to connect any heatsinks or fans, depending on the case design and cooling options.
Step 4: Install the Power Supply
Next, connect the power supply to the Raspberry Pi. The power supply should match the Raspberry Pi’s voltage requirements. Plug it into a power source but don’t turn it on just yet.
Step 5: Connect Peripherals
Now, connect your peripherals. This includes:
- HDMI cable (to connect to your display)
- Keyboard and mouse (for setup)
- Controller (for gaming, USB or Bluetooth)
Ensure all devices are securely connected before powering up.
Step 6: Boot Up
Once everything is in place, power on the Raspberry Pi. It should boot into RetroPie automatically if the image is already on the SD card. Follow the on-screen prompts to set up the system, including language preferences and network configurations.
Installing the Operating System and Emulators
Now that you’ve assembled the hardware, it’s time to get the software up and running. RetroPie is a Linux-based operating system that allows you to emulate a variety of classic game consoles. Here’s how to install and configure it:
Step 1: Download RetroPie
Head to the official RetroPie website and download the image file compatible with your Raspberry Pi model.
Step 2: Flash the Image to an SD Card
Using a tool like Etcher, flash the RetroPie image onto your SD card. This process takes a few minutes, and once done, the SD card will be ready for use.
Step 3: Insert the SD Card
Insert the SD card into the Raspberry Pi. Power it up and wait for RetroPie to load. The system will guide you through some initial setup steps.
Step 4: Configure Emulators
Once RetroPie is up and running, you can configure the emulators. You’ll be able to tweak settings for each emulator, such as audio, video, and controller options. Some emulators may require you to adjust settings for optimal performance.
Adding Games and Controllers
Now it’s time to load up your game library and set up your controllers for a flawless gaming experience. Here’s how:
Step 1: Download Games (ROMs)
Search for legally available ROMs from sources like the Internet Archive or ROM websites where the games are freely available. Make sure to only download games that you own to stay within legal boundaries.
Step 2: Transfer ROMs to the Raspberry Pi
Use tools like SFTP or SCP to transfer ROM files to your Raspberry Pi. These can be uploaded directly to the appropriate directories for each emulator (e.g., /home/pi/RetroPie/roms/).
Step 3: Set Up Controllers
If you’re using a USB or Bluetooth controller, plug it in or sync it with the Raspberry Pi. You’ll be prompted to configure the controller. Follow the on-screen instructions to map the buttons correctly.
Step 4: Test Everything
With the games and controllers set up, test a few games to ensure they run smoothly. If you encounter lag or stuttering, adjust the emulator settings or tweak your video output preferences.
Programming and Customization
To make your console truly unique, you can explore programming and customizing the RetroPie system.
Step 1: Learn to Code
Start by learning Python or C++, as these languages are commonly used to customize and program Raspberry Pi-based projects.
Step 2: Use RetroPie API
The RetroPie API provides access to system functions, allowing you to create custom scripts, automate tasks, and configure settings for each emulator and game.
Step 3: Create Custom Themes
Using graphic software like GIMP or Adobe Photoshop, you can design custom user interfaces, background art, and game themes that reflect your style.
Step 4: Add New Games or Emulators
Expand your library by adding more games or emulators to your system. This can be done through RetroPie’s menu or by manually downloading and installing new software.
Tips and Tricks
-
Invest in a High-Quality Controller
A well-made controller will make a big difference in your gaming experience. Look for controllers designed specifically for retro gaming, or opt for a modern USB controller with a comfortable design. -
Use Cooling Options
Some games may tax the Raspberry Pi’s hardware, causing it to overheat. Use passive or active cooling solutions like heatsinks or fans to ensure smooth performance. -
Optimize Performance
For more demanding games, reduce the resolution or disable advanced graphical effects. This can help improve frame rates and reduce lag. -
Join Retro Gaming Communities
Join forums and social media groups dedicated to retro gaming. Not only will you get tips and advice, but you’ll also discover new games, themes, and emulators to try.
FAQs (Frequently Asked Questions)
1. What hardware do I need to build a retro game console?
You will need a Raspberry Pi (or similar board), an SD card, a power supply, a case, a display, and a controller. You can also add peripherals like a keyboard, mouse, or additional cooling systems.
2. What is RetroPie and how does it work?
RetroPie is an operating system designed to turn your Raspberry Pi into a retro gaming console. It includes pre-installed emulators for a variety of systems like the NES, SNES, Sega Genesis, and PlayStation.
3. Can I use my original game cartridges with my console?
Unfortunately, you cannot use physical game cartridges directly with the Raspberry Pi. Instead, you’ll need to download ROM files, which are digital versions of the games.
4. How do I install RetroPie?
You’ll need to download the RetroPie image from the official website, flash it onto an SD card, and then insert the SD card into your Raspberry Pi to boot it up.
5. What are ROMs, and how do I get them?
ROMs are digital copies of video games. You can download them from legal sources, such as the Internet Archive or websites that offer public domain games. Be sure to own the original game before downloading ROMs.
6. Do I need to know programming to build a retro console?
No, you don’t need advanced programming knowledge to build a basic retro console. However, if you want to customize the console or create custom scripts, some basic programming skills in Python or C++ will help.
7. Can I add new games to my console?
Yes, you can add games by downloading ROM files and transferring them to your console via SFTP or a USB drive. RetroPie makes it easy to manage and play a wide variety of games.
8. How can I customize the look of my console’s interface?
RetroPie allows you to create custom themes for the interface. You can use graphic design software to create backgrounds, logos, and other elements to personalize your gaming experience.
9. Will the Raspberry Pi be able to emulate newer consoles like PlayStation 2 or Dreamcast?
While the Raspberry Pi can emulate a variety of older consoles, it may struggle with more advanced systems like PlayStation 2 or Dreamcast. You can try adjusting settings or overclocking the Pi, but performance may vary.
10. What controllers are compatible with RetroPie?
RetroPie supports a wide range of controllers, including USB controllers, Bluetooth controllers, and even classic retro controllers. You can configure them through the RetroPie setup menu.
11. Can I play multiplayer games with my retro console?
Yes, you can set up multiplayer games on your retro console by connecting multiple controllers. Some emulators support local multiplayer, while others can be used with online multiplayer settings.
12. How can I improve the performance of my retro console?
To improve performance, you can reduce video resolution, disable unnecessary graphical effects, or use overclocking settings (if supported by your Raspberry Pi).
13. Can I play games online with my retro console?
While RetroPie doesn’t natively support online multiplayer for most games, certain emulators do offer online play through third-party tools or by connecting over a local network.
14. How do I back up my game library?
You can back up your games by copying ROM files to external storage or using cloud services like Google Drive to store your library.
15. What should I do if my console isn’t working properly?
If your console isn’t booting or the games aren’t running correctly, check your connections, ensure that RetroPie is installed correctly, and visit the RetroPie forums for troubleshooting tips and guides.

