The ESP32 is a versatile microcontroller that is widely used in various Internet of Things (IoT) projects, ranging from smart home devices to wearable technology. One of the most attractive features of the ESP32 is its ability to significantly extend battery life by utilizing different sleep modes. Among these, the Deep Sleep mode is particularly beneficial for battery-powered applications where power efficiency is a key concern. In this article, we will explore how to use the ESP32 Deep Sleep mode to maximize battery life, along with the various wake-up sources available for waking up the ESP32 when necessary. Furthermore, we’ll cover how to configure and control the deep sleep function using the Arduino IDE, step by step.
Understanding how to effectively use Deep Sleep mode and configure wake-up sources can make a substantial difference in your project’s overall battery life and power consumption. We will provide well-detailed instructions with practical code examples so that even beginners can implement these techniques into their IoT projects.
What is Deep Sleep on ESP32?
The Deep Sleep mode on the ESP32 is a low-power state designed to drastically reduce the power consumption of the microcontroller when it is idle or not performing active tasks. This mode is crucial for battery-operated devices because it allows the ESP32 to consume as little as 10 µA (micrampere), extending the life of the battery by a significant margin.
In Deep Sleep mode, most of the ESP32’s components, including the CPU, Wi-Fi, and Bluetooth, are turned off to save energy. However, certain peripherals, like the RTC (Real-Time Clock), remain active to manage wake-up sources and timekeeping. It’s important to note that the ESP32 is not entirely powered off during Deep Sleep; only certain parts of the chip are turned off. This allows it to quickly resume operations when a wake-up source triggers it.
This power-saving feature is ideal for IoT projects where the device may need to stay inactive for long periods, only waking up periodically to take measurements, communicate with a server, or perform other tasks. By using Deep Sleep effectively, you can minimize the frequency of charging or replaceable batteries, thus making your devices more efficient and autonomous.
Benefits of Using Deep Sleep on ESP32
Maximizing the battery life of your ESP32-based devices is one of the top reasons to use Deep Sleep. Below, we’ll discuss the main advantages of using Deep Sleep in your IoT projects:
- Power Efficiency: The ESP32 is capable of reducing its consumption to a minimum during Deep Sleep, saving significant power compared to active operation. In some applications, this could result in months or even years of battery life, depending on the wake-up interval.
- Prolonged Battery Life: By using Deep Sleep, you can greatly extend the operational time of a project without needing to replace or recharge batteries frequently. This is particularly useful in remote applications like sensors in a field or environmental monitoring devices.
- Easy Configuration: Setting up Deep Sleep on the ESP32 with the Arduino IDE is straightforward. With a few lines of code, you can easily configure the microcontroller to enter Deep Sleep at regular intervals or based on certain conditions.
- Low-Power Consumption: Unlike other power-saving modes, Deep Sleep mode minimizes power consumption while keeping critical functions like the RTC alive, making it ideal for low-power applications.
- Maintaining Timekeeping: The RTC in Deep Sleep mode allows you to keep track of time, even when the device is not actively running, ensuring that any timed wake-ups or operations happen as scheduled.
By combining these benefits, the ESP32 can serve in various low-power applications such as wearables, remote sensors, and portable electronics without needing constant recharging.
How to Enter Deep Sleep on ESP32 Using Arduino IDE
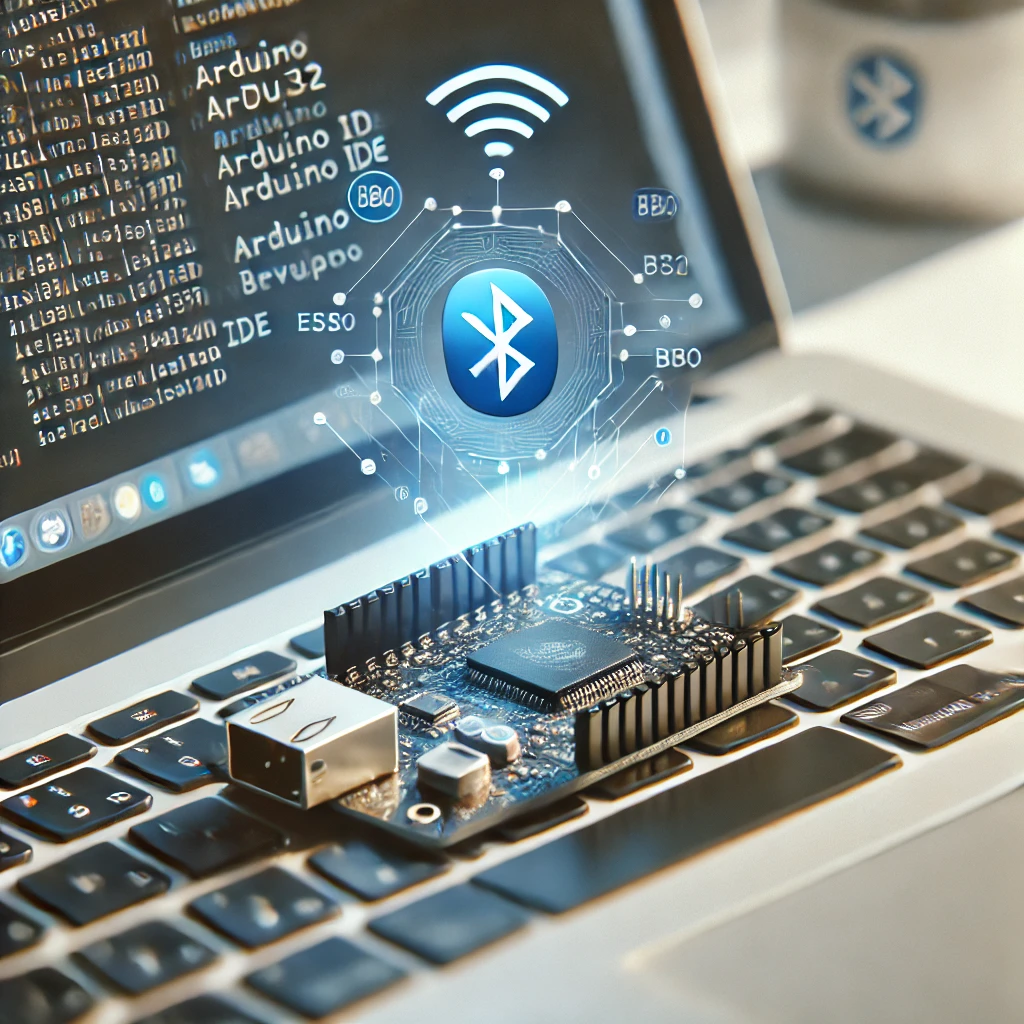
To begin utilizing Deep Sleep on the ESP32, you need to first install the ESP32 Board in your Arduino IDE. If you haven’t done that yet, follow these steps:
- Open the Arduino IDE and go to File > Preferences.
- Under the “Additional Board Manager URLs” section, paste the following URL:
- Go to Tools > Board > Boards Manager, search for “ESP32,” and click Install.
- After installation, select your ESP32 board from Tools > Board.
Once the IDE is set up, we can now look at how to enter Deep Sleep mode programmatically. The Arduino IDE provides functions for putting the ESP32 into Deep Sleep and waking it up. Here’s a simple example:
Explanation:
esp_sleep_enable_timer_wakeup(10000000)configures the ESP32 to wake up after 10 seconds (10,000,000 microseconds).esp_deep_sleep_start()puts the ESP32 into Deep Sleep.
This simple code will make the ESP32 sleep for 10 seconds and then wake up to resume the program. If you want the device to enter Deep Sleep for a longer or shorter period, you can adjust the time value passed to esp_sleep_enable_timer_wakeup().
Wake-Up Sources for ESP32 Deep Sleep
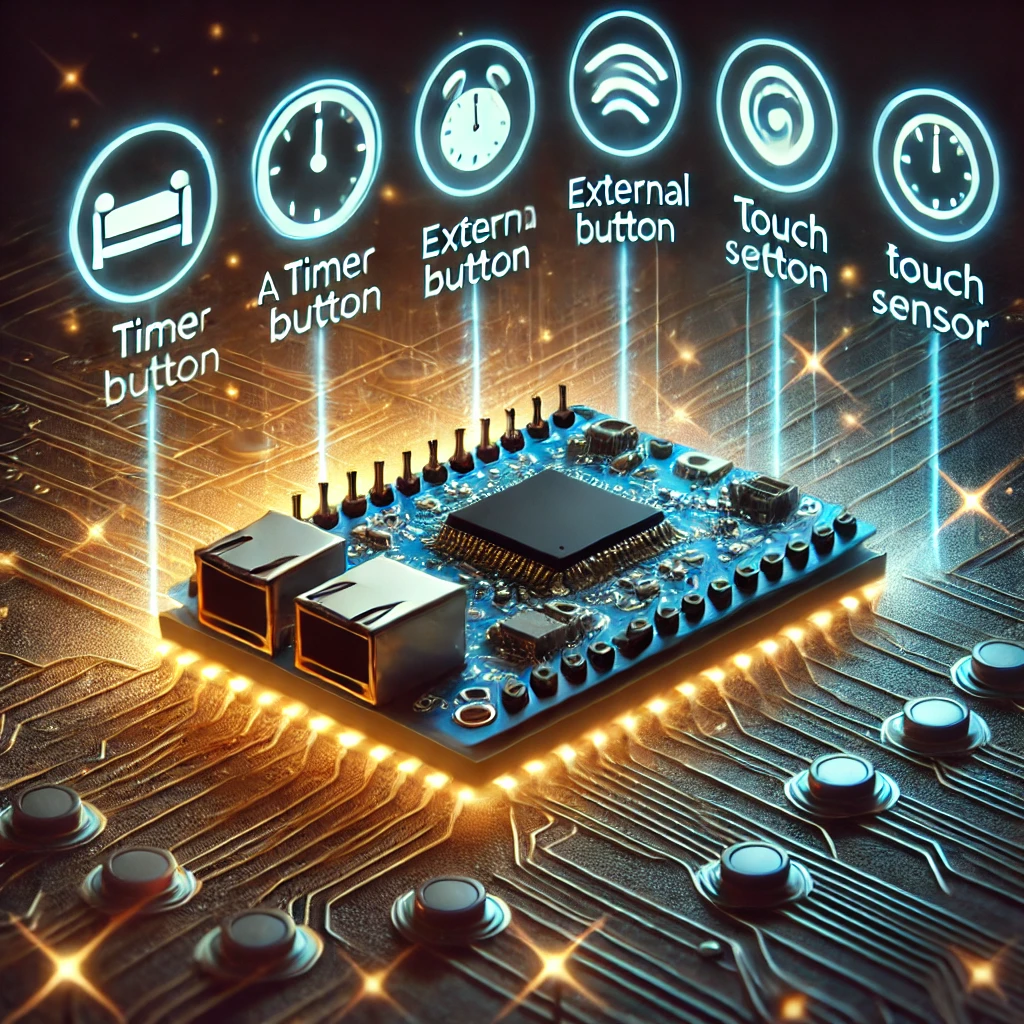
While the ESP32 is in Deep Sleep, it can be awakened by various sources. Understanding these wake-up options is crucial to creating power-efficient devices. Here are the primary wake-up sources for ESP32 Deep Sleep mode:
- Timer Wake-Up: This is the most straightforward method. As shown in the previous example, the ESP32 can wake up after a fixed amount of time. This is useful for periodic tasks, such as checking sensor values or sending data to a server.
- External GPIO Wake-Up: The ESP32 can be configured to wake up when a change is detected on a specific GPIO pin. This is particularly useful for triggering actions based on external events, such as pressing a button or detecting a signal from a sensor.
- Touch Wake-Up: ESP32 supports touch sensors on certain GPIO pins. You can use this feature to trigger the wake-up when a specific touch input is detected.
- ULP Coprocessor Wake-Up: The ULP (Ultra-Low Power) coprocessor can run even during Deep Sleep and can trigger the wake-up if certain conditions are met. This feature is useful for continuously monitoring sensors at extremely low power consumption.
- RTC Wake-Up: The RTC can trigger a wake-up based on a timer or external signals, ensuring the device resumes operations at precise times, even if the main processor is in deep sleep.
Each of these wake-up sources can be customized in the Arduino IDE, allowing for a wide range of IoT applications, from simple sensors to complex smart systems.
Practical Use Cases for ESP32 Deep Sleep
- Remote Weather Stations: Imagine a weather station deployed in a remote area where power sources are limited. Using the Timer Wake-Up method, the ESP32 could collect temperature and humidity readings every hour, while staying in Deep Sleep the rest of the time to save battery.
- Wearable Devices: Wearables that need to monitor heart rate, steps, or other biometrics could use GPIO Wake-Up when a button is pressed, or Touch Wake-Up when the device is activated by the user.
- Smart Agriculture: In an agricultural monitoring system, an ESP32 can wake up periodically to send data about soil moisture levels or environmental conditions to a server. The RTC Wake-Up ensures that the device operates on a precise schedule to collect critical data at regular intervals.
- Home Automation: ESP32-based smart home devices like sensors or light controllers can use ULP Coprocessor Wake-Up to perform simple tasks like monitoring door/window status, while saving battery when no significant changes occur.
Optimizing Battery Life with Deep Sleep
To truly maximize the battery life of your ESP32, you must consider several factors when configuring Deep Sleep. Here are some tips for optimizing power consumption:
- Minimize Active Time: Ensure that the ESP32 spends as much time as possible in Deep Sleep and as little time as possible in active states. Only turn on the Wi-Fi, Bluetooth, or the CPU when necessary.
- Use the ULP Coprocessor: The ULP Coprocessor is highly efficient and can run in parallel with the main CPU during Deep Sleep. It’s great for low-power operations like monitoring sensor data or simple computations.
- Optimize Sleep Duration: Use the Timer Wake-Up source to set a sleep duration that matches the task intervals, rather than leaving the device in Deep Sleep for unnecessarily long periods.
- Reduce Power Draw of Peripherals: If your ESP32 device has peripherals such as sensors, display modules, or other connected devices, ensure that they are powered off when the ESP32 enters Deep Sleep.
In this article, we’ve explored the benefits of using Deep Sleep on the ESP32 to maximize battery life. We’ve outlined how to configure and manage the Deep Sleep mode using the Arduino IDE and covered the various wake-up sources available to trigger the device from its low-power state. By leveraging these techniques, you can create energy-efficient IoT devices that last longer on battery power, making them suitable for applications in remote environments, wearables, and smart systems.
By understanding and implementing these deep sleep strategies, your projects will not only be more sustainable but also more reliable in the long run.
Feel free to check out our other website at http://master3dp.com/ where you can learn to 3D print anything needed for a project.

