Step 1: Prepare Your Setup
Ensure you have the following:
- Raspberry Pi Pico 2 (RP2350 chip)
- USB cable to connect the Pico to your computer
- Computer with internet access (Linux, Windows, or macOS)
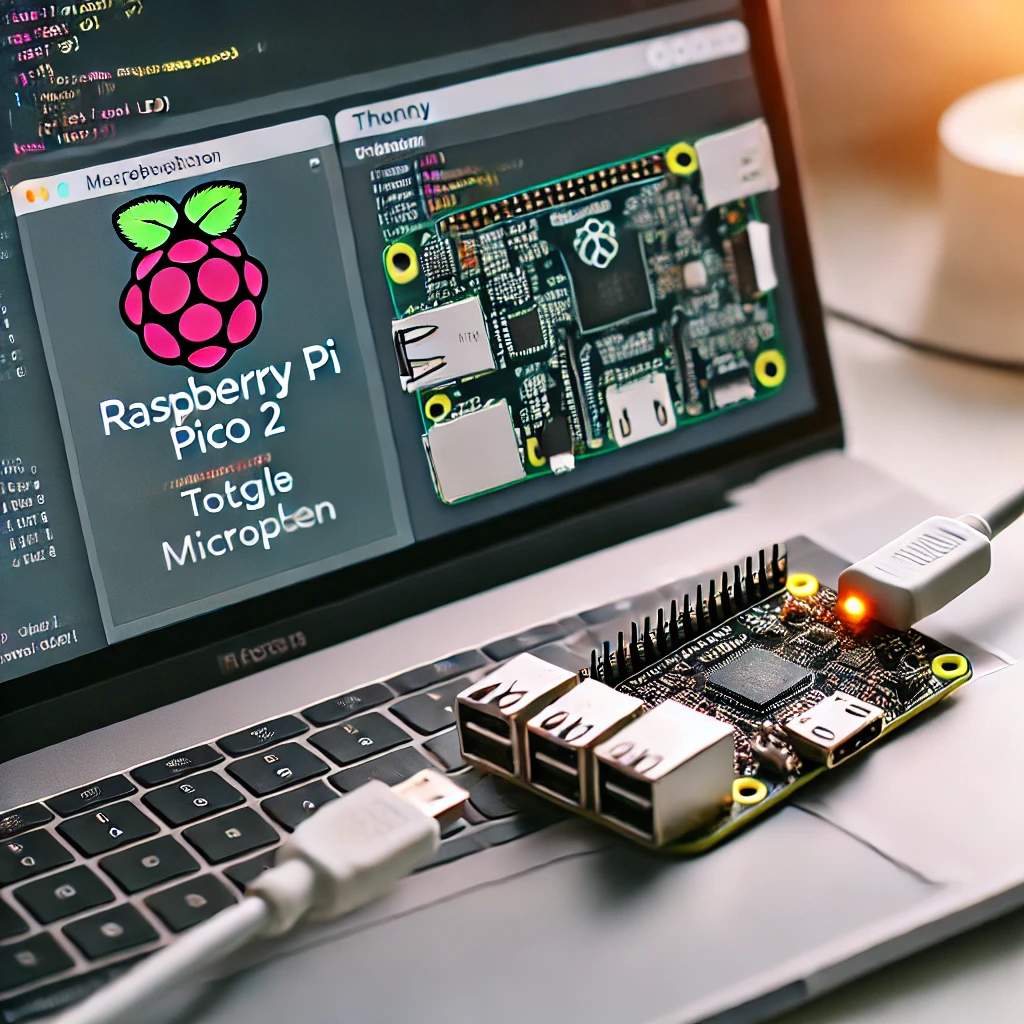
- Thonny IDE or an alternative IDE supporting MicroPython
Step 2: Download the MicroPython UF2 File for RISC-V
- Visit the official MicroPython RISC-V download page.
- Find and download the MicroPython UF2 firmware for the Raspberry Pi Pico 2 with RISC-V architecture.
Step 3: Prepare the Raspberry Pi Pico 2 for Firmware Flashing
- Press and hold the BOOTSEL button on your Raspberry Pi Pico 2.
- While holding the button, plug the Pico into your computer using the USB cable. The Pico will appear as a mass storage device on your computer.
- Once it shows up, release the BOOTSEL button.
Step 4: Flash the MicroPython Firmware
- Drag and drop the previously downloaded MicroPython UF2 file onto the Raspberry Pi Pico 2 storage.
- The Pico will automatically reboot, and the MicroPython firmware will be installed.
Step 5: Set Up the IDE (Thonny)
- Download and install Thonny IDE if you haven’t already.
- Launch Thonny and go to Tools > Options > Interpreter.
- In the Interpreter menu, choose MicroPython (Raspberry Pi Pico).
- Select the appropriate Port (the one where your Raspberry Pi Pico 2 is connected).
Step 6: Start Coding with MicroPython
You can now start writing and executing MicroPython code on the Raspberry Pi Pico 2. Here’s a simple example:
from machine import Pin

import time
led = Pin(25, Pin.OUT)
while True:

    led.toggle()

    time.sleep(1)
This code will toggle the onboard LED every second.
Step 7: Explore More with Libraries and Modules
The Raspberry Pi Pico 2, equipped with the RP2350 chip, supports many MicroPython libraries and modules. Check out the MicroPython documentation to further explore its capabilities.
With these steps, you should be able to install and start using MicroPython for RISC-V on your Raspberry Pi Pico 2. Enjoy exploring MicroPython on this new architecture!


