In today’s world, monitoring environmental conditions is crucial for maintaining the quality of indoor spaces, preserving sensitive materials, and ensuring the comfort of living environments. A temperature humidity sensor provides an efficient way to track and control temperature and humidity levels in various settings. Whether you’re a hobbyist working on a DIY project or a professional setting up climate control systems, understanding how these sensors work and how to use them effectively is key.
What is a Temperature Humidity Sensor?
A temperature humidity sensor is an electronic device that measures both temperature and humidity levels. These sensors are widely used in applications such as:
- Home Automation: Keep your living environment comfortable and energy-efficient.
- Greenhouses: Monitor and adjust conditions to optimize plant growth.
- Industrial Settings: Ensure that manufacturing processes remain within specified environmental parameters.
- Data Centers: Protect servers and other equipment by maintaining optimal environmental conditions.
Types of Temperature Humidity Sensors
There are various types of temperature humidity sensors available, each with its specific features and use cases:
- DHT11/DHT22 Sensors: Popular in DIY projects for their simplicity and cost-effectiveness.
- AM2302 Sensor: An upgraded version of the DHT22 with higher accuracy and reliability.
- BME280 Sensor: Ideal for applications requiring high precision in temperature, humidity, and pressure measurements.
- Si7021 Sensor: Known for its low power consumption, making it suitable for battery-operated devices.
How to Set Up a Temperature Humidity Sensor
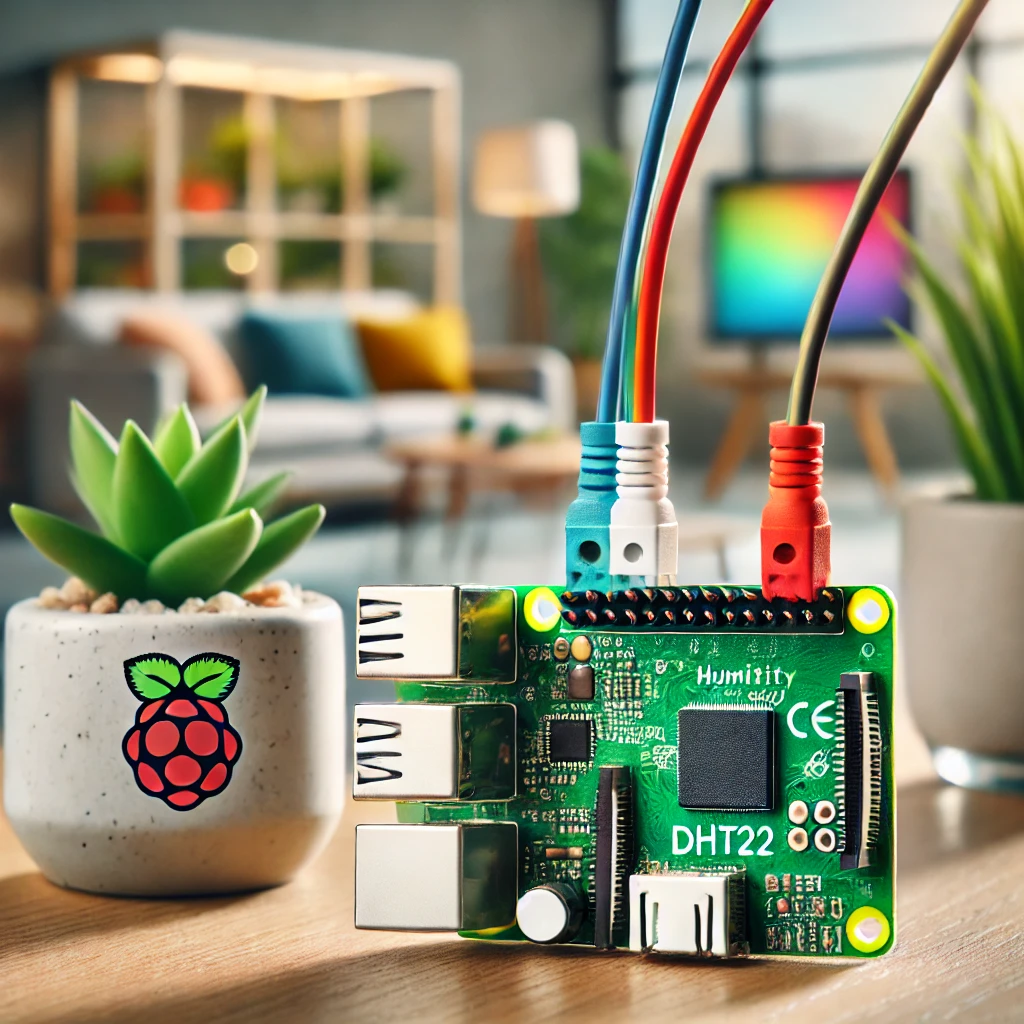
Setting up a temperature humidity sensor can be a straightforward process, especially with microcontrollers like the Raspberry Pi or Arduino. Here’s a quick guide:
- Gather Your Components:
- A temperature humidity sensor (e.g., DHT22)
- A microcontroller (e.g., Raspberry Pi or Arduino)
- Breadboard and jumper wires
- Power source
- Connect the Sensor:
- Connect the sensor’s VCC pin to the 3.3V (or 5V) pin on your microcontroller.
- Connect the ground (GND) pin to the ground on your microcontroller.
- Connect the data pin to one of the GPIO pins on your microcontroller.
- Install Libraries and Code:
- Install the required libraries (e.g., Adafruit_DHT for Raspberry Pi).
- Write or download a script to read and display temperature and humidity data.
- Test and Calibrate:
- Run the script to ensure the sensor is functioning correctly.
- Calibrate the sensor if necessary to improve accuracy.
Applications and Use Cases
Temperature humidity sensors are used in a wide range of applications. Here are some practical examples:
- Smart Thermostats: Integrating these sensors into smart thermostats helps automate climate control in homes and offices.
- Weather Stations: DIY weather stations often include temperature humidity sensors to provide real-time environmental data.
- Health Monitoring: Certain medical devices use these sensors to monitor and maintain ideal environmental conditions for patient care.
Best Practices for Using Temperature Humidity Sensors
To get the most out of your temperature humidity sensor, consider the following best practices:
- Proper Placement: Ensure the sensor is placed in an area with good air circulation and away from direct sunlight or heat sources.
- Regular Calibration: Periodically calibrate your sensor to maintain accuracy.
- Data Logging: Use data logging to track environmental changes over time and identify trends.
- Protection from Elements: If using the sensor outdoors, ensure it is protected from rain and dust.
Conclusion
Temperature humidity sensors are invaluable tools for a wide range of applications, from home automation to industrial monitoring. By understanding the types of sensors available and how to set them up correctly, you can effectively monitor and control environmental conditions in any setting.


