Learn how to turn an ESP32 into a smart pet feeder with this step-by-step guide. Feed your pet remotely and on schedule, all with IoT technology.
IoT Pet Feeder
The Internet of Things (IoT) has revolutionized how we interact with our everyday environment, from smart homes to wearable devices. One exciting application of IoT technology is in the care of our pets. Pet owners often worry about their furry friends while they’re away, especially when it comes to feeding time. With the help of a microcontroller like the ESP32, it’s now possible to automate and remotely control a pet feeder, ensuring your pet gets fed on time without needing your physical presence.
The ESP32 is an affordable, powerful, and Wi-Fi-enabled microcontroller that makes this task a reality. This versatile board can connect to the internet, communicate with mobile devices, and control peripherals like motors, sensors, and more. By using an ESP32, you can create a smart pet feeder that allows you to schedule feeding times, monitor food levels, and even check on your pet via a camera or motion sensors.
In this article, we’ll take you through the step-by-step process of turning an ESP32 into an IoT pet feeder. Whether you’re a seasoned maker or a beginner, this project will guide you through the hardware assembly, the necessary code, and how to make the pet feeder accessible remotely via a web interface or mobile app.
By the end of this guide, you’ll have a fully functional pet feeder that not only ensures your pet gets fed but also provides you with greater peace of mind while you’re away. With features like portion control, scheduling, and food-level monitoring, this IoT project is perfect for any pet owner looking to modernize their pet care routine.
Now, let’s gather the necessary components and get started with building your own IoT pet feeder. This guide will walk you through each stage in detail, so you can learn while you build.
Materials You’ll Need
Before starting, it’s crucial to gather all the materials required for your IoT pet feeder. The components we’ll be using are all easily available online or at your local electronics store. Here’s a comprehensive list of the parts you will need:
- ESP32 Dev Board: This will be the brain of the pet feeder, controlling Wi-Fi connectivity and motor operation.
- Stepper Motor (NEMA 17): A precise motor that will be used to rotate and dispense the food.
- Motor Driver (L298N): This controls the stepper motor, allowing the ESP32 to manage its direction and speed.
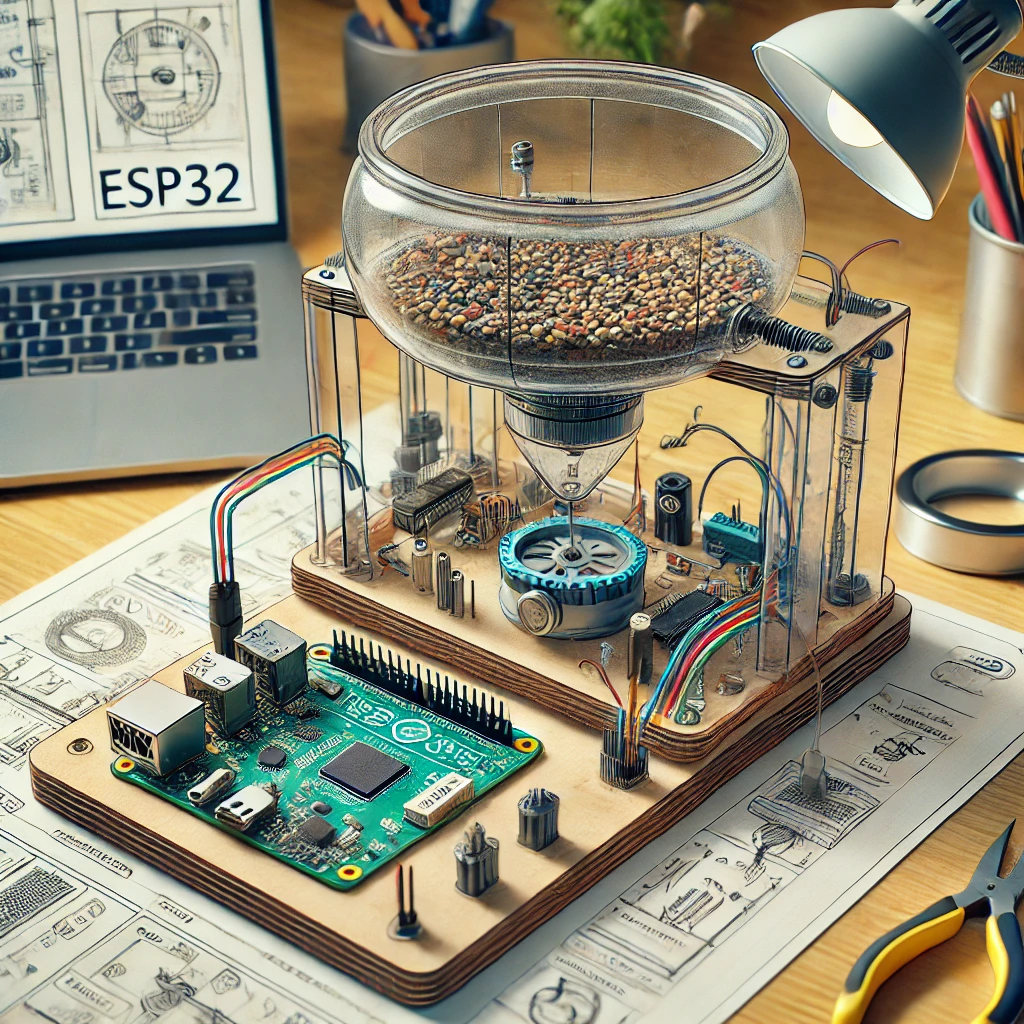
- Pet Feeder Mechanism: A food container, rotating drum, or auger that will store and dispense the food.
- Wi-Fi Connectivity: Required for connecting the ESP32 to the internet and enabling remote access.
- Mobile App or Web Interface: For controlling the pet feeder remotely and managing feeding schedules.
- Sensors (optional): weight sensors to monitor the food level or a camera to monitor the pet.
- Power Supply: A 5V USB power supply to power the ESP32 and motor.
Now that we’ve got the list, let’s dive into the hardware setup. It’s important to carefully wire all the components and follow the instructions step-by-step to ensure everything is connected properly and safely. Remember, working with motors and power supplies requires attention to detail.
If you’re new to hardware projects, don’t worry! I’ll explain each connection clearly so that you can follow along even if you have little experience. At the end of the setup, you should have a pet feeder that’s both functional and reliable.
Let’s get to the next step—assembling the hardware for your IoT pet feeder.
Setting Up the Hardware
Step 1: Connect the Stepper Motor and Motor Driver
The first hardware connection involves linking the stepper motor to the motor driver. The stepper motor allows for precise control over the food dispensing mechanism, making sure that the right portion of food is dispensed every time.
- Start by connecting the four wires of the stepper motor to the motor driver. Typically, stepper motors will have four wires—two for each coil. These should be connected to the motor driver’s output terminals. Check the motor’s datasheet for wiring details.
- The motor driver (L298N) needs to be connected to the ESP32 for control. You’ll connect the input pins of the motor driver to the ESP32’s GPIO pins (for example, GPIO pins 18, 19, 21, and 22). These pins will tell the motor driver how to operate the motor.
- The L298N motor driver also requires power. Connect the 5V pin of the driver to a 5V power supply, and the ground (GND) pin to the ground (GND) of the ESP32.
- Make sure that the motor driver’s enable pin is connected to 5V to activate the motor.
Step 2: Assemble the Pet Feeder Mechanism
Next, you’ll create the pet feeder’s dispensing mechanism. You’ll need a container for the food and a rotating drum or auger to push the food out. A simple plastic bottle or container can work well for this purpose.
- Attach the stepper motor securely to the base of the container. You can use screws or a strong adhesive, but make sure it’s firmly in place so that it won’t move when the motor is operating.
- Connect the motor to the rotating drum or auger inside the container. The motor will turn this mechanism to release food when it rotates.
- Test the motor by manually rotating it and checking if the dispensing mechanism moves smoothly. Make any adjustments if necessary.
Step 3: Adding Optional Sensors (Weight or Camera)
To track food levels, you can install a weight sensor underneath the food container. The weight sensor (like the HX711) will send data to the ESP32 to notify you when the food level is low.
- To install a weight sensor, connect the sensor’s four wires to the corresponding pins on the ESP32. This typically includes the VCC, GND, and data pins.
- If you prefer a camera to monitor your pet eating, you can integrate a small camera module like the OV2640 with the ESP32-CAM board. Attach it to the pet feeder setup so that it has a clear view of the pet’s eating area.
Step 4: Wiring and Powering the System
Once all the components are connected, it’s time to wire the system and power it up. Ensure that your power supply can handle the motor and ESP32’s power needs.
- Connect the ESP32 to a 5V USB power supply to power both the microcontroller and the motor.
- Double-check all connections before powering up to prevent any shorts or loose wires.
Setting Up the Software
Step 1: Install the Necessary Libraries
The next step is setting up the software. You’ll be using the Arduino IDE to program the ESP32. Make sure to install the necessary libraries for motor control, Wi-Fi, and sensor integration.
- Open the Arduino IDE and select your ESP32 board from the “Boards” menu.
- Install the necessary libraries. For motor control, we’ll use the
AccelStepperlibrary. To install it, go to Sketch > Include Library > Manage Libraries, search for “AccelStepper,” and click Install. - Install the Wi-Fi library to connect the ESP32 to the internet. You can also install other libraries like Servo for servo motors or HX711 for weight sensors.
Step 2: Coding the ESP32 for Motor Control
Once the libraries are set up, you can write the code for controlling the stepper motor. The code will allow you to control the motor to dispense food at the scheduled times.
In the above code:
- The ESP32 connects to Wi-Fi and waits until the connection is successful.
- The motor is set to rotate 200 steps to dispense food, followed by a pause.
- The loop repeats after a specified interval (10 seconds here).
Step 3: Setting up Feeding Schedules
You can add a feature to set specific feeding times by using an NTP server to sync the ESP32 time. Use the NTPClient library to retrieve the current time from an internet time server.
Step 4: Web Interface for Remote Control
Lastly, you can set up a web interface to remotely control the pet feeder via a smartphone or computer. By hosting a web server on the ESP32, you can create a simple control page with buttons to feed your pet manually.
This basic code sets up a simple webpage with a button that will trigger the feeder when clicked.
Testing and Calibration
Once the hardware is assembled and the software is uploaded, it’s time to test the pet feeder. Begin by manually triggering the motor to ensure it’s dispensing food properly. Adjust the speed or steps if necessary.
You can also test the Wi-Fi functionality by connecting to the pet feeder remotely and checking if the web interface works as expected.
If you’ve installed sensors, such as a weight sensor, verify that the ESP32 correctly reads the data. You can use the serial monitor to view the sensor’s output and check if it matches your expectations.
Building an IoT-powered pet feeder with the ESP32 can be both a fun and practical project. By combining a stepper motor for precise food dispensing with the power of Wi-Fi, you can automate pet feeding and make your life easier. The addition of sensors, a web interface, and scheduling features ensures your pet is fed on time, every time.
This project is a great introduction to IoT and microcontroller programming and can be easily expanded with additional features like camera integration, more advanced scheduling, or even voice control. With the ESP32, the possibilities are endless, and your pet will thank you for the delicious meals that arrive right on schedule.
FAQs
1. How does the ESP32 control the pet feeder?
The ESP32 controls the pet feeder by sending signals to a motor driver (such as the L298N), which operates the stepper motor. The stepper motor rotates to release food through a dispensing mechanism. The ESP32 can also connect to Wi-Fi for remote control and can trigger the motor on a schedule or manually via a web interface.
For more details, visit: https://www.esp32.com
2. Can I control the pet feeder remotely?
Yes! The ESP32 connects to your Wi-Fi network, allowing you to control the pet feeder remotely. By creating a web interface or a mobile app, you can start and stop feeding cycles, set schedules, and monitor food levels.
Learn more about remote control options: https://makeradvisor.com
3. What if the Wi-Fi connection is lost?
If the Wi-Fi connection is lost, the ESP32 will attempt to reconnect. Depending on the setup, you may want to incorporate a fail-safe mechanism to ensure the pet still gets fed at scheduled times, even if Wi-Fi connectivity is temporarily unavailable.
Check out more on ESP32 Wi-Fi capabilities: https://randomnerdtutorials.com
4. How can I monitor the food level in the feeder?
To monitor food levels, you can use a weight sensor or camera integrated with the ESP32. The weight sensor will measure the amount of food left in the container, and you can set up notifications to alert you when the food is running low.
Find more information on weight sensors here: https://www.sparkfun.com
5. Can I add a camera to check on my pet while feeding?
Yes, you can add a camera (such as the ESP32-CAM module) to your pet feeder setup. This camera can be used to monitor your pet during feeding times or even for surveillance when you’re away from home. The ESP32-CAM can be connected to your Wi-Fi, enabling you to view the live feed remotely.
For details on using the ESP32-CAM: https://www.instructables.com
6. How accurate is the portion control for feeding?
The accuracy of the portion control depends on the motor and dispensing mechanism. You can calibrate the stepper motor to control the exact amount of food dispensed, ensuring precise portions every time.
Learn more about controlling stepper motors: https://www.adafruit.com
7. What kind of motor is best for this project?
For this project, stepper motors are ideal because they allow for precise control over the food dispensing. However, DC motors with a gear reduction system could also be used for simpler setups.
Explore motor options at: https://www.robotshop.com
8. Can I schedule feeding times for my pet?
Yes, the ESP32 can be programmed to schedule feeding times. You can use a simple web interface to set the time, or program the ESP32 to dispense food at specific intervals based on the pet’s feeding routine.
Read more on scheduling with ESP32: https://www.hackster.io
9. How do I connect the ESP32 to the Wi-Fi network?
To connect the ESP32 to your Wi-Fi network, you will need to use the Wi-Fi library in your Arduino IDE to configure the SSID (network name) and password. After uploading the code, your ESP32 will connect to the internet.
Find more on Wi-Fi configuration: https://www.arduino.cc
10. Can I control multiple feeders with one ESP32?
Yes, it’s possible to control multiple feeders with a single ESP32. You can set up a web interface to manage different feeders or use a relay system to control multiple motors at once.
Learn how to control multiple devices with ESP32: https://www.electronicwings.com
Did you find this helpful ? If you did , please share and stay tuned to your blog!!


