Are you struggling with overheating issues on your Raspberry Pi during intensive tasks? An easy solution to maintain optimal temperature is by using Raspberry Pi fan pins. Keeping your Pi cool ensures maximum performance, extends the lifespan of your device, and prevents sudden shutdowns. In this guide, we’ll walk you through the simple steps of using fan pins for cooling your Raspberry Pi effectively.
Why Cooling Matters for Raspberry Pi:
Raspberry Pi boards are designed for versatile projects, but heavy workloads such as gaming, running servers, or video streaming can cause the device to overheat. Overheating can throttle performance, leading to slower processing speeds and potential hardware damage. Cooling fans, when connected to the GPIO fan pins, can provide consistent airflow, keeping the temperature under control.
How to Install a Fan on Raspberry Pi Using Fan Pins:
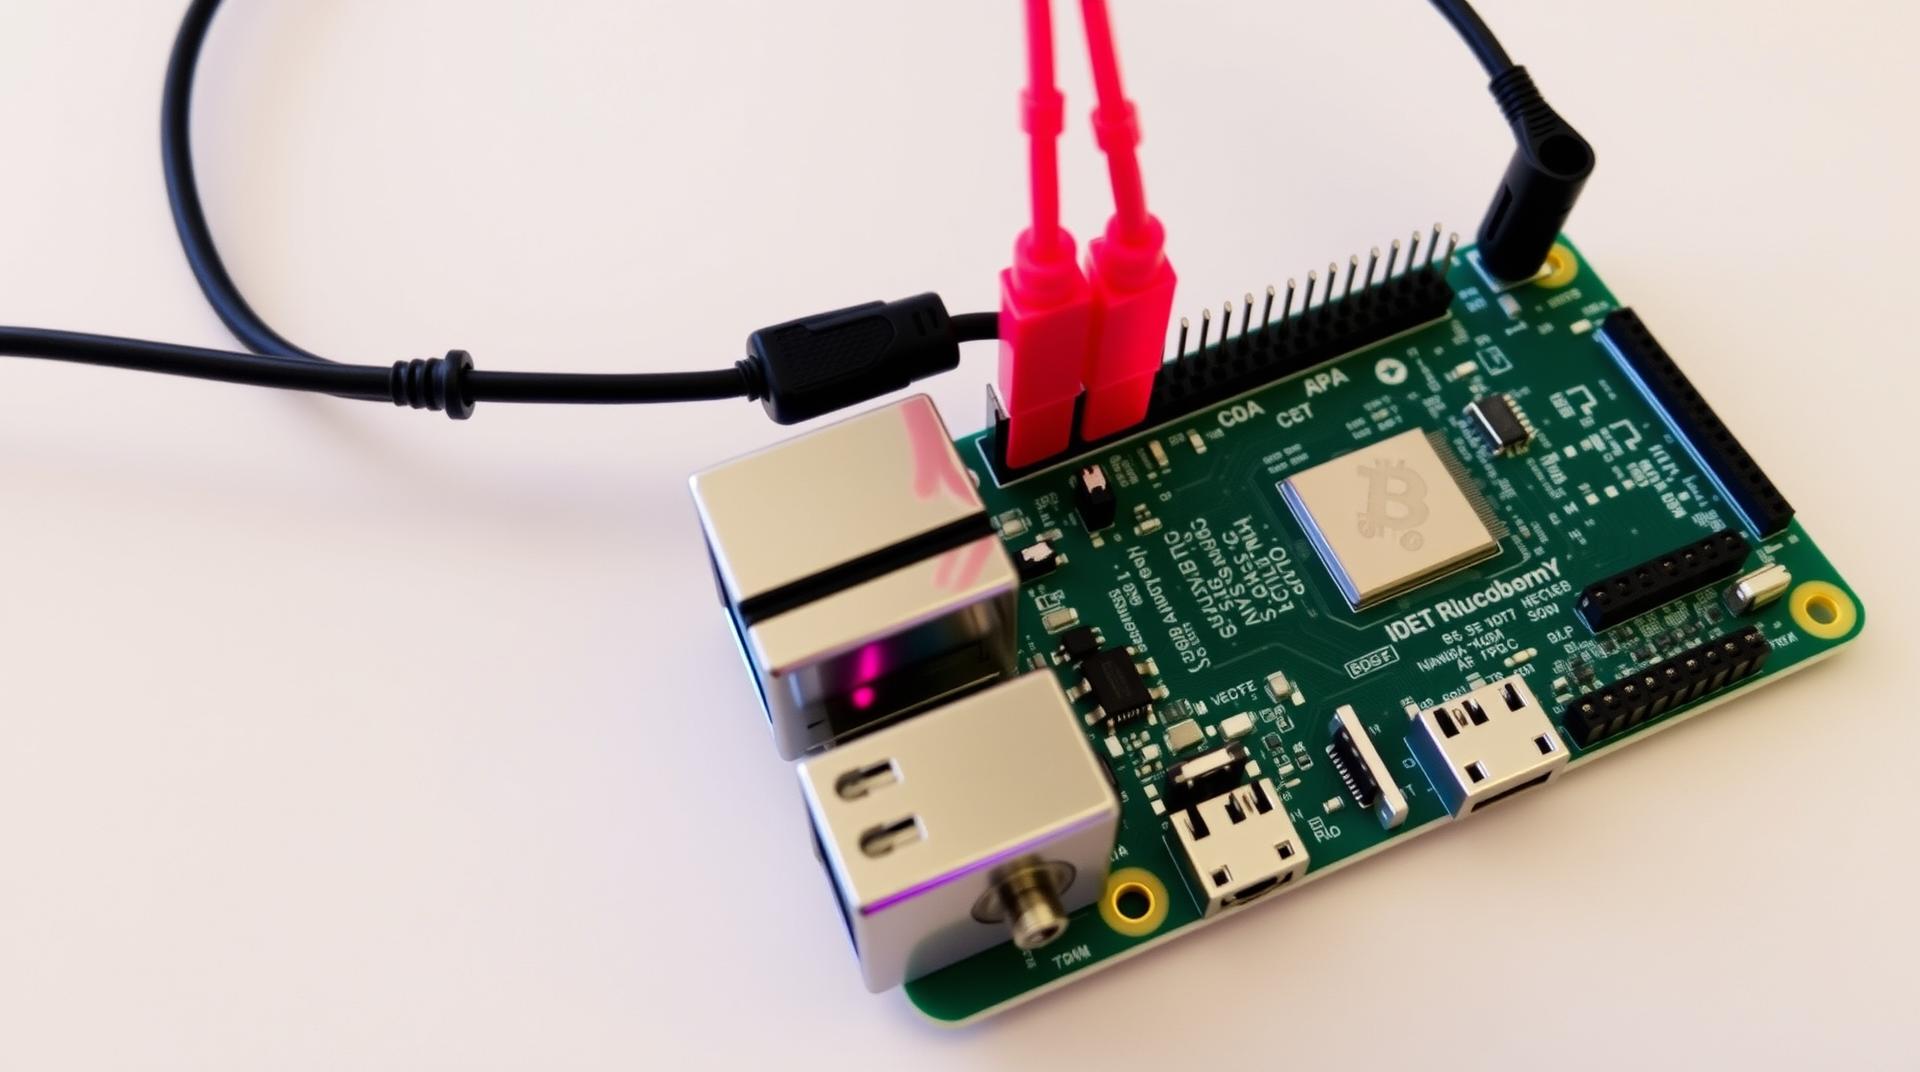
- Identify the Fan Pin Locations: Raspberry Pi boards have General Purpose Input/Output (GPIO) pins, which can be used for various purposes, including powering cooling fans. Typically, the 5V and Ground (GND) pins are used for fan power connections.
- Connect the Cooling Fan: Connect the red wire of the fan to the 5V pin (Pin 4) and the black wire to the Ground pin (Pin 6). This connection ensures that the fan runs continuously, keeping your Pi cool during high-performance tasks.
- Enable Fan Control (Optional): For more advanced users, you can install software to control when the fan turns on or off based on the CPU temperature. By using simple Python scripts or fan control services, you can automate this process.
- Secure the Fan: Mount the fan on top of your Raspberry Pi’s case or heat sink, ensuring that the airflow is directed towards the CPU and other components.
Key Benefits of Using Fan Pins:
- Consistent Cooling: Fans provide a stable cooling environment, preventing overheating and performance throttling.
- Cost-Effective Solution: Raspberry Pi fans are inexpensive and easy to install, making them an accessible solution for users of all skill levels.
- Extended Lifespan: Keeping your Raspberry Pi cool helps extend its lifespan by preventing long-term damage from overheating.
Conclusion: