Learn how to set up a Raspberry Pi 5 blockchain cluster with wired connections. This step-by-step guide covers installation, configuration, and connecting multiple Raspberry Pi units for decentralized blockchain applications.
Blockchain Cluster with Wired Connections
Blockchain clusters are becoming increasingly popular for decentralized computing and data validation, allowing multiple devices to work together to perform complex tasks. Setting up a Raspberry Pi 5 blockchain cluster can offer an affordable, energy-efficient solution to running full blockchain nodes or mining operations. In this tutorial, we will guide you step-by-step through setting up a Raspberry Pi 5 blockchain cluster with wired connections, ensuring that the devices are linked together for seamless communication and secure blockchain operation.
1. What You’ll Need
Before starting the setup, ensure you have the following components and tools to build your Raspberry Pi 5 blockchain cluster:
Hardware Requirements:
-
Multiple Raspberry Pi 5 units (At least two for a basic cluster, but more can be added as needed)
-
Ethernet cables for each Raspberry Pi (one for each unit)
-
Gigabit Ethernet switch for connecting the Raspberry Pi devices together
-
MicroSD cards (16GB or higher) for each Raspberry Pi, pre-loaded with Raspberry Pi OS
-
Power supplies for each Raspberry Pi 5
-
External SSD (optional) for faster storage (if using full blockchain nodes)
-
Heat sinks and cooling fans (recommended for sustained blockchain tasks)
-
A monitor, keyboard, and mouse (for the initial setup of the Pi units)
Software Requirements:
-
Raspberry Pi OS installed on each Pi (use Raspberry Pi Imager to load the OS onto your SD cards)
-
Blockchain software (Bitcoin Core for Bitcoin, Geth for Ethereum, or other blockchain software depending on your choice)
-
SSH enabled (for remote access to the Raspberry Pi units)
-
OpenSSH or Putty (for accessing each Raspberry Pi from another computer after setup)
2. Step-by-Step Guide to Setting Up the Raspberry Pi 5 Blockchain Cluster
Step 1: Install Raspberry Pi OS on Each Raspberry Pi 5
First, you’ll need to install Raspberry Pi OS on each Raspberry Pi in your cluster. Follow these steps:
-
Download Raspberry Pi OS from the official Raspberry Pi website.
-
Use Raspberry Pi Imager to load the OS onto the MicroSD cards for each Pi.
-
Insert the MicroSD cards into the Raspberry Pi units.
Next, configure the OS:
-
Boot each Raspberry Pi individually by connecting them to a monitor, keyboard, and mouse.
-
Follow the setup instructions to configure your region, keyboard layout, and Wi-Fi (if needed).
-
Enable SSH by navigating to Raspberry Pi Configuration -> Interfaces -> SSH, which will allow you to remotely access the devices later.
-
Optionally, set up static IP addresses for each Raspberry Pi on your local network to easily identify and communicate between the devices.
Update the OS by running the following commands in the terminal:
sql
Copy code
sudo apt update
sudo apt full-upgrade
Step 2: Wire the Raspberry Pi Units Together
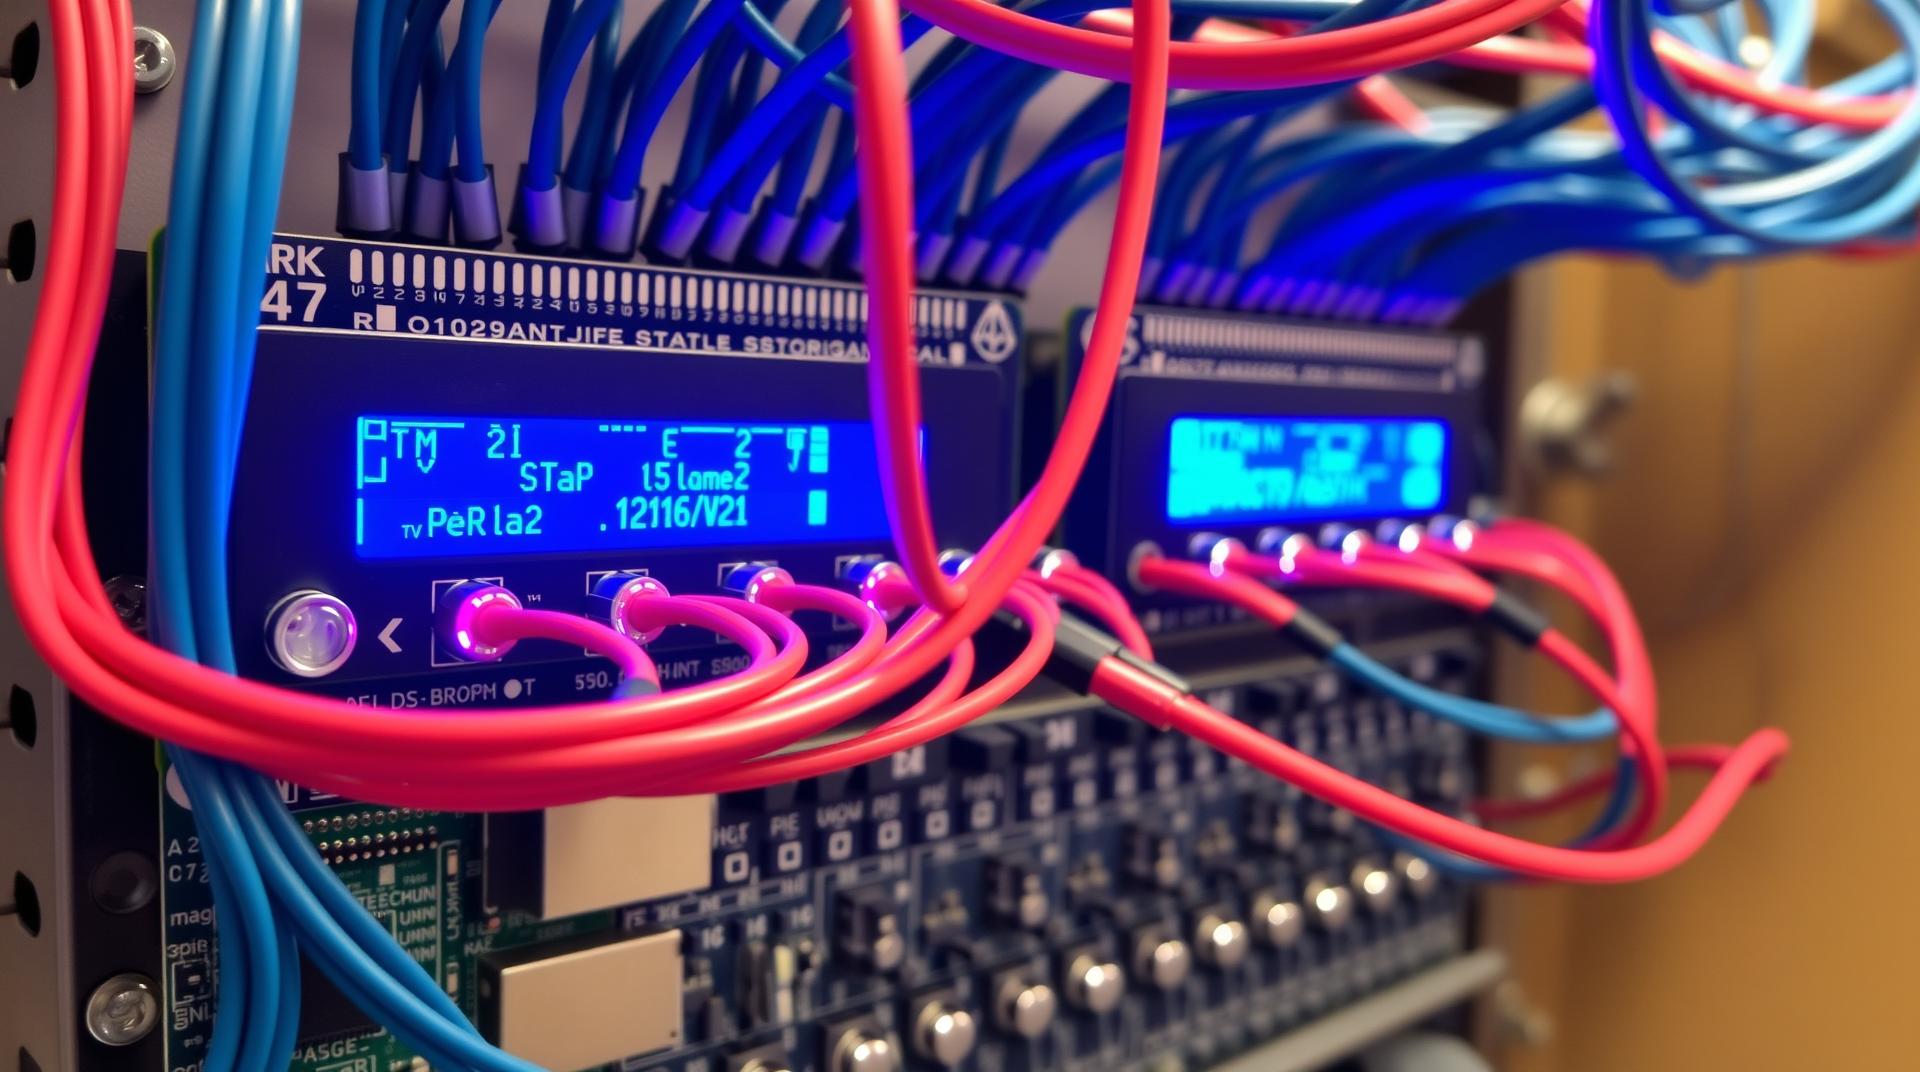
Once each Raspberry Pi has the OS installed, you can begin to connect the cluster using Ethernet.
-
Connect each Raspberry Pi 5 to the Gigabit Ethernet switch using Ethernet cables. This will allow the devices to communicate over the local network at high speeds.
-
Ensure that each Raspberry Pi has its power supply connected and powered on.
Step 3: Access the Raspberry Pi Devices Remotely
To simplify the setup process, use SSH to access each Raspberry Pi remotely from a laptop or desktop.
On your main computer, open an SSH client like OpenSSH or Putty and connect to the Raspberry Pi using the static IP address you set earlier. For example, if your Raspberry Pi’s IP is 192.168.1.100, run the following command:
css
Copy code
ssh pi@192.168.1.100
Enter the default username (pi) and password (raspberry), or the credentials you set during the initial setup.
Repeat this for each Raspberry Pi in your cluster, ensuring that you can remotely access all the devices via SSH.
Step 4: Install Blockchain Software
Now that you have remote access to each Raspberry Pi, it’s time to install the blockchain software that will form the backbone of your cluster. For this tutorial, we’ll use Bitcoin Core as an example, but the process is similar for other blockchains like Ethereum.
Install Bitcoin Core by running the following commands on each Raspberry Pi:
sql
Copy code
sudo apt install software-properties-common
sudo add-apt-repository ppa:bitcoin/bitcoin
sudo apt update
sudo apt install bitcoind
After installation, configure each node:
Create a configuration file at ~/.bitcoin/bitcoin.conf:
javascript
Copy code
sudo nano ~/.bitcoin/bitcoin.conf
Add the following lines to the configuration file:
makefile
Copy code
server=1
rpcuser=yourrpcusername
rpcpassword=yourstrongpassword
Replace yourrpcusername and yourstrongpassword with your chosen RPC credentials.
Start Bitcoin Core on each Raspberry Pi by running:
Copy code
bitcoind -daemon
This will start the Bitcoin node in the background, and the Raspberry Pi will begin downloading and syncing the blockchain.
Step 5: Configuring the Blockchain Cluster
Now that the blockchain nodes are up and running on each Raspberry Pi, you need to configure them to work together in a cluster.
Set up peer connections between the Raspberry Pi devices by editing the bitcoin.conf file on each Pi. Add the IP addresses of the other Pi units to the configuration:
makefile
Copy code
addnode=192.168.1.101
addnode=192.168.1.102
addnode=192.168.1.103
-
This will ensure that each Raspberry Pi node can communicate with the others and share blockchain data, creating a small decentralized cluster.
Monitor synchronization across the cluster by using the following command:
Copy code
bitcoin-cli getblockchaininfo
This will show the synchronization status of each node, ensuring that all the nodes in the cluster are in sync with the blockchain.
Step 6: Expand the Cluster (Optional)
To expand your cluster beyond the initial nodes, simply add more Raspberry Pi units following the same setup steps. You can scale up the number of nodes in the cluster as needed, allowing for better redundancy and decentralization.
3. Maintaining and Monitoring the Blockchain Cluster
1. Monitoring Node Performance
Use the following command to check the performance of your blockchain node:
Copy code
bitcoin-cli getnetworkinfo
-
This provides information about the node’s connection status, including how many peers it’s connected to, network bandwidth, and other key metrics.
2. Setting Up External Storage
If you plan to run full blockchain nodes (e.g., a Bitcoin full node), consider attaching external SSDs to each Raspberry Pi. You can do this by using the Pi 5’s USB 3.0 ports or PCIe interface for faster storage, enabling the node to handle the large blockchain ledger efficiently.
Mount the external SSD to the Raspberry Pi filesystem by running:
bash
Copy code
sudo mount /dev/sda1 /mnt/blockchain
Update the bitcoin.conf file to store blockchain data on the external SSD:
javascript
Copy code
datadir=/mnt/blockchain
3. Securing the Blockchain Nodes
Firewall Configuration: Use ufw (Uncomplicated Firewall) to secure your Raspberry Pi units by blocking unused ports and allowing only essential services:
bash
Copy code
sudo ufw allow 8333/tcp
sudo ufw enable
-
Data Backup: Regularly back up the blockchain data and configuration files stored on the Pi to an external drive or cloud storage to prevent data loss in case of hardware failure.
To sum it up, by following this detailed guide, you’ve now successfully set up a Raspberry Pi 5 blockchain cluster with wired connections. The cluster is designed to run full blockchain nodes, contributing to decentralized networks, verifying transactions, or even mining on a smaller scale. Raspberry Pi 5’s low cost, energy efficiency, and modular nature make it an excellent platform for experimenting with blockchain technology. As your needs grow, you can expand the cluster with additional Raspberry Pi units and further optimize the setup with external storage and security enhancements.

