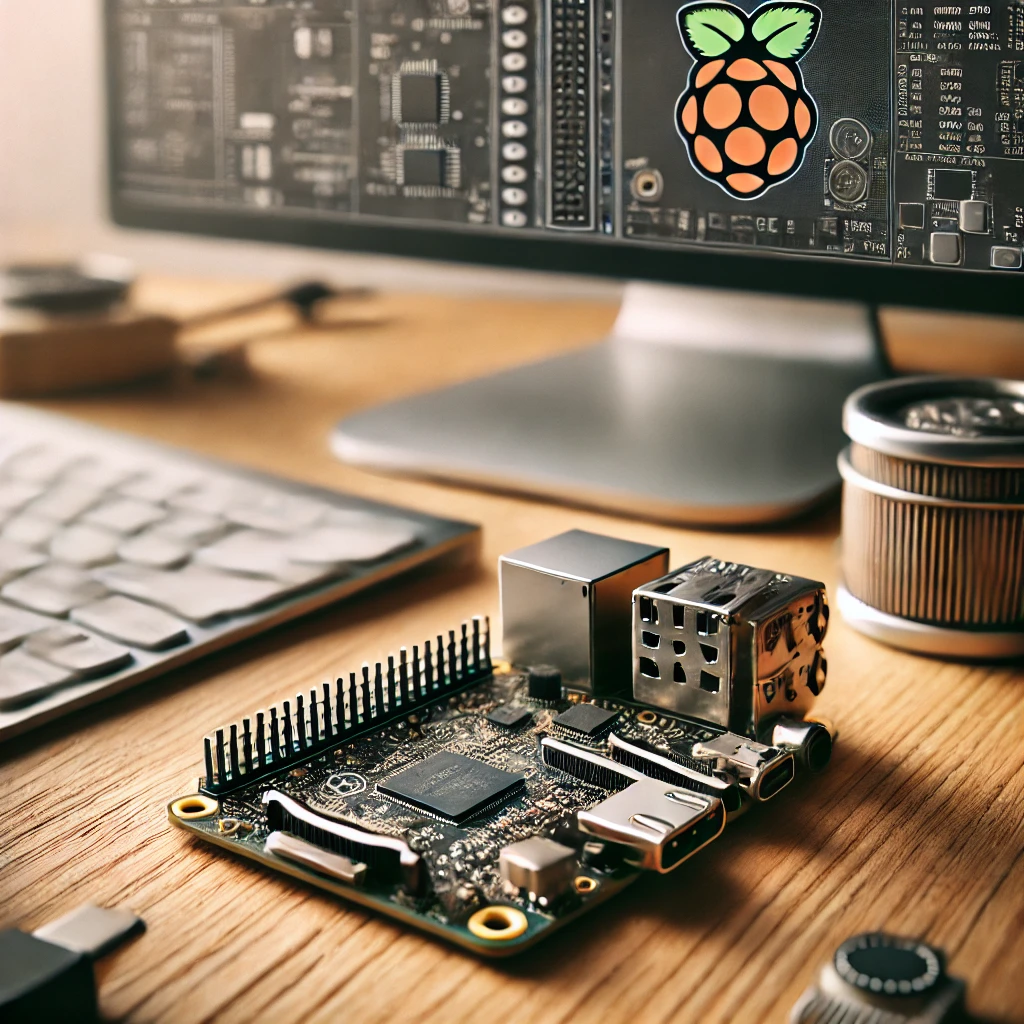
In today’s world, emails are a crucial form of communication. Whether for personal or business use, managing your emails efficiently is essential. With a Raspberry Pi, you can easily set up a cost-effective, lightweight mail server that gives you complete control over your email system. This guide will walk you through the steps of setting up a Raspberry Pi mail server, highlighting its key benefits and the tools you’ll need.
Why Choose Raspberry Pi for a Mail Server?
A Raspberry Pi mail server offers several advantages:
-
Cost-effective
Raspberry Pi is inexpensive, making it perfect for setting up a home or small business mail server. -
Customizable
You have full control over the email server’s configuration. -
Low power consumption
Raspberry Pi consumes less power than traditional servers, making it energy-efficient.
With these benefits, using Raspberry Pi to manage your emails is a smart and practical choice.
Tools You Will Need
Before diving into the setup, ensure you have the following:
- A Raspberry Pi (preferably Model 3 or 4)
- A reliable power source
- A microSD card (16GB or higher)
- A static IP address
- Mail server software like Postfix Mail Server and Dovecot Mail Server
Step-by-Step Guide to Setting Up a Raspberry Pi Mail Server
Step 1: Prepare the Raspberry Pi
First, ensure your Raspberry Pi’s operating system is up to date. Install Raspberry Pi OS and configure it with basic network settings.
Step 2: Install Mail Server Software
To set up the mail server, you’ll need to install Postfix, which handles sending emails, and Dovecot for receiving emails. Use the following commands to install the software:
sudo apt update
sudo apt install postfix dovecot-imapd dovecot-pop3d
Step 3: Configure Postfix
Once installed, configure Postfix as an SMTP server. This setup ensures that emails sent from your Raspberry Pi are properly routed. You’ll need to edit the Postfix configuration file located at /etc/postfix/main.cf.
Step 4: Configure Dovecot
Next, configure Dovecot to handle incoming emails. Edit the configuration files in /etc/dovecot/ to set up POP3 and IMAP protocols, allowing you to receive emails on your devices.
Step 5: Set Up DNS and Secure Your Server
For your mail server to function properly, you’ll need to configure DNS settings, including MX records. Additionally, securing the server with SSL/TLS encryption using Let’s Encrypt ensures your emails are protected.
Testing Your Raspberry Pi Mail Server
After setting up the software and DNS records, test your server by sending and receiving emails. You can use popular email clients like Thunderbird or Outlook to connect to your Raspberry Pi mail server via IMAP or POP3.


