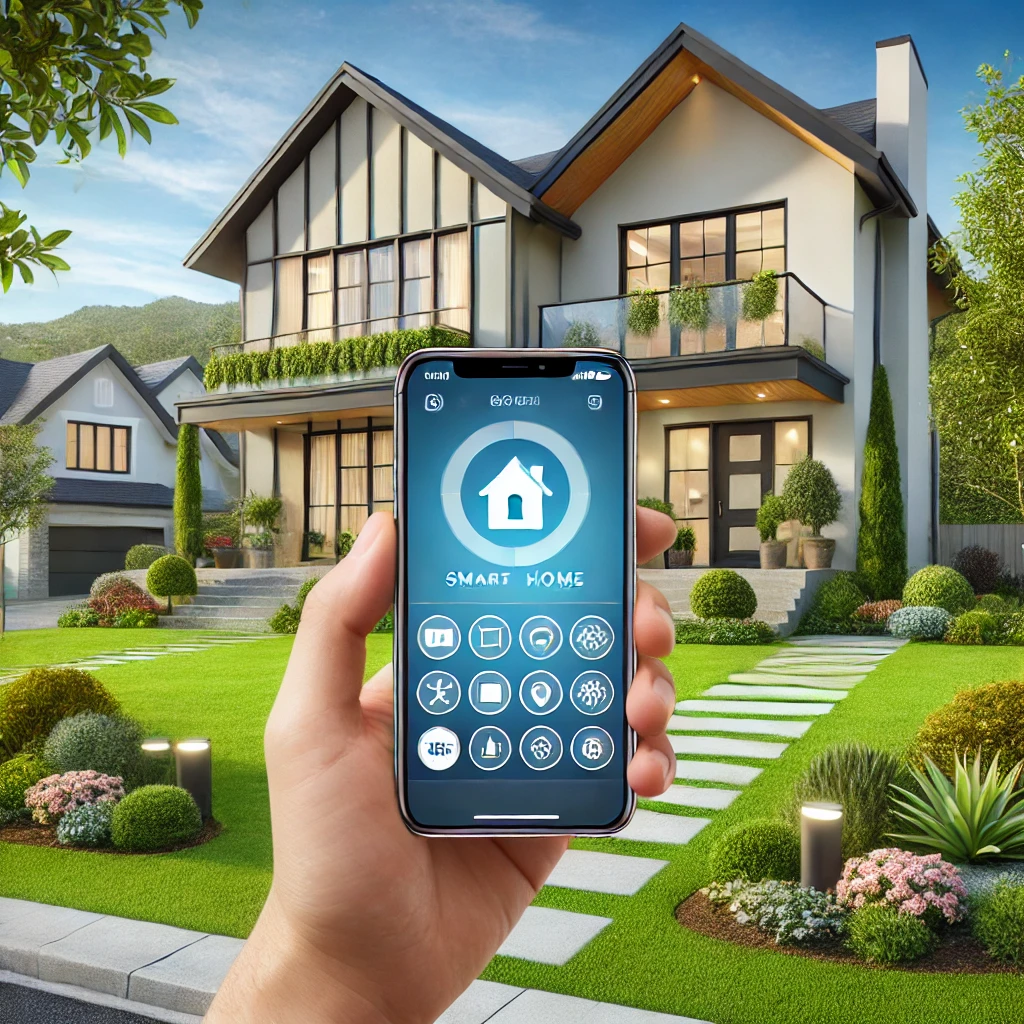
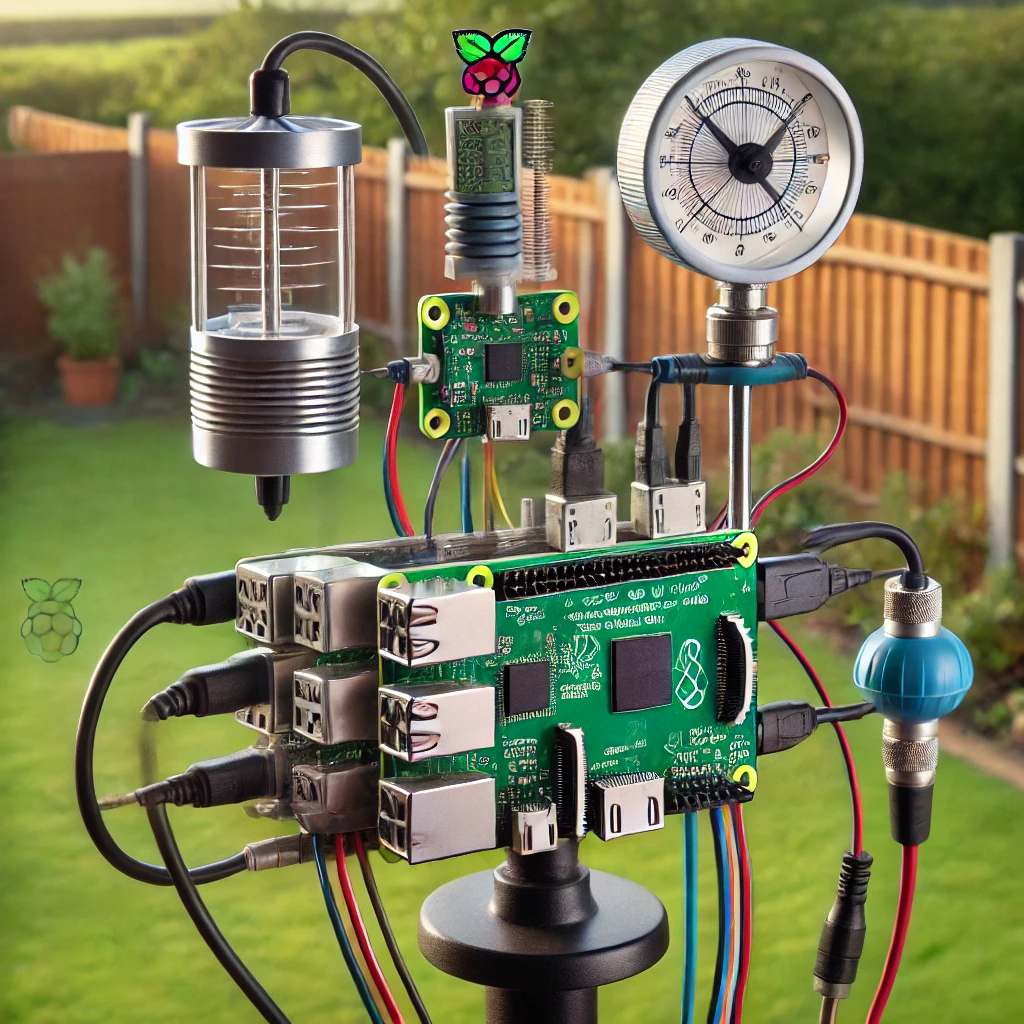
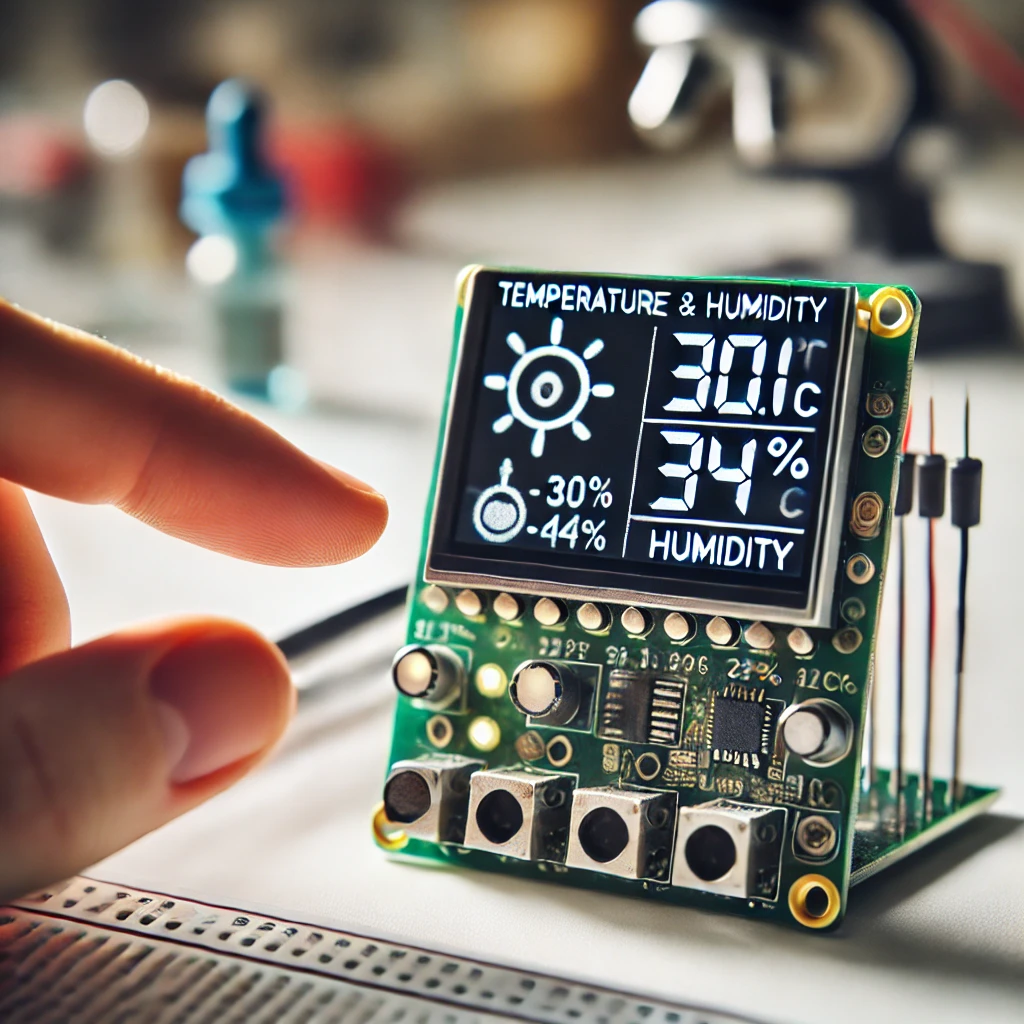
Transform your home with a DIY smart hub using Raspberry Pi 5. This guide details how to set up the Pi as a central controller for smart devices, covering software installation, device integration, voice assistant compatibility, and automation settings. Discover the versatility of Raspberry Pi in creating a customized, cost-effective smart home hub.
Setting Up a Smart Home Hub
The smart home revolution has made controlling lights, appliances, and security systems as easy as a voice command or a tap on your smartphone. However, many commercial smart home systems are costly and may limit customization. With the Raspberry Pi 5, you can create a personalized smart home hub that integrates with various devices, giving you complete control over your environment without a hefty price tag.
This guide provides step-by-step instructions on setting up a smart home hub with the Raspberry Pi 5. You’ll learn how to install the necessary software, integrate different smart devices, set up automation, and even incorporate voice assistants. By the end, you’ll have a powerful, versatile smart hub tailored to your home.
Why Choose Raspberry Pi 5 for a Smart Home Hub?
The Raspberry Pi 5’s advanced features make it an ideal choice for building a smart home hub:
- Improved Processing Power: The quad-core processor allows it to manage multiple devices and automation simultaneously.
- Connectivity Options: With both USB 3.0 and GPIO pins, it can interface with a variety of devices and sensors.
- Affordability and Flexibility: A fraction of the cost of commercial hubs, the Pi 5 is fully customizable to meet your specific smart home needs.
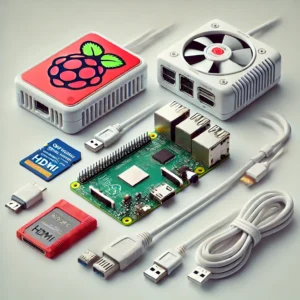
Essential Components for Your Smart Home Hub
- Raspberry Pi 5: The main device for your hub.
- MicroSD Card (32GB or higher): Stores the operating system and smart home software.
- Power Supply (USB-C): Provides stable power to the Raspberry Pi.
- Smart Devices: Examples include smart lights, switches, thermostats, and security cameras.
- Home Automation Software (Home Assistant): Acts as the primary platform for managing devices and automation.
- Optional Sensors and Relays: Sensors like motion detectors and temperature sensors expand the capabilities of your hub.
Step 1: Setting Up Raspberry Pi OS and Installing Home Assistant
- Download and Install Raspberry Pi OS:
- Visit the Raspberry Pi website to download Raspberry Pi OS.
- Use Balena Etcher to flash the OS to a microSD card.
- Insert the card into your Raspberry Pi, connect it to a monitor and keyboard, and power it on.
- Update and Upgrade the System:
- Open the terminal and run the following commands to update the OS:
bash
Copy code
sudo apt update
sudo apt upgrade
- Install Home Assistant:
- Home Assistant is one of the most versatile platforms for DIY smart homes.
bash
Copy code
curl -Lo installer.sh https://raw.githubusercontent.com/home-assistant/supervised-installer/main/installer.sh
sudo bash installer.sh
- Access Home Assistant:
- After installation, access Home Assistant by going to http://homeassistant.local:8123 in your browser. Complete the initial setup by creating an account and configuring location settings.
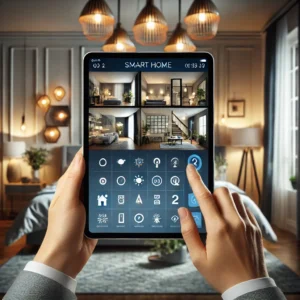
Step 2: Connecting and Configuring Smart Devices
Home Assistant supports a wide range of devices, making it easy to integrate smart lights, thermostats, cameras, and more.
- Add Devices to Home Assistant:
- Go to Settings > Devices & Services in Home Assistant.
- Select Add Integration to add compatible devices, such as Philips Hue lights or Nest thermostats.
- Each device may have specific setup instructions, such as pairing or entering an API key.
- Organize Devices by Room:
- Group devices by room or location for easier control. Navigate to Configuration > Areas and assign each device to its respective room.
- Test Device Functionality:
- Test each device by toggling it on or off or adjusting settings like brightness or temperature through the Home Assistant interface.
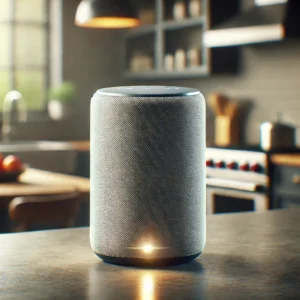
Step 3: Setting Up Voice Assistants (Google Assistant, Alexa)
1. Google Assistant Integration
Google Assistant is one of the most popular voice-controlled systems, and integrating it with Home Assistant allows you to control your smart devices with voice commands. Here’s how to set it up:
Step 1: Add Google Assistant to Home Assistant
- Open Home Assistant: Go to the Home Assistant web interface on your device.
- Navigate to Integrations: From the sidebar, go to
Settings>Integrations. - Search for Google Assistant: In the integrations page, search for “Google Assistant.”
- Select Google Assistant Integration: Click on it and follow the instructions to configure it. You may need to enable certain APIs and services within the Google Cloud Console (this will be detailed in the instructions).
Step 2: Link Your Google Account
- Sign in to Google: You will be prompted to link your Google account with Home Assistant. Click the link to sign in to your Google account and grant permission to control your devices.
- Grant Permissions: Follow the prompts to give Home Assistant access to control your devices. You’ll need to approve permissions related to Google Home and devices.
- Enable Voice Control: After linking the account, voice control will be enabled for compatible devices in Home Assistant. You can now use Google Assistant to control lights, thermostats, cameras, and more.
Step 3: Test Google Assistant
Once the integration is complete, you can test the voice control by saying something like:
- “Hey Google, turn on the living room lights.”
- “Hey Google, set the thermostat to 72 degrees.”
- “Hey Google, lock the front door.”
Google Assistant will respond by executing the command and providing a confirmation.
2. Amazon Alexa Integration
Amazon Alexa is another powerful voice assistant, and integrating it into your smart home provides another layer of control. Here’s how to set it up:
Step 1: Add Alexa to Home Assistant
- Open Home Assistant: As with Google Assistant, go to the Home Assistant web interface on your device.
- Navigate to Integrations: Go to
Settings>Integrations. - Search for Alexa: In the integrations page, search for “Amazon Alexa.”
- Select the Alexa Integration: Click on the integration and follow the configuration steps. This typically involves enabling certain skills and configuring cloud services like Alexa Smart Home in the Amazon Developer Console.
Step 2: Link Your Amazon Account
- Sign in to Amazon: You will be prompted to log in to your Amazon account to link it with Home Assistant.
- Allow Permissions: Provide the necessary permissions for Alexa to access and control the devices linked to Home Assistant.
- Confirm Devices: During the integration process, you’ll need to confirm which devices are available to be controlled by Alexa. Make sure to select the relevant ones, like lights, locks, and thermostats.
Step 3: Test Alexa
Once you’ve successfully integrated Alexa with Home Assistant, test it by issuing voice commands such as:
- “Alexa, turn off the bedroom lights.”
- “Alexa, set the thermostat to 70 degrees.”
- “Alexa, lock the front door.”
You can now control your devices through Alexa using voice commands.
3. Custom Commands and Routines
Both Google Assistant and Alexa allow you to create custom commands and routines, which are useful for automating specific tasks. These custom commands provide a way to set up personalized actions, like turning off all lights and locking doors before bed, or turning on the coffee machine and lights in the morning. Here’s how to set up custom commands and routines for both assistants:
Google Assistant: Custom Commands and Routines
- Create a Routine: Open the Google Home app on your smartphone.
- Go to Routines: Tap on your profile icon in the top right corner and go to
Assistant settings>Routines. - Set Up a Routine: Tap on
Add a Routineto create a new one. You’ll be prompted to choose a trigger phrase, such as “Goodnight.” - Choose Actions: After setting the trigger phrase, choose the actions you want to occur. For example, you can set it to turn off all lights, lock the door, and adjust the thermostat.
- Save the Routine: Once you’ve set the actions, save the routine. Now, whenever you say “Goodnight” to Google Assistant, it will perform all of the selected actions automatically.
Amazon Alexa: Custom Commands and Routines
- Create a Routine: Open the Alexa app on your smartphone.
- Go to Routines: Tap on the menu icon (three lines) in the top left corner, then select
Routinesfrom the list. - Set Up a New Routine: Tap the
+icon to create a new routine. - Choose a Trigger: Select a voice command or a specific time (e.g., “Goodnight” or a set time like 10:00 PM) as the trigger.
- Add Actions: Choose the actions you want Alexa to perform, such as turning off lights, locking doors, adjusting the thermostat, or playing music.
- Save the Routine: After configuring the actions, save the routine. The routine will now run whenever you say the trigger phrase, like “Alexa, goodnight.”
4. Advanced Customizations (Optional)
Both Google Assistant and Alexa support advanced customizations for users who want even more control over their smart homes.
- Google Assistant:
- Custom Commands with IFTTT: You can create more complex voice commands using IFTTT (If This, Then That). This allows you to create triggers that combine multiple services or devices.
- Home Control Groups: You can group devices together (e.g., “Living Room Lights”) and control them all at once with a single voice command.
- Alexa:
- Alexa Skills: There are thousands of third-party skills available for Alexa, enabling you to integrate more smart devices and services into your routines.
- Multi-Room Audio: Alexa allows you to synchronize audio across multiple devices in different rooms, perfect for playing music or podcasts throughout your house.
Step 4: Creating Automation for a Seamless Smart Home
Automations enable your smart home to perform actions automatically based on specific conditions or triggers.
- Example Automation – Automatic Lighting:
- Go to Settings > Automations and create a new automation.
- Set a Trigger like Sunset to automatically turn on lights in the evening.
- Define an Action to turn on specific lights in certain rooms.
- Advanced Automation – Security Alerts:
- Create an automation triggered by a Motion Sensor.
- Set a Condition to activate only when the house is in Away Mode.
- Define an Action to send a notification to your smartphone and turn on cameras if motion is detected.
- Multi-Condition Automation:
- Combine multiple conditions, such as activating the HVAC system when both temperature and humidity exceed a certain threshold.
Step 5: Adding Sensors and Relays for Enhanced Control
Incorporating additional sensors and relays can broaden your smart home’s functionality, making it more responsive and adaptable.
- Temperature and Humidity Monitoring:
- Connect a DHT22 sensor to monitor room conditions. In Home Assistant, configure it to turn on fans or humidifiers automatically based on preset thresholds.
- Door and Window Sensors:
- Set up sensors on doors or windows to send alerts when opened unexpectedly or to adjust heating when a window is open.
- Relay-Controlled Appliances:
- Connect non-smart devices, such as fans or coffee makers, to relays, allowing Home Assistant to control them as if they were smart devices.
Step 6: Configuring Remote Access to Control Your Smart Home Anywhere
Remote access lets you control your smart home even when you’re not at home, giving you peace of mind and convenience.
- Home Assistant Cloud:
- Home Assistant offers a cloud service that simplifies remote access for a small subscription fee. Sign up under Settings > Home Assistant Cloud.
- Port Forwarding:
- For a free alternative, enable port forwarding on your router to access Home Assistant from outside your local network.
- Note: Port forwarding may be less secure, so consider using strong passwords or VPN access.
- Mobile App for On-the-Go Control:
- Install the Home Assistant app on your smartphone to monitor and control devices, receive alerts, and manage automations remotely.
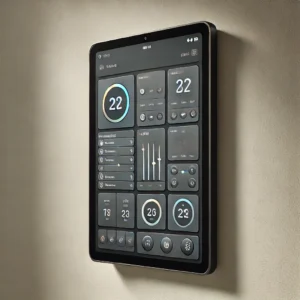
Step 7: Managing and Organizing Your Smart Home Dashboard
A customized dashboard can make controlling devices and monitoring your home much easier.
- Customize the Dashboard Layout:
- Go to Settings > Dashboards and use the drag-and-drop interface to arrange devices, sensors, and automation.
- Create Room-Specific Views:
- Create separate views for each room to make navigation simpler. This way, you can view only relevant devices for each area.
- Add widgets and Shortcuts:
- Add quick-access widgets for frequently used devices or automation, such as a “Lights Off” button for the entire home.
- Set Up Notifications:
- Configure alerts for important events, like an open door or high humidity, so you’re always informed of your home’s status.
Building a smart home hub with the Raspberry Pi 5 allows you to create a fully customizable, cost-effective automation system. From controlling lights and thermostats to integrating voice assistants and setting up automation, this guide has provided the essentials to transform your home. With Home Assistant and the Raspberry Pi 5, you can expand and personalize your smart hub to meet your unique needs, creating a seamless, automated living environment that’s always under your control.
Google’s official documentation provides comprehensive guides on how to integrate Google Assistant with various services, create custom actions, and set up routines. It’s ideal for users who want to understand the technical aspects and expand their voice assistant integration. https://developers.google.com/assistant
Please check out our other website, where you can learn how to 3D print some of the things needed for this project. https://master3dp.com/

