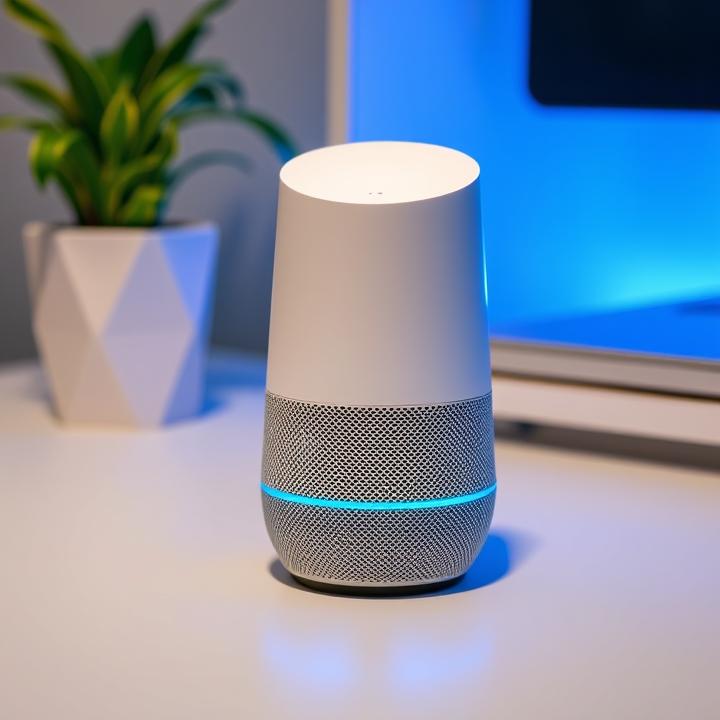
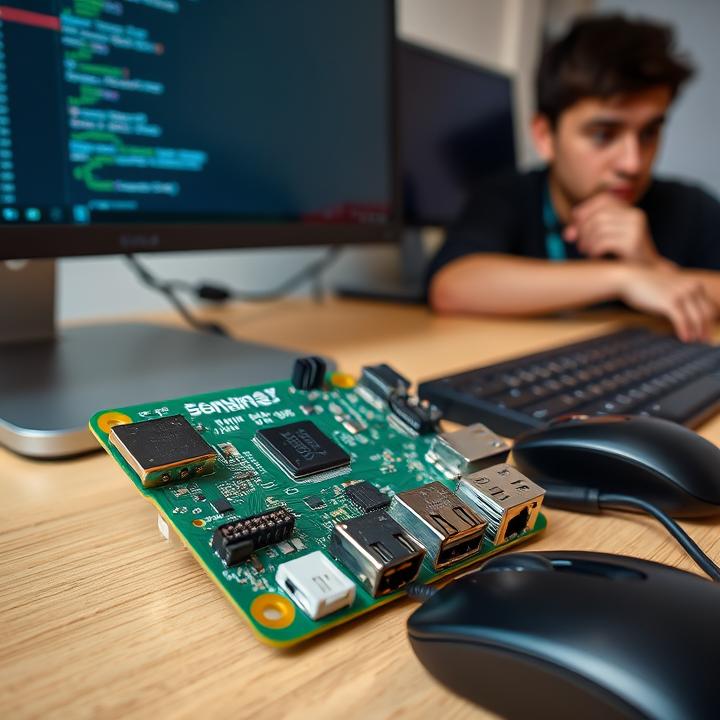
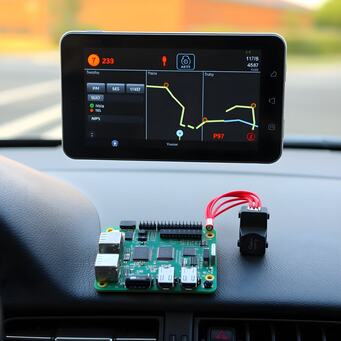
Let’s dive into turning your Banana Pi into a fully functional voice assistant, complete with speech recognition, natural language processing, and voice commands.
Transforming your Banana Pi into a functional voice assistant is a rewarding project that combines coding, hardware, and artificial intelligence. In this guide, we’ll walk through the process step-by-step, turning your Banana Pi into a smart assistant that can perform various tasks, from setting reminders to controlling smart devices.
Why Build Your Voice Assistant?
Voice assistants have revolutionized how we interact with technology. Devices like Amazon Alexa and Google Assistant have set the standard, but building your voice assistant provides customization, privacy, and learning opportunities. The Banana Pi, with its powerful processing capabilities and GPIO pins, offers an affordable platform for creating a personalized voice assistant tailored to your needs.
Step 1: Gather the Necessary Components
To build your Banana Pi voice assistant, ensure you have the following components:
- Banana Pi Board: Choose a compatible model like Banana Pi M2 or M5.
- Microphone: A USB microphone or compatible audio input device.
- Speaker: USB or 3.5mm output for audio responses.
- SD Card: At least 16GB with an operating system installed.
- Power Supply: A reliable 5V power source.
- Wi-Fi Dongle or Ethernet Cable: For internet connectivity.
- Additional Accessories: GPIO cables and sensors (optional for advanced projects).
Tip: Ensure all components are compatible with your Banana Pi model to avoid compatibility issues.
Step 2: Install the Operating System
1. Download the OS
Visit the Banana Pi official website or a trusted source to download a lightweight Linux distribution like Raspbian or Ubuntu Mate.
2. Flash the OS
- Use tools like Balena Etcher or Rufus to flash the OS image onto the SD card.
- Insert the SD card into the Banana Pi and connect peripherals like the monitor and keyboard.
3. Boot and Update
- Power up the Banana Pi and boot into the operating system.
- Update the system with:
Step 3: Install Voice Recognition Software
1. Choose a Framework
Select a voice assistant framework such as:
- PocketSphinx: Lightweight, ideal for small-scale projects.
- Google Speech-to-Text API: For more advanced, cloud-based recognition.
- Mycroft: An open-source voice assistant platform.
2. Install the Framework
For example, to install Mycroft:
Follow the on-screen instructions to configure Mycroft on your Banana Pi.
Step 4: Configure the Hardware
1. Set Up the Microphone
- Connect your USB microphone.
- Test the device using:
- Adjust configurations in the ALSA sound system using:
2. Configure the Speaker
- Connect the speaker and test audio playback with:
- Adjust volume settings if needed.
Step 5: Create Voice Commands
Define the tasks your assistant will perform. For instance:
- Basic Commands: “What’s the weather?” or “Set a timer for 10 minutes.”
- Smart Home Control: “Turn on the living room lights.”
Custom Script Example
Create a Python script for simple tasks like getting the time:
Integrate this script into the voice assistant framework for execution on command.
Step 6: Add Cloud Integration
For advanced functionalities, integrate cloud-based APIs:
- Weather API: For weather updates.
- IFTTT: To connect smart devices.
- Google Calendar API: For managing schedules.
Example for fetching weather data:
Step 7: Test and Troubleshoot
Testing and troubleshooting are essential steps to ensure your Banana Pi voice assistant works flawlessly. This phase involves evaluating all the components, software, and features for seamless operation. A thorough testing process also helps identify and resolve issues early.
Testing the Microphone and Audio Setup
Begin by testing the microphone and speaker setup to ensure clear audio input and output:
-
Microphone Test:
- Use the
arecordcommand to test the microphone: - Listen to the recorded file for clarity. If the sound is distorted, adjust the microphone placement and configuration.
- Use the
-
Speaker Test:
- Play a test sound using the following command:
- Adjust the volume using
alsamixerif the sound is too low or inaudible.
Evaluating Voice Recognition Accuracy
- Run the voice assistant and test various voice commands.
- Speak naturally and clearly while testing for real-world scenarios such as background noise.
- Evaluate the accuracy of speech recognition. If misinterpretations occur, consider enhancing the training data or using higher-quality microphones.
Debugging Scripts and Frameworks
Debugging ensures your scripts and frameworks function correctly:
- Check Logs: Most frameworks, like Mycroft, provide log files. Review these logs for errors. Use the command:
- Common Issues:
- Command not recognized: Ensure the script or API endpoint for the command is correctly configured.
- No response: Check internet connectivity if using cloud APIs or verify the speaker’s setup.
Testing Smart Features
For advanced features like cloud APIs or smart home integrations:
- Test each integration individually.
- Verify API credentials are correct and active.
- Simulate edge cases, such as offline operation or incorrect inputs, to see how the system handles failures.
User Feedback
If your voice assistant is for multiple users, involve them in testing. Collect feedback on usability, speed, and clarity of responses to improve the system’s performance.
Troubleshooting Tips
Here are some common issues and their solutions:
-
Microphone Not Detected:
- Verify the USB port connection.
- Check microphone compatibility with Banana Pi.
-
Speech Not Recognized:
- Ensure you have configured the correct language model.
- Reduce environmental noise.
-
API Errors:
- Recheck API keys and endpoint URLs.
- Ensure the Banana Pi has a stable internet connection.
-
Slow Response Times:
- Optimize the scripts to reduce processing overhead.
- Use lightweight frameworks for better performance.
Re-testing After Fixes
After resolving issues, retest all functionalities to ensure everything works smoothly. This iterative process ensures a robust and reliable voice assistant that meets user expectations.

Step 8: Enhance and Expand
Once you have a functional voice assistant, it’s time to enhance its capabilities and make it more versatile. Expanding your voice assistant opens up a world of possibilities, from improving user experience to adding advanced features for specific needs.
1. Add More Skills
Your voice assistant can become truly smart by integrating additional skills and functions. Consider the following ideas to improve its utility:
Control Smart Devices
- Add support for smart plugs, bulbs, or thermostats by integrating protocols like Zigbee, Z-Wave, or MQTT.
- Example: Configure the assistant to recognize commands like “Dim the living room lights to 50%.”
Search the Web
- Enable your assistant to answer general knowledge questions by integrating APIs like Wikipedia or Wolfram Alpha.
- Example: Use a Python script to fetch data from the Wikipedia API and read it aloud.
Play Media
- Add functionality to control media playback. For example, let the assistant play your favorite Spotify playlist or stream podcasts on command.
Personalized Responses
- Program your assistant to recognize individual users through voice or profile IDs. Provide tailored responses based on preferences.
Task Automation
- Add capabilities like setting multiple alarms, creating shopping lists, or scheduling tasks. Integrate with productivity tools like Google Calendar or Todoist.
2. Implement Wake Words
To make your assistant hands-free, enable it to activate upon hearing a wake word like “Hey Banana” or “Assistant.”
Using Wake Word Detection Software
- Install and configure wake word libraries like Snowboy or Mycroft Precise.
- Train the model with your desired wake word for optimal accuracy.
Testing and Fine-Tuning
- Test the responsiveness of your assistant in various environments, from quiet rooms to noisy spaces.
- Adjust sensitivity settings to minimize false activations.
3. Multi-Language Support
Expand the reach of your voice assistant by adding support for multiple languages.
Integrating Language APIs
- Use Google’s Translation API or multilingual speech recognition tools.
- Example: Allow your assistant to switch between English, Spanish, and French based on the user’s preference.
Custom Responses
- Program the assistant to reply in the selected language. For example:
- Command: “¿Qué tiempo hace hoy?”
- Response: “Hoy hace 20 grados y está soleado.”
4. Enhance User Experience
Make your voice assistant more user-friendly and interactive.
Natural Language Processing (NLP)
- Use advanced NLP frameworks like Rasa or Dialogflow to improve the understanding of user commands.
- Example: Allow the assistant to handle variations of the same command, such as “Set an alarm for 7 AM” and “Wake me up at 7 in the morning.”
Interactive Voice Feedback
- Implement Text-to-Speech (TTS) libraries like Google TTS or pyttsx3 for more natural responses.
Custom Voices
- Enhance the personality of your assistant by allowing users to choose between different voice options or accents.
5. Add Offline Capabilities
Not all users have consistent internet access. Offline functionality ensures your assistant remains functional in such cases.
Use Offline Frameworks
- Configure PocketSphinx for offline voice recognition.
- Store frequently used responses locally to reduce dependency on external APIs.
6. Build a Companion App
Develop a companion app for your smartphone to extend the capabilities of your voice assistant.
Remote Access
- Enable users to send commands to the assistant from their phones when away from home.
- Example: “Turn off the lights in the living room” while commuting to work.
Custom Settings
- Allow users to modify preferences, such as wake word sensitivity, language, or device integrations, through the app.
FAQs
1. Why should I use Banana Pi for a voice assistant?
Banana Pi is cost-effective, versatile, and supports various open-source tools for building voice assistants. Unlike commercial devices, it offers full customization, data privacy, and control over functionalities. It’s ideal for enthusiasts seeking an affordable yet powerful solution for AI projects.
2. Can my Banana Pi voice assistant handle multiple users?
Yes, you can program it to recognize individual users using voice recognition or unique profiles. By integrating frameworks like Google’s Dialogflow, you can create personalized responses for each user, enhancing the assistant’s functionality.
3. What is the best software for building a voice assistant?
The choice depends on your needs. Mycroft is excellent for beginners due to its open-source nature and extensive community support. PocketSphinx is ideal for offline use, while Google Speech-to-Text offers advanced capabilities for cloud-based systems.
4. How do I add smart home controls to the assistant?
Integrate IoT protocols like MQTT or APIs like IFTTT. Use GPIO pins on the Banana Pi to connect with relays for physical devices, or rely on cloud platforms to manage connected devices like bulbs, thermostats, and cameras.
5. Is programming knowledge required for this project?
Yes, basic programming knowledge, especially in Python, is necessary. You’ll need to write scripts to handle commands, integrate APIs, and customize functionalities.
6. How do I ensure data privacy?
Use local processing frameworks like PocketSphinx to avoid sending voice data to external servers. Encrypt API keys and restrict internet access for sensitive commands to secure your system.
7. Can my assistant function offline?
Yes, offline frameworks like PocketSphinx and locally stored TTS libraries can ensure basic functionality without internet access. However, advanced features requiring cloud APIs will be unavailable.
8. How can I train the assistant to recognize custom wake words?
Use tools like Mycroft Precise or Snowboy. Record several samples of the wake word in different environments and train the model for better accuracy.
9. What hardware accessories can enhance my assistant?
A high-quality microphone improves voice recognition, while a good speaker enhances audio output. Additional sensors and GPIO-compatible devices can expand capabilities like gesture control or environmental monitoring.
10. Can I build a companion mobile app?
Yes, creating a mobile app allows users to send remote commands, adjust settings, and receive notifications. Use cross-platform tools like Flutter or React Native for development.
11. How do I troubleshoot voice recognition issues?
Check microphone sensitivity, reduce background noise, and optimize software settings. If using cloud-based APIs, verify internet connectivity and ensure API keys are active.
12. Is Banana Pi energy-efficient for continuous use?
Yes, Banana Pi consumes low power compared to traditional PCs, making it suitable for always-on applications like voice assistants. Using energy-efficient peripherals further reduces power consumption.
13. What additional skills can I program?
You can program skills like playing music, controlling IoT devices, managing calendars, sending emails, or even running specific scripts based on user-defined triggers.
14. Can the assistant support multiple languages?
Yes, most frameworks like Mycroft and Google APIs support multiple languages. You can program commands and responses in different languages, making the assistant multilingual.
15. How can I keep improving the assistant?
Regularly update the software, add new skills, improve voice recognition accuracy, and experiment with advanced AI models like GPT for conversational abilities. Engage with the open-source community to discover and integrate the latest features.
Feel free to check out our other website at http://master3dp.com/ where you can learn to 3D print anything needed for a project.

