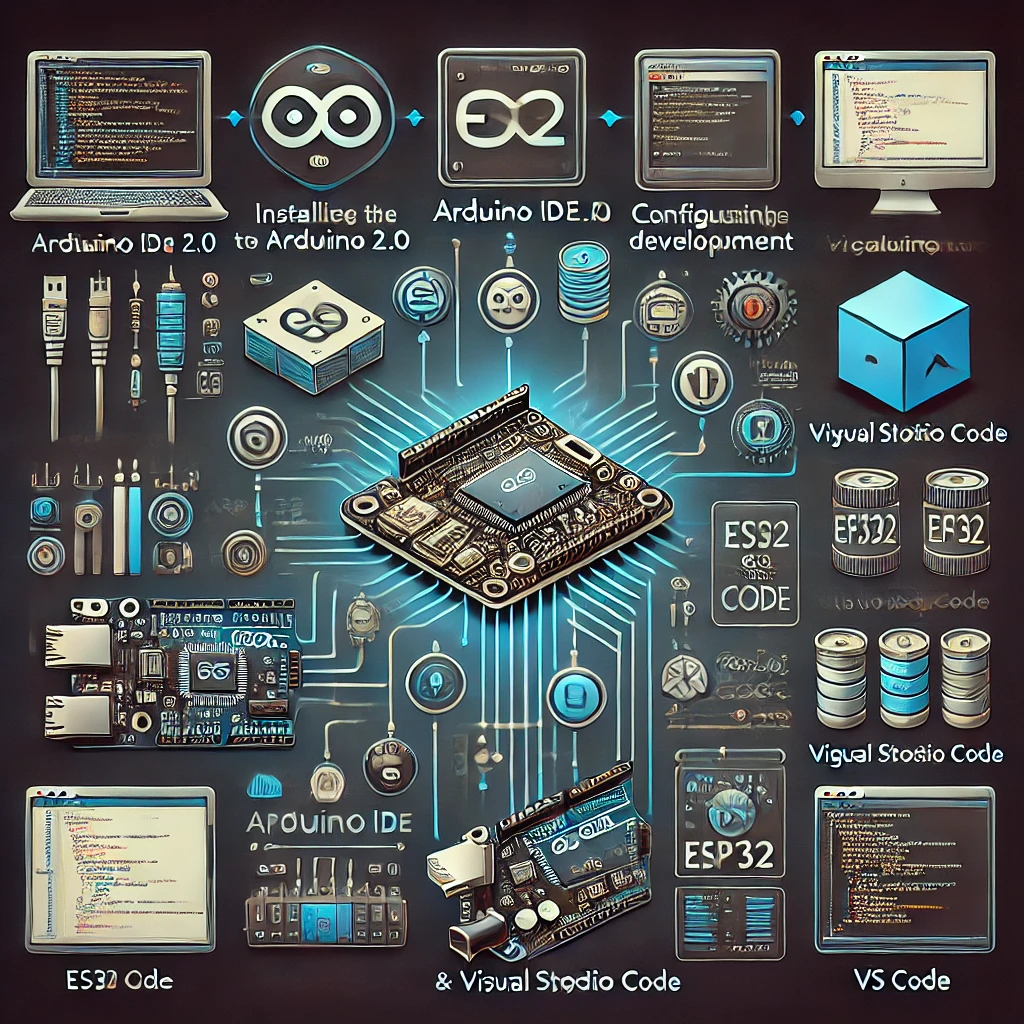
Follow these steps to set up Arduino IDE 2.0 and Visual Studio Code (VS Code) for ESP32 development. Learn how to configure your environment for efficient coding, debugging, and deploying IoT applications.
1. Install Arduino IDE 2.0
Download Arduino IDE 2.0: Visit the [official Arduino website](https://www.arduino.cc/en/software) and download the latest version of Arduino IDE 2.0 compatible with your operating system.
Install the IDE: Follow the installation prompts. Once installed, launch the IDE to begin configuring it for ESP32 development.
2. Configure Arduino IDE 2.0 for ESP32
Add ESP32 Board Support: Open Arduino IDE 2.0, go to File > Preferences, and in the “Additional Board Manager URLs” field, add the following URL: `https://dl.espressif.com/dl/package_esp32_index.json`.
Install ESP32 Board: Go to Tools > Board > Board Manager. Search for “ESP32” and install the ESP32 by Espressif Systems package.
3. Set Up Visual Studio Code (VS Code)
Download VS Code: Download and install [Visual Studio Code](https://code.visualstudio.com/Download) from the official website.
Install PlatformIO Extension: Open VS Code, go to the Extensions view by clicking the Extensions icon in the Activity Bar on the side of the window. Search for “PlatformIO” and install the PlatformIO IDE extension.
4. Configure VS Code for ESP32 Development
Initialize PlatformIO Project: Once PlatformIO is installed, click on the PlatformIO Home icon, select New Project, choose the ESP32 board from the dropdown menu, and set up your project location.
Install ESP-IDF: If you are using the Espressif IoT Development Framework (ESP-IDF), PlatformIO will guide you through installing the necessary tools and dependencies for ESP32.
5. Write and Upload Code
Arduino IDE 2.0: Write your code in the Arduino IDE, and use the Upload button to flash the code to your ESP32 device. The built-in debugger can help troubleshoot any issues.
VS Code: In VS Code, write your code within the PlatformIO project. Use the Build and Uploadcommands available in PlatformIO to compile and flash your code.
6. Debugging and Serial Monitoring
Arduino IDE 2.0: Utilize the Serial Monitor for real-time debugging and monitoring of your ESP32.
VS Code: VS Code’s PlatformIO extension offers advanced debugging tools. Use the Debugger tab to set breakpoints and step through your code.
By following these steps, you’ll have a fully configured development environment using Arduino IDE 2.0 and VS Code, enabling you to create and deploy sophisticated IoT applications on the ESP32 platform. These tools streamline the development process, offering powerful features that enhance productivity and project management.
For further details and resources, visit Arduino’s official website at https://www.arduino.cc/en/softwareand PlatformIO documentation at https://docs.platformio.org/en/latest/platforms/espressif32.html

