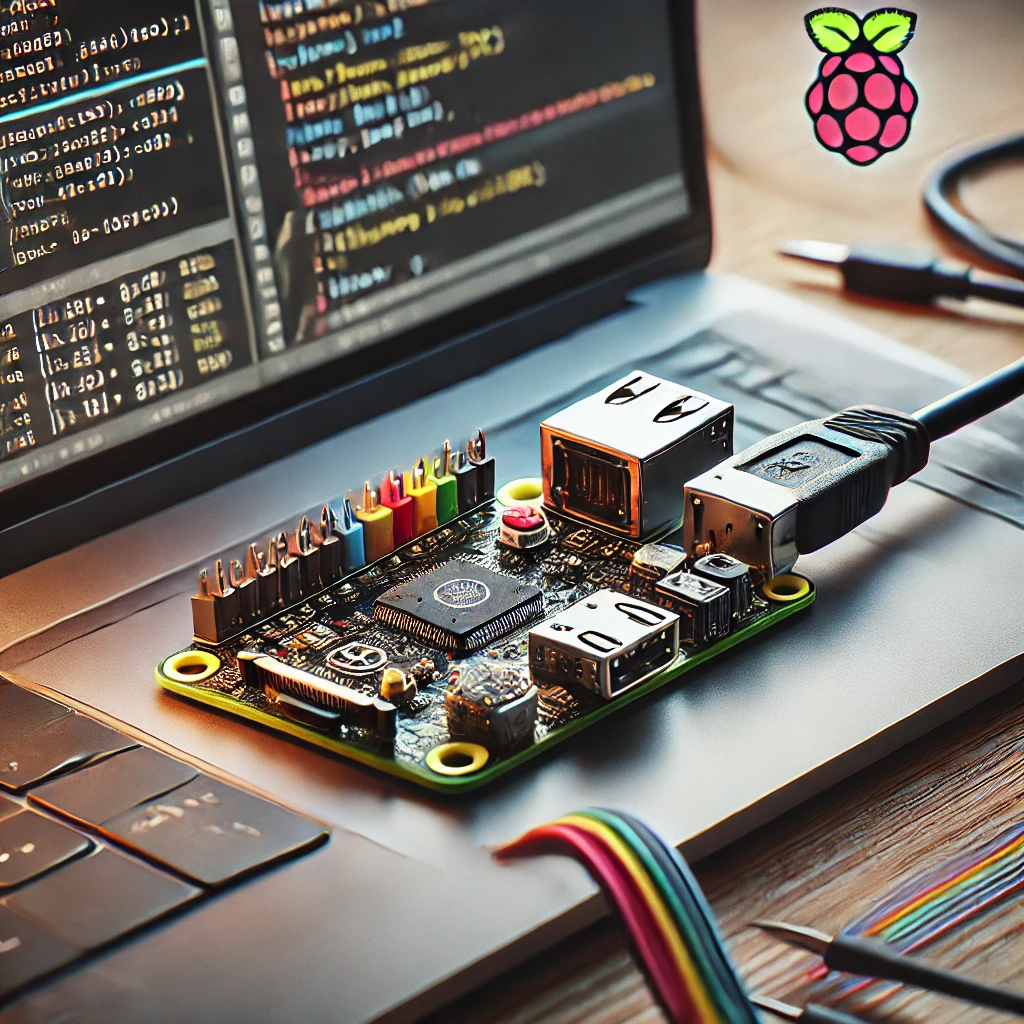
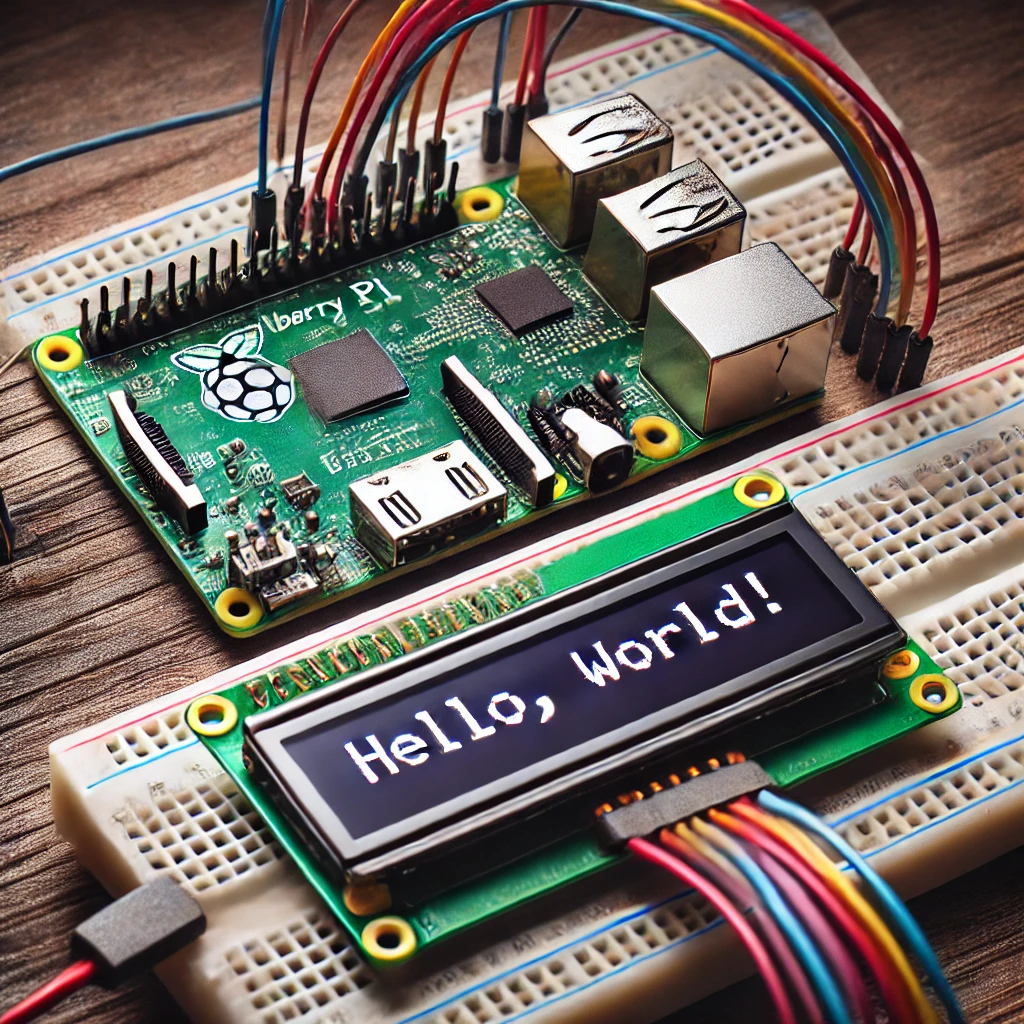
The Raspberry Pi, a versatile and affordable single-board computer, has revolutionized the world of DIY electronics. One of its many applications is in tracking systems. Whether you’re looking to monitor assets, wildlife, or even vehicles, the Raspberry Pi offers a flexible and cost-effective solution. In this guide, we’ll explore how to set up a tracking system using a Raspberry Pi.
Why Use Raspberry Pi for Tracking?
- Cost-Effective: Raspberry Pi is an affordable option compared to commercial tracking systems.
- Customizable: Tailor the system to your specific needs.
- Community Support: A large community offers plenty of resources and support.
Components Needed
- Raspberry Pi (any model): We recommend the Raspberry Pi 4 for its superior performance.
- GPS Module: For real-time location tracking.
- SD Card: At least 16GB for the operating system and software.
- Power Supply: A reliable 5V power supply.
- Internet Connectivity: Wi-Fi dongle or Ethernet cable for data transmission.
- Optional: Battery Pack: For mobile applications.
Setting Up the Raspberry Pi
- Install Raspbian OS: Download and install the latest version of Raspbian on your SD card.
- Connect the GPS Module: Follow the manufacturer’s instructions to connect the GPS module to your Raspberry Pi.
- Install GPS Software:
bash
sudo apt-get update

sudo apt-get install gpsd gpsd-clients
- Configure GPSD: Edit the configuration file to include your GPS device.
bash
sudo nano /etc/default/gpsd
Update the device path, usually
/dev/ttyUSB0. - Start GPSD Service:
bash
sudo systemctl start gpsd
Programming the Tracking System
Use Python to read GPS data and send it to a server or cloud service for tracking.
python
import gps

import timesession = gps.gps(mode=gps.WATCH_ENABLE)
report = session.next()
if report[‘class’] == ‘TPV’:
latitude = getattr(report, ‘lat’, 0.0)
longitude = getattr(report, ‘lon’, 0.0)
print(f”Latitude: {latitude}, Longitude: {longitude}“)
time.sleep(1)
Data Visualization
To visualize the tracked data, you can use online services like Google Maps API or create a custom dashboard using tools like Grafana.
Conclusion
Setting up a tracking system with a Raspberry Pi is an exciting and rewarding project. With the right components and a bit of programming, you can create a powerful tool for various tracking applications. The flexibility and affordability of the Raspberry Pi make it an excellent choice for hobbyists and professionals alike.


