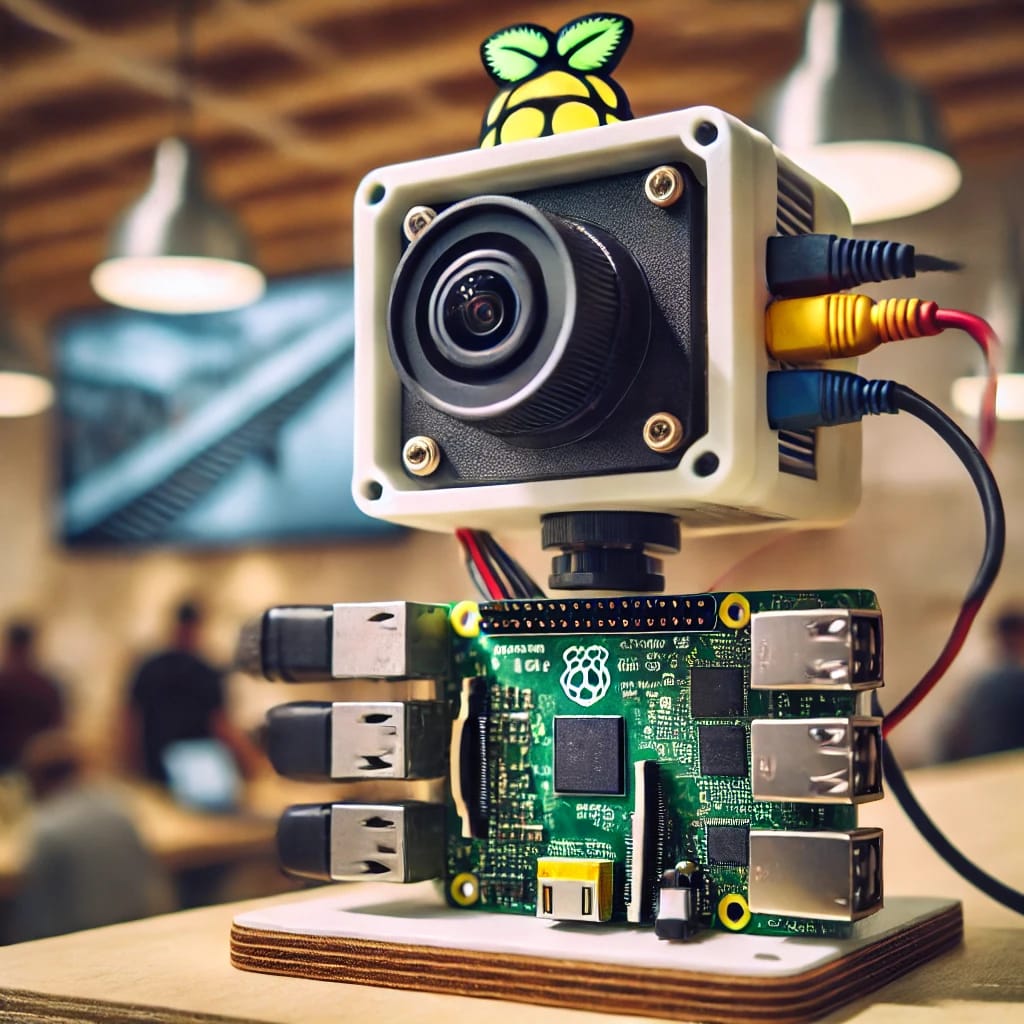
Learn how to turn your Banana Pi into a fully functional security camera, complete with motion detection, night vision, and remote monitoring capabilities.
Are you concerned about the safety of your home and loved ones? Installing a security camera is an effective way to deter intruders and keep an eye on your property. With so many options available, choosing the right security camera can be overwhelming. That’s why we’ll show you how to transform your Banana Pi into a home security camera.
Why Use Banana Pi for Home Security?
Security is a top priority for homeowners and businesses alike. Installing security cameras is one of the best ways to deter crime and monitor activities around your property. However, traditional commercial security camera systems can be expensive, often requiring subscriptions, additional hardware, and a fixed configuration that might not meet your specific needs. Enter the Banana Pi, a low-cost, highly customizable single-board computer that gives you the power to build your own security system tailored to your exact requirements.
The Banana Pi offers a compelling combination of features that make it perfect for DIY home security camera projects. It’s affordable, flexible, and capable of handling various security applications, from real-time video streaming to motion detection and remote monitoring. With just a few simple components and the right software, you can turn your Banana Pi into a powerful, cost-effective home security camera system that is as effective as it is customizable.
This guide will walk you through the process of transforming your Banana Pi into a fully functional home security camera system. We’ll cover everything from setting up the Banana Pi to choosing the right software, connecting cameras, configuring remote access, and recording footage. Let’s get started!
Benefits of Using Banana Pi for Security Cameras
Using the Banana Pi for a home security system comes with many advantages that make it an attractive option for DIY enthusiasts and tech-savvy individuals.
1. Affordability and Cost-Effectiveness
The most apparent advantage of using Banana Pi for home security is its affordability. Unlike high-end commercial security systems that often come with expensive installation and subscription fees, a Banana Pi-based camera system allows you to set up a robust surveillance network for a fraction of the cost. The hardware needed is inexpensive, and many open-source software solutions are available for free, further reducing your expenses.
2. Flexibility and Customization
Banana Pi allows complete customization of your security system. You can choose the exact cameras you want to use, decide on the storage methods, and even set up additional features such as motion detection alerts or remote monitoring. The flexibility of Banana Pi makes it ideal for individuals who want to build a security system that fits their specific needs.
3. Scalability
As your security needs grow, so can your system. The Banana Pi is highly scalable; you can add additional cameras, integrate different types of sensors, or even link multiple Banana Pi boards together for a more complex system. Expanding your home security network is as simple as connecting a few more components.
4. Remote Monitoring
Perhaps the most significant benefit of using Banana Pi is the ability to monitor your security camera system remotely. With the proper configuration, you can access the live feed from your cameras from anywhere in the world. Whether you are on vacation, at work, or simply away for the weekend, you can always keep an eye on your property.
Step 1: Preparing Your Banana Pi for Security Camera Use
What You’ll Need
To get started, you’ll need the following components:
- Banana Pi Board: The M2 or M2+ models are ideal for camera applications due to their powerful processors and camera interfaces.
- MicroSD Card: At least 8GB in size to install the operating system.
- Power Supply: Ensure it’s compatible with your Banana Pi model.
- USB Webcam or Pi Camera Module: Depending on your preference, you can choose a simple USB webcam or a more specialized Pi Camera module for better image quality.
- External Storage (Optional): For storing footage, you may want to connect an external USB drive or use a Network Attached Storage (NAS) device.
- Monitor, Keyboard, and Mouse: Initially, you’ll need these to set up your system.
Preparing the Operating System (OS)
The first step in preparing your Banana Pi for use as a security camera system is to install an operating system (OS). We recommend using Armbian or Raspberry Pi OS, both of which are stable, well-documented, and support a wide variety of camera and surveillance software.
How to Install the OS:
- Download the latest version of your preferred OS (Armbian or Raspberry Pi OS) from the official website.
- Use Balena Etcher or Raspberry Pi Imager to flash the OS onto the microSD card.
- Insert the microSD card into your Banana Pi and power it up.
- On your first boot, you’ll need to go through the basic configuration of your OS, including setting up Wi-Fi or Ethernet for internet access.
Once the OS is installed and running, your Banana Pi is ready to begin acting as a security camera hub.
Step 2: Installing Security Camera Software
Now that your Banana Pi is set up with an OS, the next step is to install the software that will turn your device into a fully functional security camera system. You can choose from several options, but MotionEyeOS and ZoneMinder are two of the most popular solutions.
MotionEyeOS: An Easy-to-Use Option
MotionEyeOS is a lightweight operating system built specifically for surveillance systems. It provides a simple, user-friendly interface and supports a wide range of cameras.
How to Install MotionEyeOS:
- Download MotionEyeOS from the official website or GitHub repository.
- Flash it onto your microSD card using Balena Etcher.
- Insert the microSD card into your Banana Pi and power it on.
- Connect the Banana Pi to your network (either via Ethernet or Wi-Fi).
- Once the system boots, open a browser and navigate to the IP address of your Banana Pi to access the MotionEyeOS interface.
- Add your camera(s) by selecting the video device and configuring your camera settings.
MotionEyeOS is perfect for users who want an easy setup with basic features like motion detection, video recording, and email alerts.
ZoneMinder: A More Advanced Option
For more advanced users who need additional features such as video analytics or multi-camera support, ZoneMinder is a powerful surveillance software.
How to Install ZoneMinder:
- Install Ubuntu or a Debian-based OS on your Banana Pi.
- Follow the ZoneMinder installation instructions available on their GitHub page.
- After installation, access the ZoneMinder dashboard through a browser to begin configuring your cameras.
- Add cameras, set up motion detection, and customize the recording schedule to suit your needs.
ZoneMinder is best suited for users looking to build a professional-grade security system with features such as facial recognition, motion tracking, and cloud integration.
Step 3: Connecting Your Camera to Banana Pi
Using a USB Webcam
One of the easiest ways to set up a security camera on your Banana Pi is by using a USB webcam. Simply plug your USB camera into one of the available USB ports on your Banana Pi.
Steps:
- Plug your USB camera into the Banana Pi.
- Go to the software interface (MotionEyeOS or ZoneMinder) and select the USB webcam as the video source.
- Configure settings like resolution, frame rate, and other parameters.
- Test the camera feed to ensure it is functioning correctly.
Using a Pi Camera Module
Alternatively, if you want better quality and performance, you can use the Pi Camera module, which connects directly to the CSI camera port on the Banana Pi. This option provides better resolution and performance compared to USB cameras.
Steps:
- Connect the Pi Camera module to the CSI port on your Banana Pi.
- Select the Pi Camera as the input in the security software.
- Configure the camera settings, such as exposure, resolution, and focus.
- Test the camera to ensure optimal video feed quality.
Step 4: Setting Up Remote Monitoring
Why Remote Monitoring is Essential
One of the key features of a modern security system is remote monitoring. With Banana Pi, you can easily set up access to your camera feeds from any device with a web browser or mobile app.
How to Set Up Remote Monitoring:
- VPN Setup: Using a VPN (Virtual Private Network) allows you to securely access your home network from anywhere. Set up a VPN on your Banana Pi or router to securely connect to the camera system from outside your home network.
- Port Forwarding: Alternatively, you can configure port forwarding on your router to access the camera feed directly. Be sure to use strong passwords and encryption for security.
- Use a web browser or mobile app to view the live feed and monitor activities remotely.
Step 5: Recording and Storing Footage
You’ll also want to store your security footage for future reference. You can use external storage devices, such as USB flash drives or external hard drives, to save your video recordings.
Setting Up Video Recording:
Both MotionEyeOS and ZoneMinder offer flexible options for recording video. You can choose between continuous recording or motion-triggered recording.
The Benefits of DIY Home Security with Banana Pi
Transforming your Banana Pi into a home security camera is a cost-effective, customizable, and scalable way to protect your property. With just a few simple steps, you can create a professional-grade security system that meets your specific needs. Whether you’re monitoring your home remotely or recording footage for future review, Banana Pi offers the flexibility to expand and adapt your security system as necessary.
By following the steps outlined in this guide, you’ll be well on your way to building your own home security camera system. With its affordability, flexibility, and ease of use, Banana Pi is a perfect choice for anyone looking to implement DIY home security.
FAQ
-
What is Banana Pi, and why is it good for home security?
- Banana Pi is a single-board computer with powerful capabilities. It’s inexpensive, flexible, and highly customizable, making it ideal for DIY home security systems.
-
Can I use a USB webcam for my Banana Pi security camera?
- Yes, you can easily connect a USB webcam to your Banana Pi and configure it as a security camera using MotionEyeOS or ZoneMinder.
-
Do I need a separate power supply for my camera?
- If you’re using a USB webcam, the Banana Pi should provide enough power. For higher-end camera modules or multiple cameras, an external power source may be required.
-
How do I set up remote access to my Banana Pi security camera?
- Remote access can be set up using VPN or port forwarding on your router. Both methods allow you to securely access your camera feed remotely.
-
What storage options do I have for footage?
- You can store footage on external devices such as USB drives or network-attached storage (NAS), or save to the Banana Pi’s internal storage.
-
Can I use motion detection with my Banana Pi camera system?
- Yes, both MotionEyeOS and ZoneMinder support motion detection, allowing your camera to record only when movement is detected.
-
What software should I use for my Banana Pi security camera?
- Popular software options for security cameras include MotionEyeOS and ZoneMinder. MotionEyeOS is easier for beginners, while ZoneMinder offers more advanced features.
-
How can I access my security camera feed from my phone?
- Both MotionEyeOS and ZoneMinder provide web-based interfaces that can be accessed through a mobile browser. You can also use third-party apps for additional features.
-
Can I expand my security system in the future?
- Yes, Banana Pi is highly scalable. You can add more cameras or even link multiple Banana Pi boards together to create a more extensive system.
-
Is the footage stored securely?
- Yes, you can encrypt your footage and set up password protection. Using secure access methods like VPN will also enhance security.
- Can I integrate my Banana Pi security camera system with other smart devices?
- Yes, Banana Pi can be integrated with other smart home systems like lights, alarms, and even voice assistants for a complete home automation setup.
- Can I use a Pi Camera instead of a USB webcam?
- Yes, a Pi Camera offers better image quality and performance compared to USB webcams. It connects directly to the CSI port on the Banana Pi.
- How do I configure my security camera for night vision?
- You can use a camera with infrared (IR) capabilities or add IR LEDs to your existing camera setup for better night-time visibility.
- Is it safe to store footage in the cloud?
- While cloud storage can offer easy access and backups, make sure to use encryption and secure login methods to protect your footage.
- How do I ensure my Banana Pi security camera system is secure from hackers?
- Use strong passwords, enable two-factor authentication where possible, and ensure your system is regularly updated to protect against vulnerabilities.


