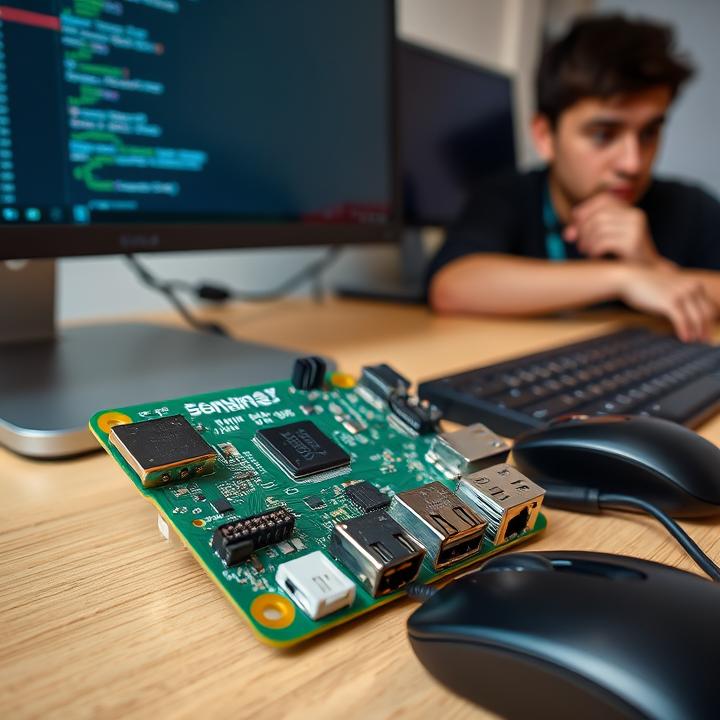
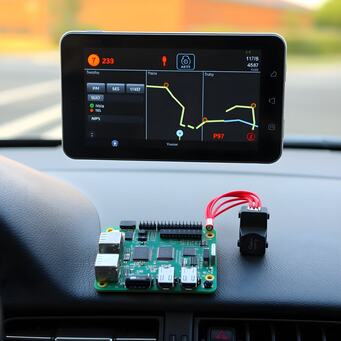
Turn your Banana Pi into a fully functional learning platform, complete with online course creation, student management, and progress tracking.
Are you looking for a cost-effective way to create a learning platform for your educational institution or organization? Look no further than your Banana Pi! This compact device can be transformed into a fully functional learning platform, enabling you to create online courses, manage students, track progress, and more.
Banana Pi is a versatile and powerful single-board computer, and when leveraged correctly, it can be transformed into a fantastic educational tool. In this article, we’ll guide you through the detailed steps to create a comprehensive learning platform using Banana Pi. Whether you’re teaching coding, robotics, or AI, this guide will walk you through each stage and ensure you’re set up for success. Additionally, we’ll answer some frequently asked questions to help you troubleshoot and optimize your experience.
Step 1: Set Up Your Banana Pi
The first step in turning your Banana Pi into a learning platform is setting up the hardware and installing the software that will form the foundation of your educational experience. This step-by-step process will ensure that you have a smooth and effective setup.
Hardware Requirements
Before diving into the setup process, make sure you have the following hardware components:
- Banana Pi Board: You can opt for any version of Banana Pi that fits your needs, such as the BPI-M2 Ultra, BPI-M5, or others depending on your specific educational requirements.
- MicroSD Card: At least 32GB, but 64GB or more is recommended for larger applications and data storage.
- HDMI-Compatible Display: A monitor with HDMI support to view the graphical interface.
- Keyboard and Mouse: A USB keyboard and mouse for navigating the user interface.
- Power Supply: Ensure that the power supply matches your model’s power requirements, usually 5V/2.5A or 5V/3A.
- Internet Connection: Either a wired Ethernet connection or a compatible Wi-Fi adapter to connect to the internet for software installation and updates.
Installing the Operating System
The next step is installing the operating system (OS) onto your Banana Pi. Several OS options are available, but we recommend using Banana Pi OS or Ubuntu, as these are fully compatible and offer a rich ecosystem of software. Here’s how to do it:
- Download the OS Image: Visit the official Banana Pi website or the Ubuntu downloads page to get the latest OS image for your specific Banana Pi model.
- Flash the OS onto the MicroSD Card: Use a tool like balenaEtcher or Raspberry Pi Imager to flash the downloaded image onto your microSD card. Simply insert your microSD card into your computer, open the flashing tool, select the image, and click “Flash.”
- Insert the MicroSD Card and Power On: Once the flashing is complete, insert the microSD card into the Banana Pi, connect the HDMI display, keyboard, and mouse, and power up the device. The operating system should boot up, and you will be greeted with the setup screen.
Initial Configuration
- Language and Region: Select your preferred language, time zone, and keyboard layout. This ensures that the system is configured to your preferences right from the start.
- Network Connection: Connect your Banana Pi to the internet. If you are using a wired connection, simply plug in the Ethernet cable. For Wi-Fi, navigate to the network settings and select your Wi-Fi network to input your password.
- Update the System: Once connected to the internet, update the system to ensure all software is up-to-date. This can be done by opening the terminal and typing the following commands:
After completing these steps, your Banana Pi will be ready for use as an educational platform, and you can move on to installing the software tools needed for the next steps.
Step 2: Install Essential Software
With your Banana Pi set up, the next phase is installing essential software that will turn it into a robust learning platform. Whether you’re focusing on coding, electronics, or machine learning, having the right tools is critical.
Programming Tools
The backbone of any learning platform will be programming tools that support various languages and learning objectives.
-
Python: Python is one of the most widely used programming languages, especially in education. It’s great for beginners and also powerful enough for advanced learners. To install Python and its associated tools, run:
-
Visual Studio Code: Visual Studio Code (VS Code) is a versatile and lightweight Integrated Development Environment (IDE) that supports Python, JavaScript, C++, and many other programming languages. It’s a perfect choice for coding education. To install VS Code, use:
-
Scratch: Scratch is an ideal tool for teaching children and beginners to code using visual programming. You can install Scratch on Banana Pi using:
-
Arduino IDE: If you’re planning to introduce electronics and microcontroller projects, the Arduino IDE is a must. It allows you to program Arduino boards and is great for hands-on learning in robotics and IoT. Install it with:
STEM Applications
For a more rounded educational experience, install applications that allow you to explore subjects like electronics, data science, and robotics.
-
LibreOffice: A free office suite that includes a word processor, spreadsheet, and presentation software. Perfect for creating educational materials.
-
Mathematica or Octave: For advanced math, simulation, and science applications, you can install Octave, a free alternative to Matlab.
Web-Based Learning Tools
Many educational platforms are web-based, which can easily be accessed via your browser.
- Coursera, edX, Codecademy: Bookmark these platforms for accessing online courses and tutorials.
Advanced Tools for AI and Machine Learning
If you’re teaching AI, data science, or machine learning, you’ll need more specialized tools. Banana Pi is capable of running these advanced applications, albeit with some performance considerations for more complex models.
- TensorFlow: For machine learning projects, TensorFlow is one of the most powerful and widely-used frameworks. You can install it on Banana Pi by following the instructions on the official website for ARM-based devices.
- OpenCV: For computer vision projects, OpenCV is an invaluable tool. Install it with:
Step 3: Create a Multi-User Environment
If your Banana Pi is to be used by multiple students or learners, creating individual user accounts will help you maintain a personalized experience for each person. Here’s how you can do this:
Create User Accounts
-
Open the terminal and type:
Replace “username” with the name of the user you want to add.
-
To set permissions for different users, you can modify user groups or assign specific folder access as needed.
Cloud Integration
Using cloud services like Google Drive or Nextcloud can greatly expand the storage and collaboration potential of your learning platform. Set up synchronization for easy access to learning resources and assignments across different devices.
Step 4: Customize the Learning Environment
Creating an intuitive and engaging learning environment is key to keeping users focused and motivated. Customizing the Banana Pi’s interface allows you to tailor it to fit educational purposes, maximizing productivity and accessibility.
Educational Portals
One of the first steps in customization is adding access to online educational resources directly from the desktop. Websites such as Coursera, edX, and Codecademy provide a wealth of online courses that span numerous fields such as programming, science, and humanities. By bookmarking these platforms, you create a direct path for learners to explore these educational tools without leaving their Banana Pi’s interface.
Another essential resource for coding and learning is GitHub, a platform where developers share open-source code, documentation, and projects. Having this bookmarked allows learners to not only access resources for their own coding projects but also contribute to open-source projects, further enhancing their coding skills.
Desktop Environment
The desktop environment plays a vital role in ensuring that the learning experience is smooth and efficient. Lightweight desktop environments such as LXDE or XFCE are perfect for the Banana Pi, as they ensure faster performance without compromising on usability. Both these environments are designed to use fewer system resources, making them ideal for creating a clutter-free and focused workspace.
By customizing the desktop interface, you can make it more visually appealing or simplify it for younger learners or beginners. This helps improve their interaction with the platform and allows them to stay focused on their educational goals without unnecessary distractions.
Step 5: Add Interactive Learning Features
To truly engage learners, it’s essential to add interactive elements to the learning environment. These tools will make the process enjoyable and improve retention, all while allowing for hands-on experience with various educational concepts.
Gamify the Experience
Learning through play is an incredibly effective method, especially when it comes to coding and STEM subjects. Installing educational games such as CodeCombat or Tynker will provide a gamified approach to programming, teaching learners how to code in a fun and interactive way. These platforms offer levels, achievements, and immediate feedback, encouraging students to progress while enhancing their coding skills in the process.
Gamification can also extend to other educational tools. Platforms like Scratch allow learners to create stories, games, and animations, fostering creativity while developing critical programming skills.
STEM Kits
To make learning more tactile and interactive, you can connect external STEM kits, such as Lego Mindstorms or compatible robotics kits. These kits are perfect for teaching robotics, electronics, and programming through hands-on projects that integrate seamlessly with the Banana Pi.
By combining the Banana Pi with these kits, students can learn about circuits, sensors, motors, and actuators, bringing abstract concepts to life and enabling them to build their own robots, automation systems, and other creations.
Learning Analytics
Tracking a learner’s progress is crucial to understanding their strengths and areas for improvement. Integrating learning analytics tools into the Banana Pi environment helps both students and educators gain insights into performance. Tools that log coding hours, track course completion, and record progress on interactive projects provide valuable data that can guide future learning strategies.
These analytics tools also allow educators to customize the learning journey for individual students, ensuring that each learner receives the support they need to succeed.
Step 6: Connect to External Devices
Expanding the Banana Pi’s capabilities can significantly enhance the learning experience. By connecting external devices to the platform, you open up a world of new possibilities for students to explore.
Sensors
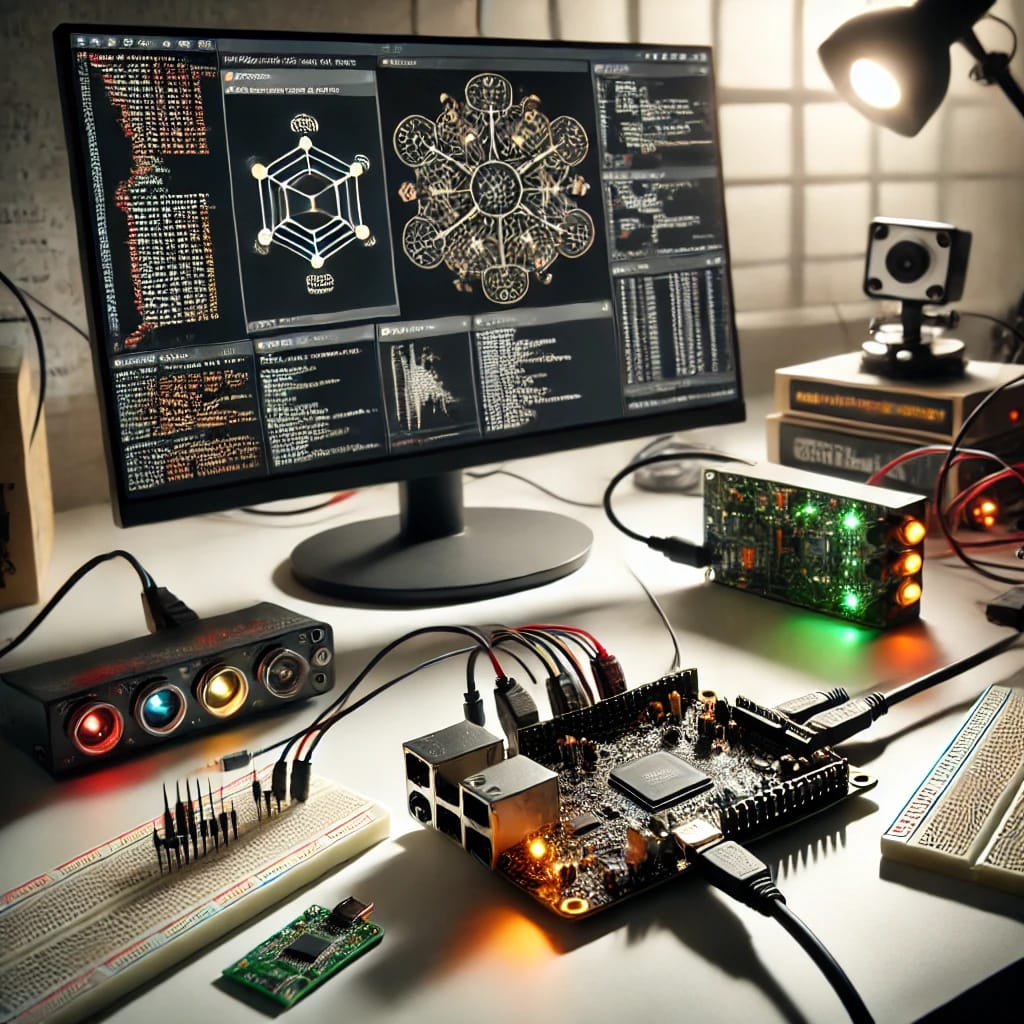
Banana Pi comes with GPIO (General Purpose Input Output) pins that make it incredibly easy to interface with various sensors. You can connect temperature, motion, and light sensors, enabling learners to work on real-time data collection projects. For example, students could create weather stations, environmental monitoring systems, or even smart home setups using these sensors.
Cameras
Integrating a camera module into the Banana Pi allows students to explore computer vision and image processing. Using libraries like OpenCV, they can learn about object recognition, facial recognition, and more complex AI-driven projects.
Robotics
The ability to connect to motor drivers and actuators makes Banana Pi an ideal tool for building and programming robots. With these devices, students can create projects that teach them about mechanical design, programming, and automation. Projects could range from simple robotic arms to complex autonomous robots capable of navigating environments.
Step 7: Test and Troubleshoot
As you create and customize the learning platform, it’s important to ensure that everything works smoothly. Testing the system and troubleshooting any issues will allow you to identify and resolve any potential roadblocks before the platform is fully deployed.
User Feedback
Gathering feedback from students and other users is critical in identifying areas that need improvement. Whether it’s a software issue or a usability concern, feedback will provide insight into what needs to be optimized for better user experience.
Debugging
Banana Pi provides system logs and monitoring tools that can help debug any issues with the platform. This can be especially useful when troubleshooting software issues or performance-related problems. With tools like htop or dmesg, you can monitor processes and system behavior in real time, making it easier to fix any errors quickly.
Step 8: Expand the Platform
As your learning platform evolves, there may come a time when you need to scale it up to accommodate more students or add advanced features. Here’s how you can expand the Banana Pi setup to meet future needs.
Cloud Computing
Integrating cloud services with Banana Pi will allow students to access learning materials and collaborate on projects from anywhere. Using cloud storage platforms like Google Drive, Dropbox, or even a custom cloud server, you can provide students with access to all their resources in a centralized, remote location.
Cloud computing also enables you to use the Pi for distributed computing tasks, letting learners experiment with large-scale computing projects without requiring expensive hardware.
Multi-Language Support
As the learning platform grows, it’s important to make it accessible to as many students as possible. Adding multi-language support can make the platform more inclusive and provide opportunities for learners from different linguistic backgrounds to access content and resources in their native language.
Enhanced Hardware
If your learning platform grows in terms of user base or the types of projects being executed, you may want to consider upgrading the hardware. Adding SSDs, faster networking components, or even external GPUs can enhance performance, providing a faster and smoother experience for users.
FAQs: Frequently Asked Questions
1. Why should I use Banana Pi as a learning platform?
Banana Pi offers versatility and affordability, making it perfect for learning various subjects, from basic programming to advanced AI and robotics. It’s compact and energy-efficient, making it an excellent choice for schools and individuals looking to create a cost-effective educational setup.
2. Can I install Windows on Banana Pi for learning?
Although Banana Pi primarily runs Linux-based operating systems (like Banana Pi OS or Ubuntu), it’s possible to install Windows-based software through compatibility layers like Wine. However, the Linux ecosystem offers better support and performance for educational software.
3. How easy is it to learn programming on Banana Pi?
Banana Pi provides excellent support for programming languages like Python, Java, and Scratch. With the pre-installed tools and many online tutorials, it’s relatively easy for beginners to get started, and advanced learners can dive into more complex topics like AI and robotics.
4. What kind of learning materials are available for Banana Pi users?
Banana Pi has a vast range of resources available online, including tutorials, forums, and project-based guides. Additionally, web-based platforms like Codecademy and Coursera can be accessed through the Pi’s browser to enhance your learning experience.
5. Can I use Banana Pi to learn machine learning?
Yes, Banana Pi is capable of running machine learning libraries like TensorFlow, PyTorch, and OpenCV, though its performance may vary depending on the model. For lightweight machine learning tasks and basic neural network models, it works perfectly fine.
6. How do I troubleshoot software issues on Banana Pi?
Use the built-in logs and diagnostic tools to identify issues. You can check logs by using commands like dmesg or journalctl to troubleshoot boot issues or application errors.
7. How do I keep my Banana Pi system updated?
Keeping your system updated is crucial for security and performance. To do so, open a terminal and run:
8. How do I install new software or tools?
You can install software through the terminal using the apt-get command, or by using the Software Center in the GUI. For example:
9. Can I use Banana Pi for electronics projects?
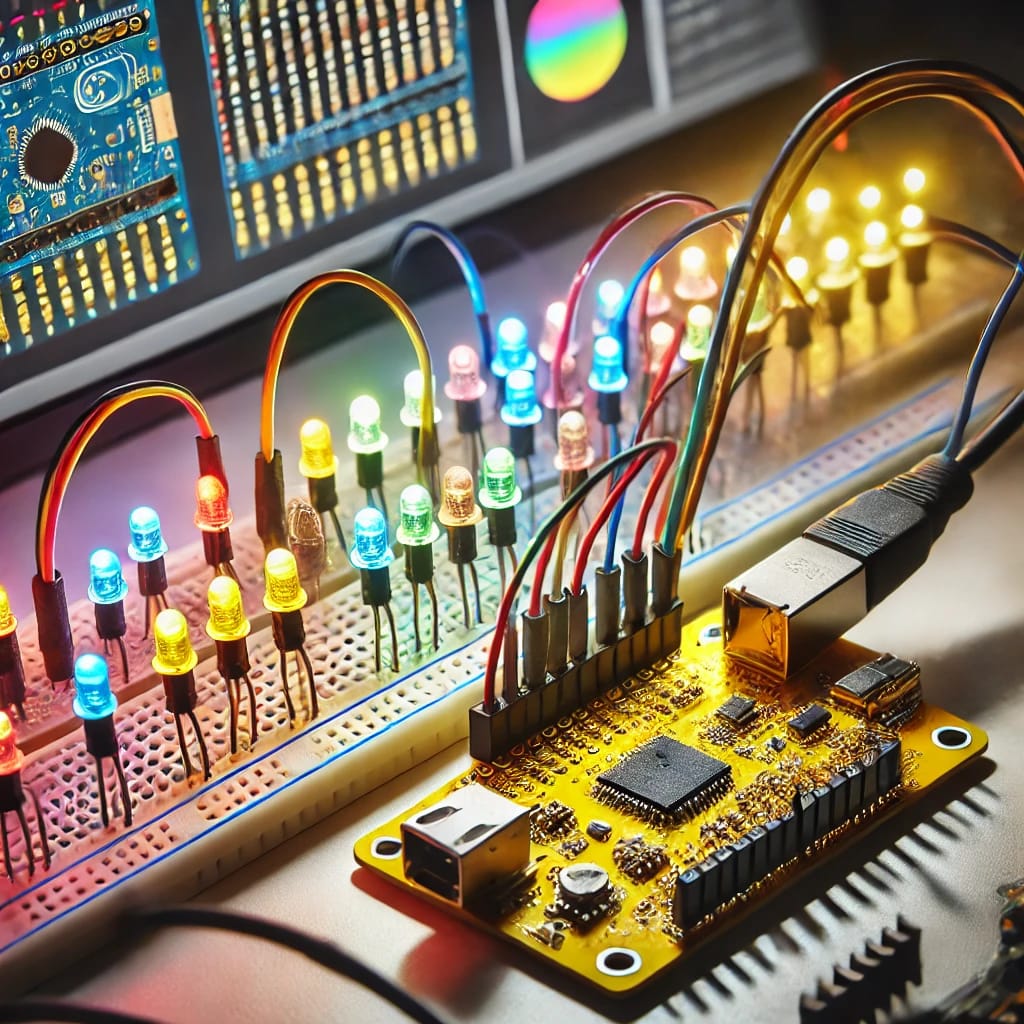
Yes, Banana Pi supports GPIO pins for interfacing with sensors, LEDs, motors, and other electronic components, making it a perfect platform for learning electronics and robotics.
10. Can Banana Pi support multiple users at the same time?
Yes, Banana Pi can support multiple users through its multi-user capabilities, making it an ideal choice for educational environments like classrooms or shared learning spaces. You can set up individual user accounts for each student, ensuring a personalized learning experience and efficient resource management.
11. Can I use Banana Pi to host a website for learning purposes?
Yes, you can use Banana Pi as a web server to host your own educational website or blog. Installing a LAMP stack (Linux, Apache, MySQL, and PHP) will allow you to serve content, create dynamic websites, and even offer online courses. You can host materials for students or create a collaborative learning space.
12. What are the best programming languages to learn on Banana Pi?
Banana Pi supports a wide range of programming languages including Python, C++, Java, and JavaScript. Python is particularly popular for beginners and is widely used in fields such as data science, machine learning, and web development. For more advanced learners, C++ and Java are excellent choices for building more complex applications.
13. Can I use Banana Pi to learn about networking and cybersecurity?
Absolutely! Banana Pi is powerful enough to run networking tools and simulate network environments, making it ideal for learning about networking, cybersecurity, and system administration. You can install tools like Wireshark for packet analysis, OpenVPN for virtual private networks, and Metasploit for penetration testing.
14. How do I integrate Banana Pi with cloud-based services like Google Drive or Dropbox?
You can integrate Banana Pi with cloud-based services by installing their official clients or using third-party software like rclone. This allows you to store, access, and share files on the cloud from your Banana Pi, creating a seamless experience for students who need to access course materials and assignments remotely.
15. Can I use Banana Pi for AI projects like image recognition?
Yes, Banana Pi can be used for AI and image recognition tasks, although the complexity of the models you can run will depend on the specific Banana Pi model you’re using. Lighter AI tasks, such as object detection with TensorFlow or OpenCV, can be effectively executed on the Banana Pi, while more intensive models may require optimizations or external accelerators like USB-based GPUs.
Get Started!
Transforming your Banana Pi into a dynamic learning platform offers endless possibilities for learners and educators alike. By carefully setting up the hardware, installing essential programming tools, and creating a customized learning environment, you can unlock the full potential of this affordable yet powerful single-board computer.
Whether you’re teaching coding, robotics, machine learning, or electronics, Banana Pi’s versatility and support for a wide range of educational software and resources make it an excellent choice for creating a hands-on, interactive learning experience. With the step-by-step guide provided, you can quickly establish an engaging and productive learning platform for students of all levels.
From beginners learning to code with Python to advanced learners diving into AI, data science, and networking, Banana Pi offers an open-ended environment that fosters creativity and exploration. By utilizing cloud services, multi-user environments, and integrating with other tools, you can create a truly collaborative and scalable learning platform.
Please check out our other website at https://master3dp.com/ where you can learn how to 3D print anything needed for a project.

