Discover how to turn your Banana Pi into a fully functional machine-learning device, complete with TensorFlow, PyTorch, and Scikit-learn installations.
Machine learning (ML) has rapidly become a cornerstone of technological innovation. From image recognition to predictive analytics, its applications are virtually limitless. With its robust hardware and adaptability, the Banana Pi offers an affordable entry point into machine learning. Turning your Banana Pi into a machine learning powerhouse allows you to explore the fascinating world of artificial intelligence (AI) on a budget. This guide provides a step-by-step walkthrough to unlock the potential of your Banana Pi for ML tasks.
Why Use Banana Pi for Machine Learning?
The Banana Pi is an exceptional single-board computer (SBC) for machine-learning projects due to its affordability, hardware capabilities, and flexibility. It boasts features such as:
- High Processing Power: Depending on the model, Banana Pi comes with multi-core processors capable of handling computationally intensive tasks.
- Expandable Memory: With options for expandable RAM and external storage, it can efficiently store and process large datasets.
- Broad Compatibility: Supports various operating systems like Linux and Android, offering flexibility for different machine learning frameworks.
- Connectivity Options: Features Wi-Fi, Bluetooth, and GPIO pins for sensor integration, enabling edge AI applications like IoT-powered devices.
While the Banana Pi isn’t as powerful as high-end GPUs or cloud-based systems, it provides an accessible platform for lightweight ML models, prototyping, and learning.
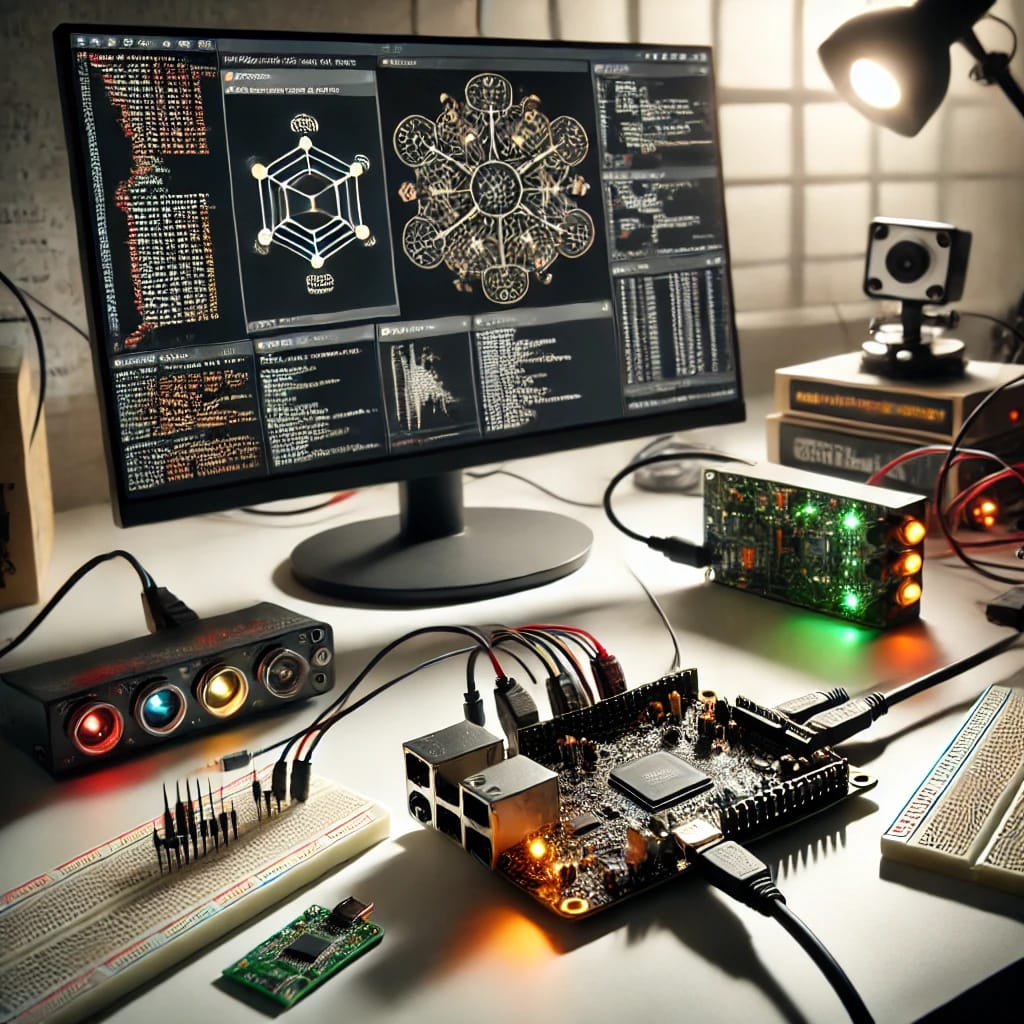
Step 1: Set Up Your Banana Pi
Before diving into machine learning, ensure your Banana Pi is fully prepared for the task.
-
Install an Operating System
Download and install a suitable OS for machine learning tasks, such as Ubuntu Mate, Armbian, or a custom Linux distro optimized for Banana Pi. Follow these steps:- Download the image file from the Banana Pi official website or a trusted source.
- Use software like Balena Etcher to flash the image onto a microSD card.
- Insert the card into the Banana Pi and boot the device.
-
Update and Upgrade Packages
Open a terminal and run the following commands to ensure all software is up to date: -
Install Python and Dependencies
Machine learning heavily relies on Python. Install it along with essential libraries: -
Enable GPU Acceleration (Optional)
Some Banana Pi models support GPU acceleration. If your model includes Mali GPUs, install OpenCL or OpenGL to enhance computational efficiency.
Step 2: Choose a Machine Learning Framework
The next step is selecting a machine-learning framework compatible with your Banana Pi. Popular frameworks include:
- TensorFlow Lite: A lightweight version of TensorFlow optimized for edge devices like SBCs.
- PyTorch: Known for its flexibility and ease of debugging.
- Scikit-learn: Ideal for traditional ML tasks like regression, classification, and clustering.
- ONNX Runtime: Supports running pre-trained models from different frameworks.
Installing TensorFlow Lite
TensorFlow Lite is particularly suited for SBCs due to its optimized performance. Install it using:
Alternatively, compile TensorFlow Lite from the source for maximum compatibility with your hardware.
Step 3: Gather and Prepare Data
Machine learning begins with data. Choose a dataset relevant to your project, such as:
- Public Datasets: Kaggle, UCI Machine Learning Repository, or Google Dataset Search.
- Custom Datasets: Collect data from sensors or APIs.
Data Preparation Steps:
- Cleaning: Remove null values, duplicates, and outliers.
- Normalization: Scale features to a uniform range using tools like
StandardScalerin Scikit-learn. - Splitting: Divide the dataset into training, validation, and test sets:
Step 4: Train and Deploy a Machine Learning Model
Training a Model
Train a simple ML model, such as logistic regression or a neural network. For example:
For neural networks, use TensorFlow Lite:
Deploying a Model
Export the trained model to TensorFlow Lite format:
Deploy the .tflite file on your Banana Pi for inference.

Step 5: Optimize Performance
To maximize your Banana Pi’s performance:
- Reduce Model Size: Use quantization techniques to reduce precision (e.g., float32 to int8).
- Enable Multithreading: Adjust your framework settings to utilize all CPU cores.
- Leverage GPU Acceleration: If available, offload computations to the GPU.
Step 6: Visualize Results
Visualizing results helps interpret model performance. Use libraries like Matplotlib or Seaborn to create plotsPythonon
Alternatively, integrate results into a web dashboard using Flask or Grafana.
Step 7: Expand and Innovate
After setting up a functional machine-learning project on your Banana Pi, the possibilities for innovation are endless. Expanding your project ensures that you not only learn more but also push the boundaries of what a single-board computer can achieve. Below are some ideas and methods to take your ML applications to the next level:
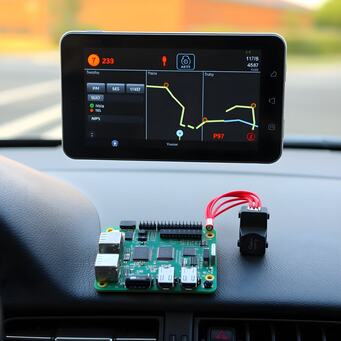
1. Integrate IoT Capabilities
Combining IoT with machine learning enables real-time data collection and decision-making. Here’s how you can merge the two domains:
- Sensor Fusion: Integrate multiple sensors like temperature, humidity, motion detectors, and cameras. Use the collected data for predictive maintenance, environmental monitoring, or smart home automation.
- Edge AI: Process data locally on your Banana Pi to reduce latency and enhance privacy. For example, deploy a TensorFlow Lite model to analyze video feeds in real-time for home security without sending data to the cloud.
- Communication Protocols: Use MQTT, HTTP, or WebSocket protocols to transmit sensor data. These protocols can also allow you to control devices via the Banana Pi.
2. Develop Advanced Machine Learning Models
Explore more complex architectures to expand your project’s scope:
- Convolutional Neural Networks (CNNs): Ideal for image recognition, object detection, and video processing. For instance, build a facial recognition system to control access to specific areas.
- Recurrent Neural Networks (RNNs): Best suited for sequential data like time-series analysis or language modeling. Examples include stock price prediction or chatbot development.
- Reinforcement Learning: Train your Banana Pi to make autonomous decisions, such as navigating a small robot through an obstacle course.
3. Integrate External Hardware for Performance Boosts
The Banana Pi alone may face challenges when running advanced models. Consider the following:
- External GPUs: If your model requires significant processing power, connect an external GPU through USB or other compatible interfaces.
- TPU Add-ons: Tensor Processing Units (TPUs) like Google’s Coral USB Accelerator can drastically improve inference speed for TensorFlow models.
4. Explore Data Augmentation Techniques
Augment your dataset to improve model accuracy without collecting additional data:
- Image Data Augmentation: Apply transformations like flipping, cropping, rotation, and noise addition to diversify input data for CNNs.
- Synthetic Data Generation: Use tools like GANs (Generative Adversarial Networks) to create synthetic yet realistic data.
5. Experiment with Federated Learning
Federated learning enables training a shared model across multiple devices while keeping data local. With Banana Pi, you can create a network of edge devices that collaboratively improve a model, ensuring data privacy and reducing reliance on central servers.
6. Build Custom Dashboards
Visualization of results provides insight into model performance and predictions. Create a custom dashboard to monitor the Banana Pi’s ML activity:
- Flask or Django: Build web-based dashboards to display charts, metrics, and real-time predictions.
- Grafana: A popular tool for monitoring and visualizing time-series data, ideal for IoT-integrated ML projects.
7. Contribute to the Open Source Community
Share your ML models and projects with the open-source community to receive feedback and collaborate on improvements. Use platforms like GitHub to publish code, or contribute to Banana Pi-focused forums.
FAQs
1. What makes the Banana Pi suitable for machine learning projects?
Banana Pi combines affordability, portability, and compatibility with a range of ML frameworks, making it ideal for beginners and hobbyists. Its multi-core processor can handle lightweight ML models, while its GPIO pins and Wi-Fi connectivity make it perfect for IoT-integrated ML applications. Though not as powerful as high-end GPUs, it is a practical choice for learning and prototyping.
2. Can the Banana Pi handle deep learning tasks?
While the Banana Pi can handle lightweight deep-learning tasks, its hardware limitations make it better suited for inference rather than training complex models. TensorFlow Lite and ONNX are excellent choices for deploying optimized models. For computationally intensive tasks, consider connecting an external accelerator like a USB TPU.
3. How does TensorFlow Lite benefit Banana Pi projects?
TensorFlow Lite is specifically designed for edge devices like the Banana Pi. Its optimized performance ensures faster inference with minimal resource usage. Models can be quantized to reduce size and computational demands, making it a perfect fit for low-power SBCs.
4. What type of machine learning projects are feasible on Banana Pi?
Banana Pi is suitable for projects like image recognition, voice detection, object tracking, and predictive analytics. Examples include a smart doorbell with facial recognition, a voice-controlled assistant, or an IoT-powered weather station.
5. Can I use Banana Pi for real-time ML applications?
Yes, real-time applications are possible, but they require careful optimization. Techniques like model quantization, GPU acceleration, and multithreading can ensure low-latency processing, making it viable for tasks like real-time object detection or voice recognition.
6. How do I optimize performance for ML on Banana Pi?
Optimize performance by:
- Reducing model complexity using pruning or quantization.
- Enabling GPU acceleration where possible.
- Running only the essential processes to free up system resources.
7. What are some external add-ons to boost ML capabilities?
Consider adding a Coral USB TPU for TensorFlow acceleration, an external SSD for faster data processing, or a high-quality camera module for image-based projects.
8. How can I integrate Banana Pi with IoT for ML projects?
Integrate Banana Pi with IoT by connecting sensors for data collection, using MQTT for device communication, and deploying ML models locally for real-time predictions. Examples include smart thermostats, predictive maintenance systems, and automated irrigation setups.
9. Is programming experience required to use Banana Pi for ML?
Basic programming skills in Python are necessary to utilize ML libraries like TensorFlow and Scikit-learn. However, many tutorials and pre-trained models are available to help beginners.
10. Can Banana Pi handle large datasets?
Handling large datasets depends on available RAM and storage. While Banana Pi may struggle with very large datasets, techniques like data sampling or cloud-based preprocessing can help manage limitations.
11. Is Banana Pi energy-efficient for ML tasks?
Yes, Banana Pi consumes significantly less power compared to traditional computers, making it ideal for energy-conscious ML applications, especially in remote or off-grid setups.
12. Can I use pre-trained models on Banana Pi?
Absolutely. Frameworks like TensorFlow Lite and ONNX Runtime support importing and running pre-trained models. This approach saves time and computational resources.
13. What are common challenges in using Banana Pi for ML?
Challenges include limited computational power, lack of GPU support on some models, and the need for extensive optimization. Overcoming these issues often involves using lightweight models and optimizing workflows.
14. How can I visualize ML results on Banana Pi?
Use Python libraries like Matplotlib and Seaborn for local visualization or deploy dashboards using Flask, Django, or Grafana for real-time monitoring.
15. What future advancements could enhance ML on Banana Pi?
Improvements in onboard GPUs, faster processors, and increased RAM in future Banana Pi models will enhance their capability to handle more complex ML tasks efficiently.
Transforming your Banana Pi into a machine-learning powerhouse is both an educational and rewarding journey. With its versatile hardware and open-source support, it offers endless opportunities to innovate and create impactful projects.