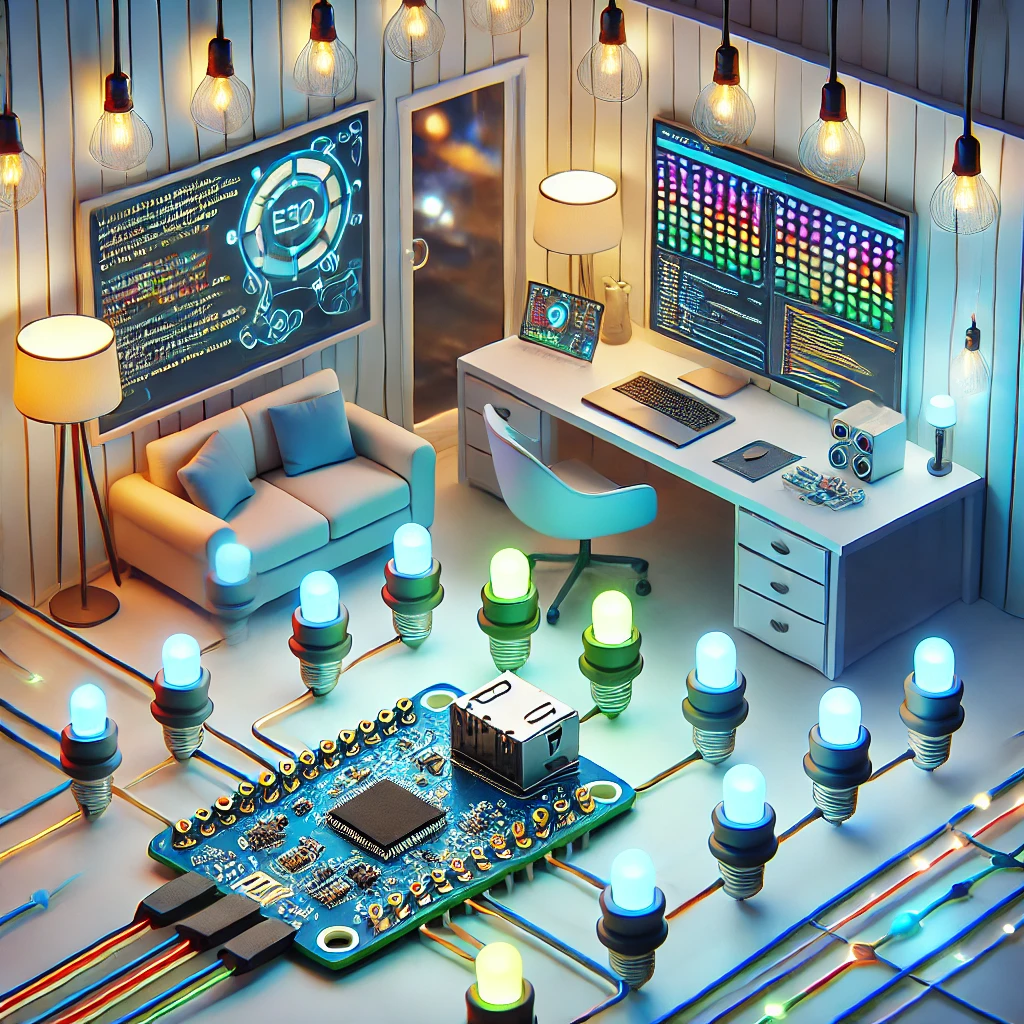
Learn how to turn your ESP32 microcontroller into a powerful smart home automation system. This comprehensive guide covers setting up devices, automation, and integration for an efficient home environment.
Introduction to Smart Home Automation with ESP32
Smart home automation has revolutionized the way we interact with our living spaces. By automating everyday tasks, we can save time, enhance convenience, and even increase energy efficiency. At the heart of this transformation is the ESP32, a microcontroller that is powerful, affordable, and easy to use for creating smart home systems.
The ESP32 offers a versatile solution for building connected devices, thanks to its built-in Wi-Fi and Bluetooth capabilities. With this microcontroller, you can control appliances, monitor sensors, and even implement security features in your home, all without needing a hefty investment in proprietary smart home devices. It’s an excellent option for DIY enthusiasts looking to build customized automation systems.
In this guide, we will explore the step-by-step process of transforming the ESP32 into a comprehensive smart home automation system. From connecting to your Wi-Fi network and controlling devices remotely, to integrating advanced features such as voice control and security, the possibilities are vast. We’ll cover everything you need to know to get started with ESP32 and bring your smart home vision to life.
Building a smart home system requires some planning and understanding of the components involved. However, with the ESP32’s extensive libraries and support, this project becomes much more manageable. In the sections that follow, you will learn how to assemble the hardware, program the ESP32, and create a fully functional smart home system.
Whether you want to automate your lighting, manage the temperature of your home, or monitor your home’s security, the ESP32 has the power and flexibility to handle it all. The best part is that you can do it at a fraction of the cost of commercial smart home solutions. By the end of this guide, you’ll be ready to create a smart home that’s fully customized to your needs.
Understanding ESP32 and Its Role in Home Automation
Before jumping into building a smart home system, it’s important to understand the ESP32’s capabilities and why it’s ideal for this application. The ESP32 is a dual-core microcontroller with a clock speed of up to 240 MHz. It comes equipped with Wi-Fi and Bluetooth connectivity, making it a perfect choice for IoT (Internet of Things) applications.
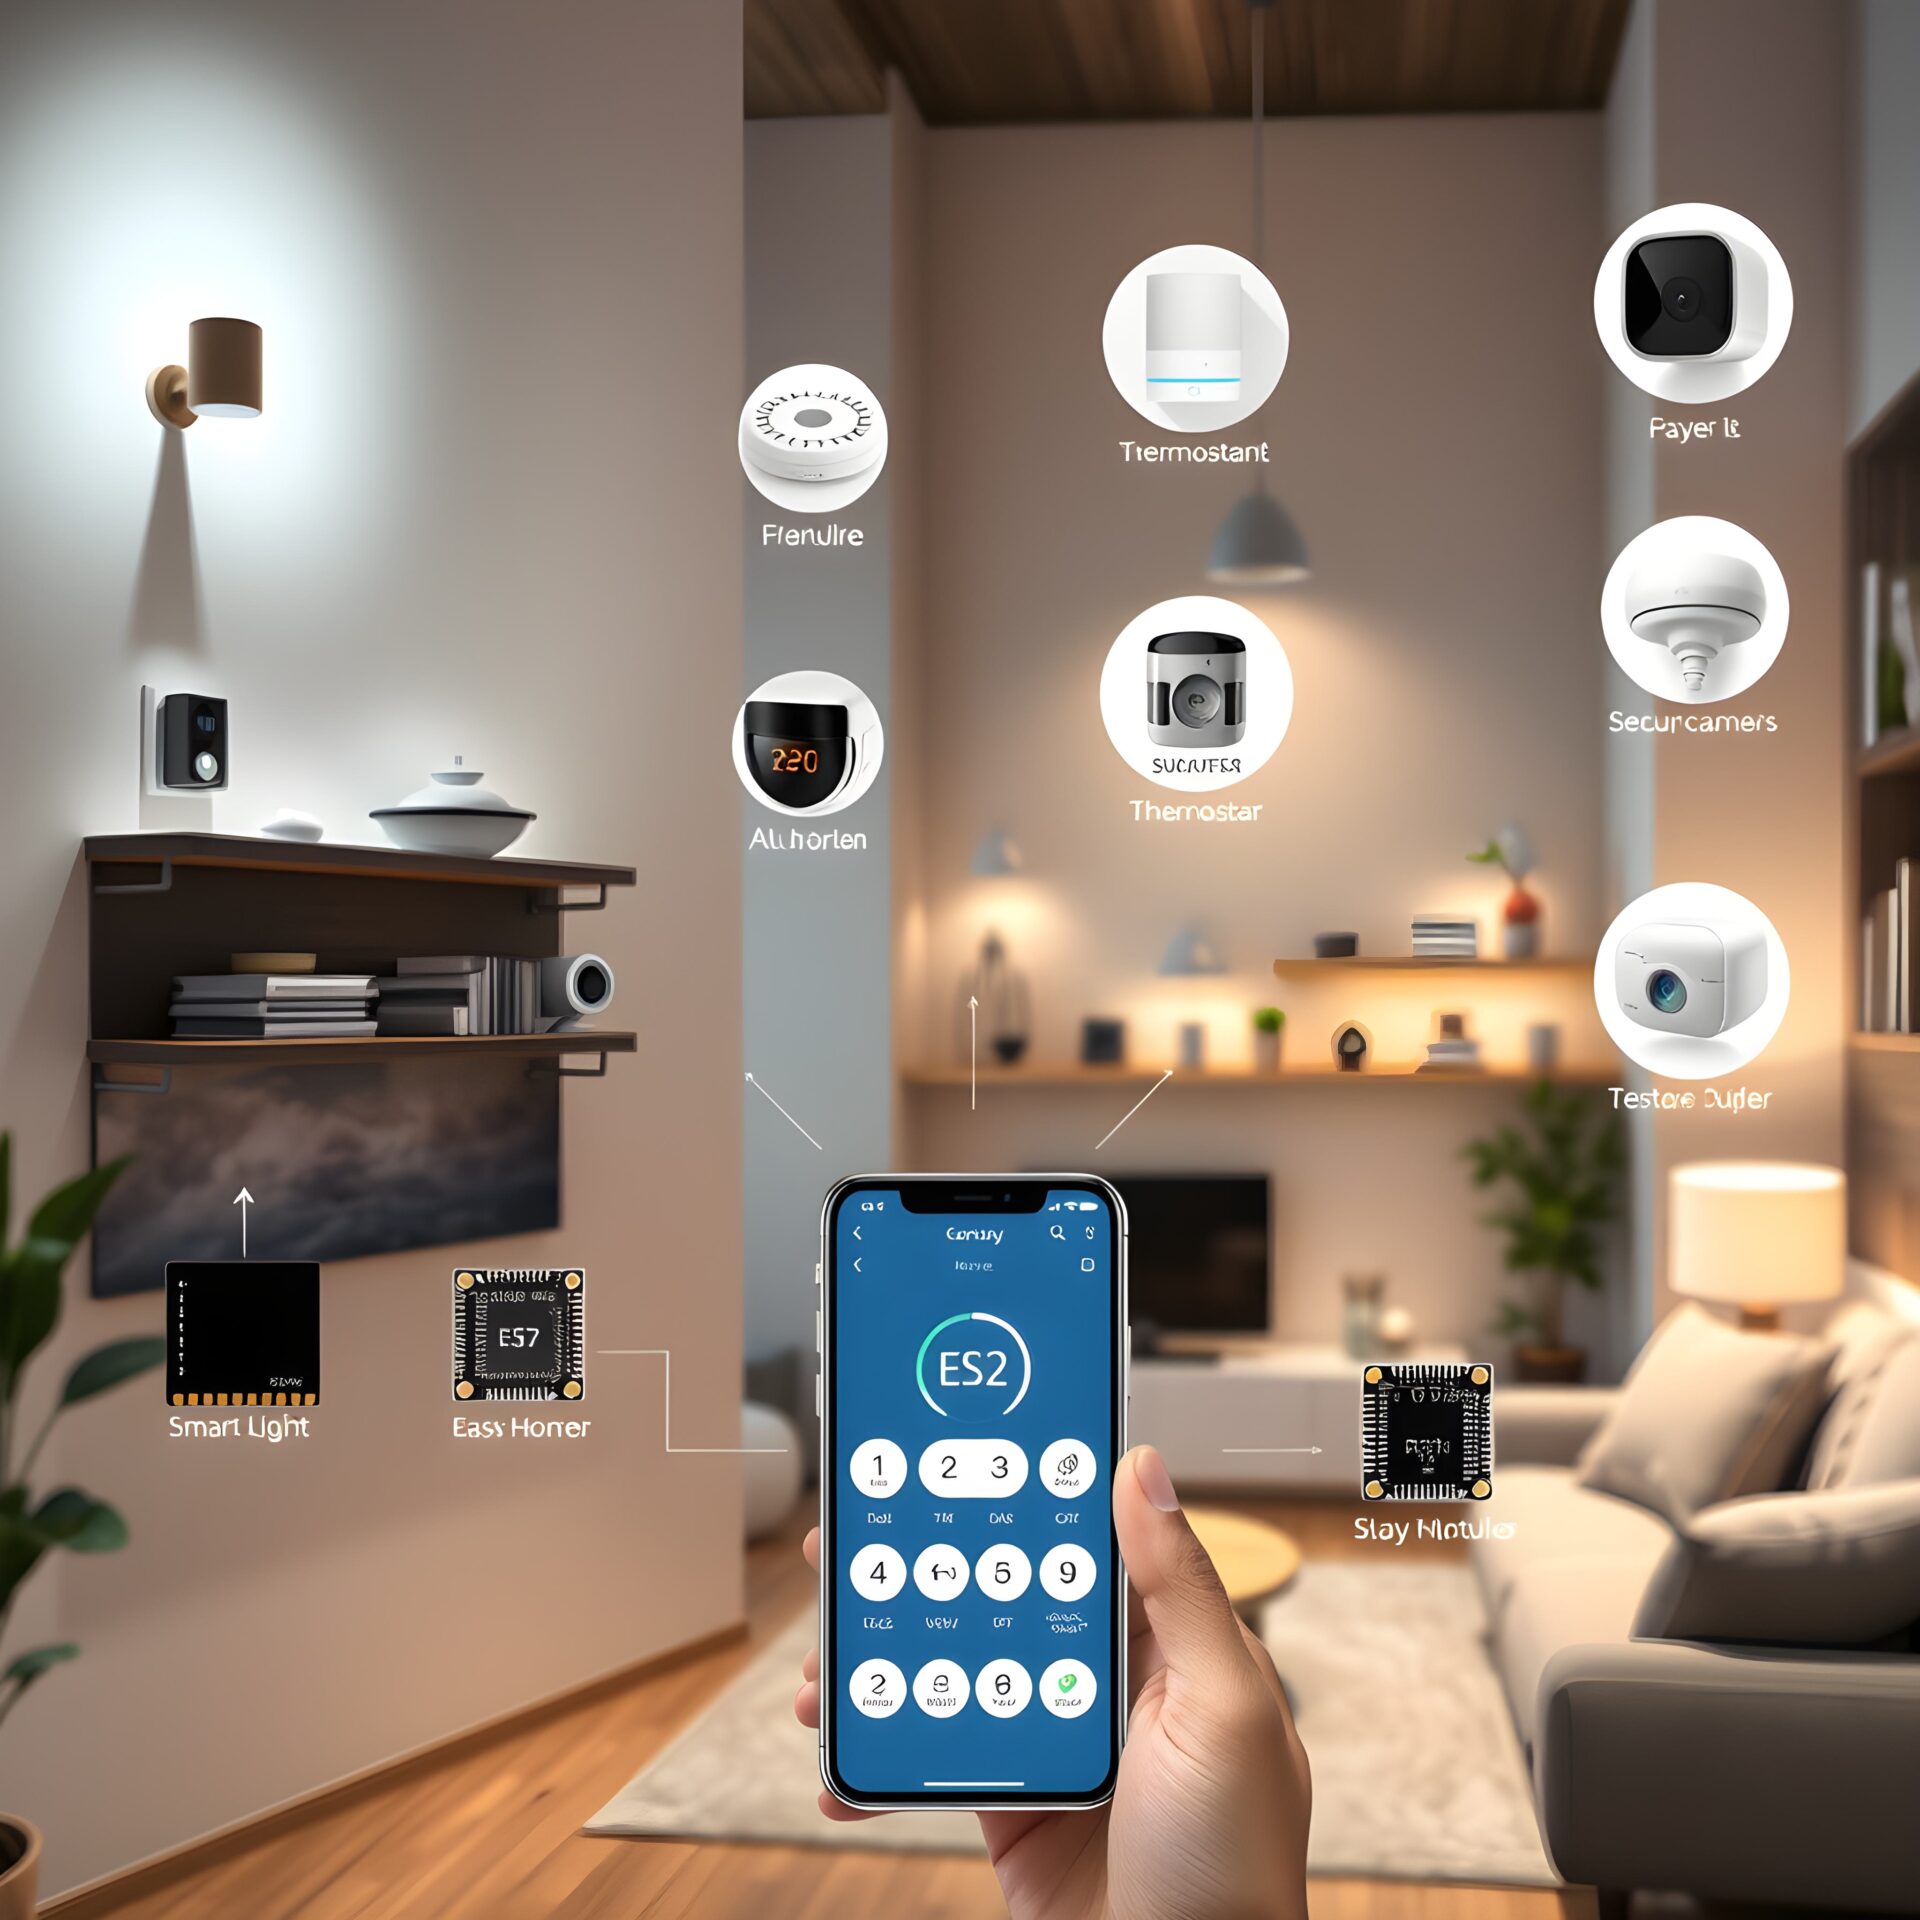
In a smart home environment, the ESP32 serves as the central controller that connects and manages various devices such as lights, relays, sensors, and security cameras. It can receive data from sensors (such as temperature, humidity, or motion) and use that data to trigger specific actions, such as turning on lights or sending an alert. The flexibility of the ESP32 allows it to support a wide range of sensors and actuators that can be used for diverse smart home automation projects.
The ESP32 has GPIO (General Purpose Input/Output) pins, which allow you to interface with a variety of external devices. These pins are essential for connecting the microcontroller to sensors and actuators. Additionally, the ESP32’s ability to connect to Wi-Fi networks ensures that it can communicate with other devices and platforms, such as your smartphone or a cloud service.
This microcontroller can be programmed easily using the Arduino IDE, a popular development environment for hobbyists and engineers alike. The Arduino IDE provides a simple interface for writing code and uploading it to the ESP32. Thanks to the wide array of available libraries, you don’t have to write complex code from scratch. The ESP32 also supports integration with other platforms like Home Assistant and Blynk, making it even easier to control your smart home devices remotely.
The ESP32 is also low-power when used in sleep mode, which is a major advantage for always-on devices like sensors or security cameras. With its low energy consumption, it can run continuously without draining excessive power, making it an efficient solution for long-term use. Whether you are controlling lights or monitoring environmental conditions, the ESP32 can do it all without using too much energy.
Finally, the price of the ESP32 is a major selling point. Compared to other smart home solutions on the market, the ESP32 is cost-effective and can be easily purchased from various online stores. With its low cost and high functionality, it offers exceptional value for DIY smart home enthusiasts.
Essential Components for Smart Home Projects with ESP32
To create a functional smart home using the ESP32, you’ll need several essential components. These components will allow the ESP32 to interact with sensors, actuators, and other devices in your smart home system. Here’s a breakdown of the key components you’ll need to get started:
- ESP32 Development Board: This is the central component of your smart home system. It is the brain that connects to all other devices and allows for communication via Wi-Fi or Bluetooth. There are various models available, and you can select one based on your needs (e.g., number of GPIO pins, integrated features).
- Relay Modules: To control appliances such as lights, fans, and other devices that run on AC power, you will need relay modules. These act as switches that the ESP32 can control to turn devices on or off. Make sure to select relay modules rated for the devices you want to control.
- Sensors: Sensors are essential for gathering data from the environment. Common sensors for smart home applications include temperature sensors, motion sensors, humidity sensors, and gas sensors. These sensors allow the ESP32 to make decisions based on real-time environmental data.
- Smart Plugs and Lights: If you want to make traditional appliances smart, consider using smart plugs and smart bulbs. These can be controlled using the ESP32 and offer convenient automation features.
- Power Supply: The ESP32 requires a stable power supply, usually 5V or 3.3V depending on the model. Ensure that your power supply can provide adequate current to power both the ESP32 and any connected devices, like relays or sensors.
- Smartphone/Tablet: Your smartphone or tablet will be used to control your smart home system remotely. This is usually done through an app like Blynk or a web interface like Home Assistant.
- Home Assistant or Blynk: These platforms serve as the control hub for your smart home system. With Blynk, you can create a custom interface on your phone to control your devices, while Home Assistant allows for more advanced automation and integration.
These components form the backbone of your smart home automation system. By combining them with the power of the ESP32, you can create a truly connected environment that is flexible and customizable. The next step is to set up your ESP32 to connect to your Wi-Fi network and begin programming it to control these components.
Setting Up Your ESP32 Smart Home Network
Setting up your ESP32 to control smart home devices involves a few simple steps. First, you need to get your ESP32 connected to your Wi-Fi network so that it can communicate with other devices. Once the ESP32 is connected to the internet, it can send and receive data to control various devices.
Step 1: Configure the ESP32
Start by setting up the Arduino IDE and installing the necessary libraries for the ESP32. Select the correct board and port in the IDE, then upload a simple sketch to check that everything is working properly. Below is a basic code snippet to get the ESP32 connected to your Wi-Fi network:
This code simply connects the ESP32 to your Wi-Fi network. After uploading this sketch to the ESP32, you should see the “Connected to Wi-Fi!” message in the serial monitor. The next step is to program the ESP32 to control devices like lights or fans.
Step 2: Integrate Devices
Once your ESP32 is connected to the network, you can integrate other devices such as smart plugs, lights, or sensors. For example, using a relay module with the ESP32 allows you to turn devices on and off remotely. Below is a simple code snippet to control a relay connected to pin 23 of the ESP32:
This setup will turn the connected appliance on for 10 seconds and then off for another 10 seconds, continuously repeating the cycle. The next step is to integrate more devices and create an automation system.
Automation and Control Using Platforms
Now that you’ve connected the ESP32 to your network and set up basic control over devices, the next step is automation. With platforms like Home Assistant or Blynk, you can create sophisticated rules for when devices should turn on or off based on triggers like time of day, sensor readings, or user input.
Using Blynk
Blynk is a popular app that lets you create custom interfaces to control your devices remotely. Once you install the Blynk app on your phone and set up an account, you can add widgets to the app for controlling various devices connected to your ESP32. Blynk communicates with the ESP32 over the internet, sending commands and receiving sensor data.
Using Home Assistant
Home Assistant offers more complex automation and allows you to integrate a wide variety of devices, including ESP32-powered sensors, relays, and more. It runs on a Raspberry Pi or similar computer, and through its web interface, you can control all your devices, monitor sensor data, and even create automation rules based on specific triggers.
For example, you could create an automation rule that turns on the lights when motion is detected in a room, or that adjusts the thermostat when the temperature falls below a certain threshold.
With these platforms, you can create a truly smart home that responds to your needs, improves energy efficiency, and provides better control over your environment.
The ESP32 is an incredibly powerful and cost-effective microcontroller for building a smart home automation system. With its built-in Wi-Fi and Bluetooth capabilities, the ESP32 allows you to connect a variety of devices and sensors to create a connected home. Through platforms like Blynk and Home Assistant, you can automate tasks, control devices remotely, and monitor your home’s conditions.
By following the steps outlined in this guide, you can turn your home into a smart home, tailored to your needs and preferences. Whether you’re looking to automate lighting, control appliances, or monitor your home’s security, the ESP32 offers the flexibility and power to make it happen.
With a bit of programming and creativity, you can create a truly intelligent home that is both efficient and convenient. So start building, and enjoy the endless possibilities that come with a smart home powered by the ESP32!
FAQs
1. What is the ESP32 and why is it suitable for smart home automation?
The ESP32 is a low-cost, low-power microcontroller with built-in Wi-Fi and Bluetooth capabilities. It’s suitable for smart home automation because it allows you to connect various devices to your home network wirelessly. With its versatility and high performance, it’s ideal for tasks such as controlling lights, sensors, and other smart devices. You can also integrate the ESP32 with cloud services, making it an essential tool for building robust, scalable smart home systems.
2. How do I set up the ESP32 for smart home automation?
Setting up the ESP32 involves installing the necessary Arduino IDE or PlatformIO, followed by installing the required libraries for controlling sensors and devices. You’ll need to connect the ESP32 to your Wi-Fi network and write code to manage communication between your devices and the cloud. There are various tutorials available online, including on platforms like Instructables and GitHub, to guide you through the setup process.
For detailed instructions on setting up ESP32 with home automation, you can check out www.esp32.com.
3. Can I control multiple devices with ESP32?
Yes, you can control multiple devices using the ESP32. By using GPIO pins, you can interface with various modules like relays, sensors, and actuators. You can also integrate multiple ESP32 modules to control different parts of your home automation system. For example, one ESP32 might control the lights, while another handles the thermostat, both communicating through cloud services or MQTT.
You can explore multi-device configurations and learn more about ESP32 connections at www.blynk.io.
4. How can I integrate voice control into my ESP32-based smart home system?
You can integrate voice control with Amazon Alexa, Google Assistant, or Siri by using platforms like IFTTT or Home Assistant. These services can bridge the communication between the ESP32 and the voice assistant. You’ll need to configure the ESP32 to respond to commands via cloud platforms like AWS IoT or Google Cloud IoT. Once connected, you can control devices like lights, fans, or security systems by simply saying a command.
Check out www.home-assistant.io for detailed guides on integrating voice assistants.
5. What are the benefits of cloud integration in a smart home system with ESP32?
Cloud integration provides several benefits for your smart home system. It allows for remote access, so you can control and monitor your devices from anywhere using your smartphone. Cloud integration also enables data storage and analytics, giving you insights into your home’s energy consumption, temperature trends, and more. Additionally, it enhances the system’s scalability, allowing you to easily add new devices or sensors without overloading your local network.
For more on cloud services and remote access, visit https://www.thingspeak.com.
6. What kind of sensors can I use with the ESP32 for smart home projects?
The ESP32 supports a wide variety of sensors for smart home projects, including temperature sensors, motion sensors, gas sensors, light sensors, and humidity sensors. You can integrate these sensors with your ESP32 to monitor environmental conditions and trigger automation actions such as turning on lights when someone enters a room or adjusting the thermostat when the temperature rises.
For a list of compatible sensors, you can refer to www.makeradvisor.com.
7. How can I improve the security of my ESP32-based smart home system?
Security is an essential aspect of any smart home system. To improve security with ESP32, you can integrate features like motion detection, video surveillance, and smart locks. Using ESP32-CAM, you can create security cameras that send real-time video feeds to your phone. Additionally, by setting up geofencing, the system can arm or disarm automatically based on your location.
Check out www.iot-for-all.com for more security solutions using ESP32.
8. Is it possible to control my smart home while I’m away?
Yes, with cloud integration and remote access, you can control your ESP32-based smart home from anywhere. By connecting your ESP32 to services like AWS IoT or Google Cloud IoT, you can monitor devices, control lights, or adjust the thermostat using your smartphone, even when you’re far from home.
You can find guides on remote control for your ESP32 smart home at https://www.blynk.io.
9. What are the energy-saving benefits of using ESP32 for smart home automation?
The ESP32 helps you save energy by automating tasks like controlling the thermostat, lighting, and appliance usage. By using motion sensors, temperature sensors, and time-based automation, you can ensure that lights and appliances are only active when necessary. Additionally, integrating with cloud platforms for energy monitoring gives you detailed insights into your energy consumption, allowing for more informed decisions about when and how to use energy.
Explore energy-saving automation tips on www.energy.gov.
10. What are the limitations of using ESP32 for smart home automation?
While the ESP32 is a powerful tool, it does have some limitations. It has limited processing power compared to higher-end microcontrollers or cloud systems, so it may not be suitable for very complex computations or heavy data processing. Additionally, it relies on a stable Wi-Fi connection, so poor network performance can affect the reliability of your system. However, for most home automation tasks, the ESP32 is more than capable and offers an affordable, flexible solution.
You can learn more about the capabilities and limitations of ESP32 at www.esp32.com.
Did you find this helpful? If you did, please stay tuned to our blog!!


