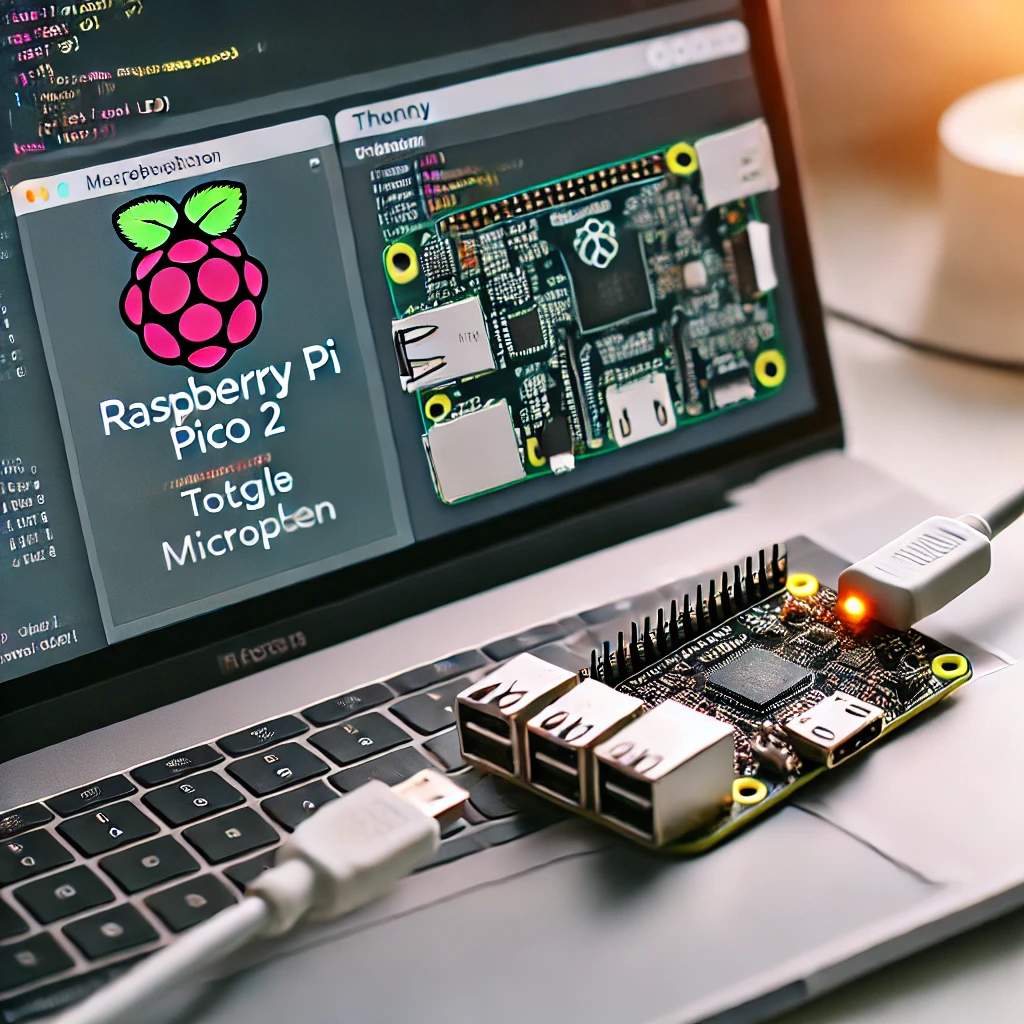
Learn how to transform your Raspberry Pi into a secure VPN router. This step-by-step guide shows you how to set up and configure your Raspberry Pi for enhanced privacy. (154 characters)
Looking for a budget-friendly way to secure your home network or browse safely on public Wi-Fi? The Raspberry Pi is an excellent device to transform into a secure VPN router. In this guide, we’ll show you step-by-step how to use your Raspberry Pi as a VPN router to protect your online activities.
Check out this guide on using Raspberry Pi for home automation if you’re looking for additional projects to enhance your setup.
Why Use Raspberry Pi as a VPN Router?
With its small size and powerful capabilities, Raspberry Pi can efficiently run a VPN service. Benefits include:
- Enhanced Security for your home or office network.
- Bypass geo-restrictions to access global content.
- Encryption of internet traffic, adding an extra layer of privacy when using public Wi-Fi.
If you’re interested in further securing your network, consider learning about Raspberry Pi security camera setups.
Step-by-Step Guide to Setting Up a VPN on Raspberry Pi
1. Gather Your Equipment
You’ll need the following:
- Raspberry Pi (Raspberry Pi 4 preferred)
- MicroSD card (at least 8GB)
- Ethernet cable
- Power supply
2. Install Raspberry Pi OS
Download and install Raspberry Pi OS on your microSD card using the Raspberry Pi Imager tool. Boot up and complete the initial setup.
For more details, you can refer to Raspberry Pi’s official documentation.
3. Install OpenVPN
OpenVPN is the recommended software for setting up a VPN on Raspberry Pi:
- Open the terminal on Raspberry Pi.
- Run the following commands to update and install OpenVPN:
bash
sudo apt update && sudo apt upgrade

sudo apt install openvpn
4. Configure the VPN Server
To configure OpenVPN, run:
wget https://git.io/vpn -O openvpn-install.sh && bash openvpn-install.sh
Follow the prompts to complete the setup.
For additional help, visit the OpenVPN community.
5. Set Up Port Forwarding
Enable port forwarding on your router for UDP port 1194 (or as specified in your VPN settings) to access your VPN externally.
6. Connect Devices to Your VPN
Once set up, connect devices like smartphones, laptops, and even smart TVs to your Raspberry Pi VPN router.
Benefits of a Raspberry Pi VPN Router
- Privacy Protection: Encrypts data and keeps browsing private.
- Remote Access: Safely access your home network from anywhere.
- Cost-Effective: Use Raspberry Pi to avoid the cost of dedicated VPN routers.
Conclusion
Using a Raspberry Pi as a VPN router is an affordable and effective way to ensure privacy and security for your home or office network. This setup not only provides encrypted internet traffic but also allows you to access your home network remotely with confidence.
If you’re looking for more ideas on maximizing the potential of Raspberry Pi, consider reading this article on Raspberry Pi home servers.


