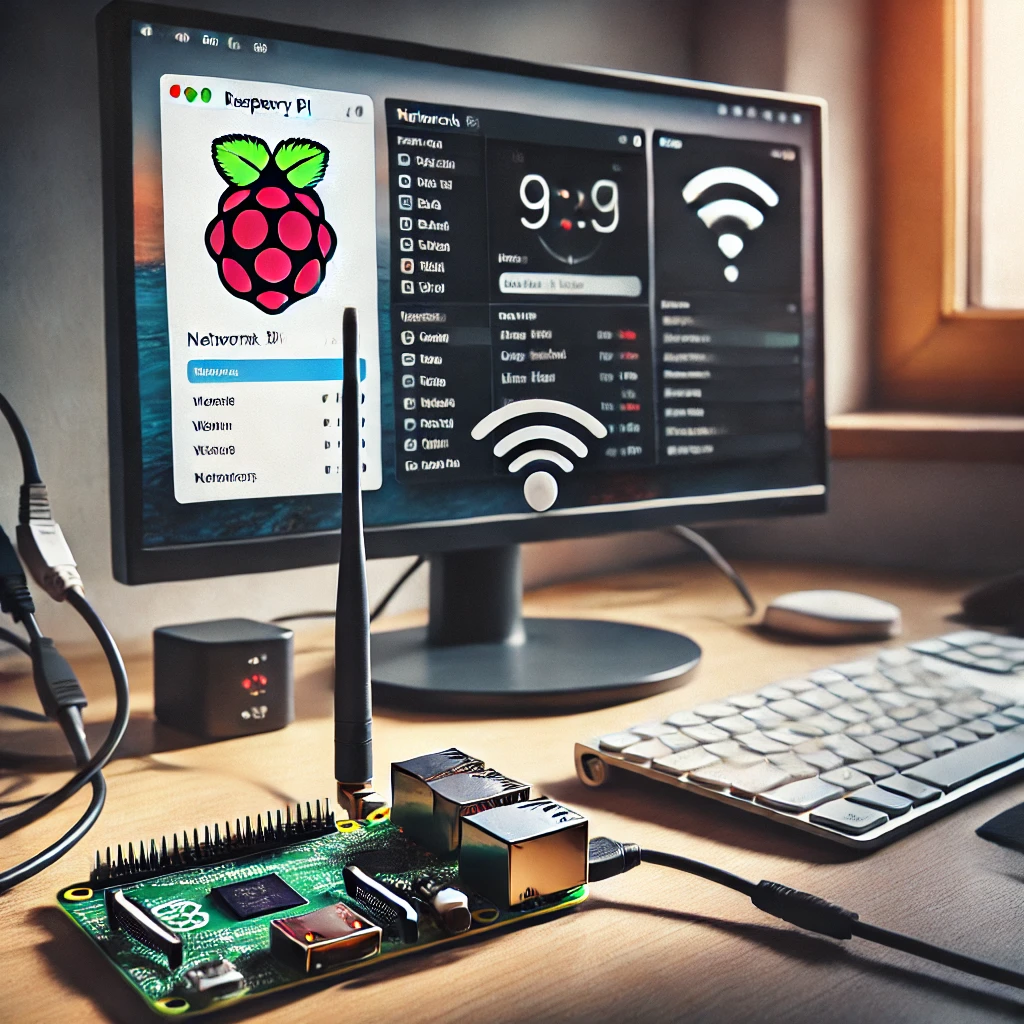
Have you ever wondered if you could turn your Raspberry Pi into a fully functioning Wi-Fi hotspot? Well, you can! With the powerful Raspberry Pi and some simple software, you can create a wireless network that allows multiple devices to connect to the internet. Whether you’re setting up a personal network at home or need a quick way to share an internet connection, this guide will show you how to transform your Raspberry Pi into a Wi-Fi hotspot.
What You Need to Get Started:
Before you dive into creating your Raspberry Pi Wi-Fi hotspot, ensure you have the following tools and materials:
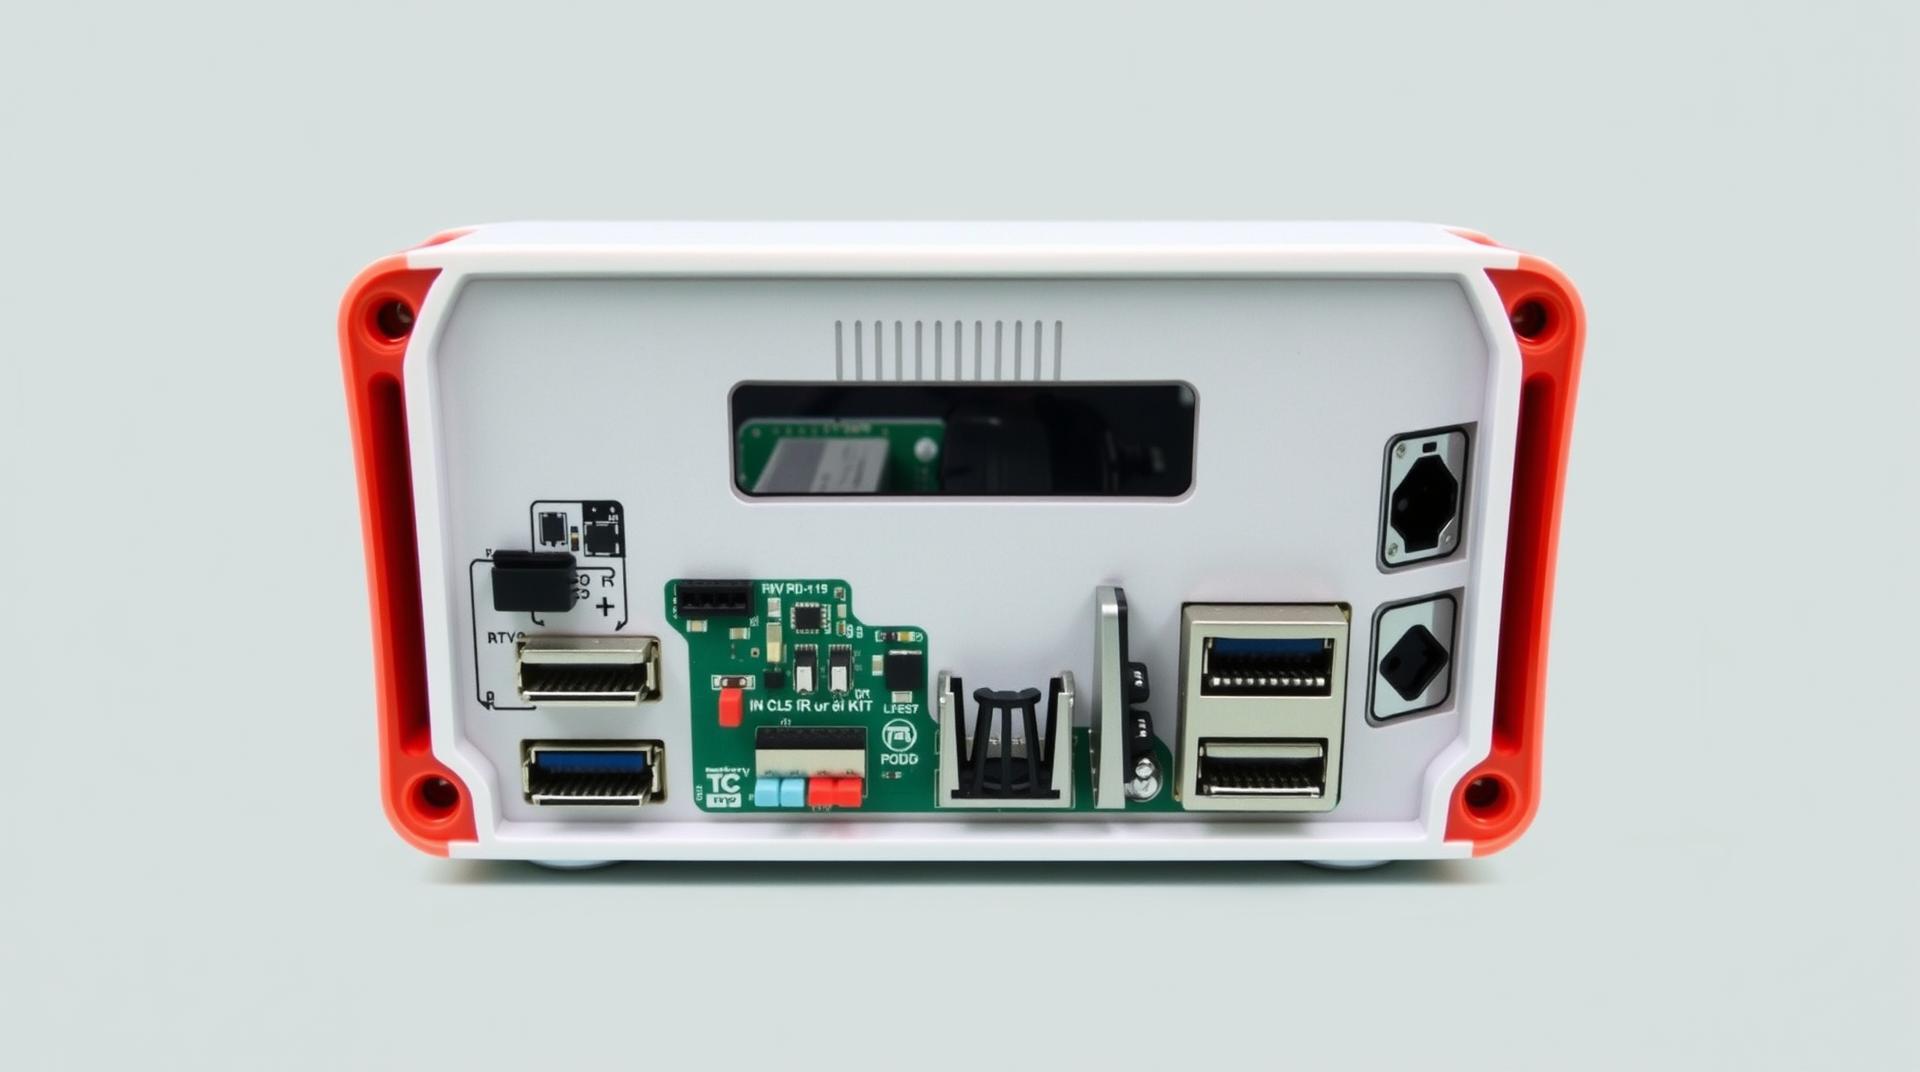
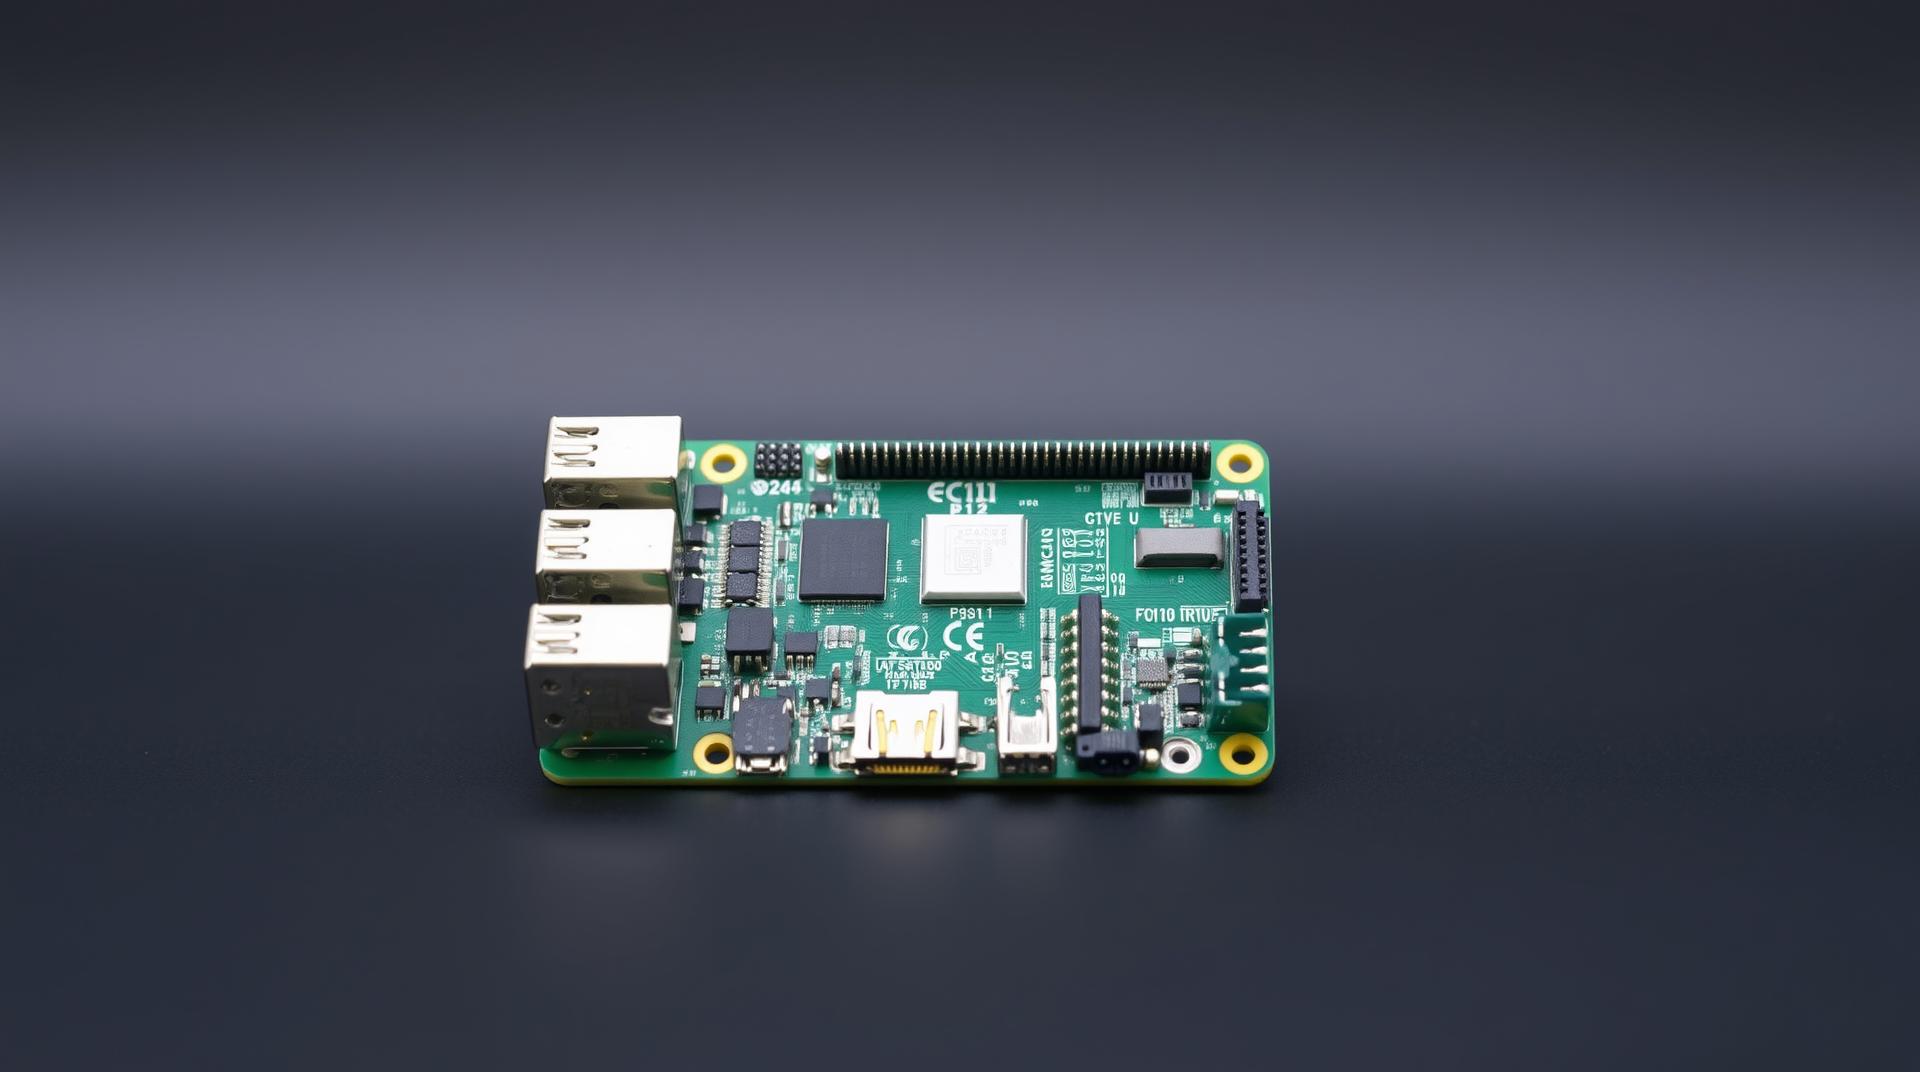
- Raspberry Pi 3 or Raspberry Pi 4 (with built-in Wi-Fi)
- Micro SD card (with Raspberry Pi OS installed)
- Power supply
- Internet connection (either Ethernet or mobile hotspot)
- Wi-Fi adapter (for older Raspberry Pi models)
Step-by-Step Guide to Setting Up a Raspberry Pi Hotspot:
1. Update Your Raspberry Pi: Before starting, make sure your Raspberry Pi’s software is up-to-date. Run the following commands in the terminal:
sudo apt update

sudo apt upgrade
2. Install the Necessary Software: You will need dnsmasq and hostapd to turn your Raspberry Pi into a hotspot. Install them by running:
sudo apt install dnsmasq hostapd
3. Configure a Static IP Address: You need to assign a static IP address to your Raspberry Pi for the hotspot to work. Edit the dhcpcd.conf file:
sudo nano /etc/dhcpcd.conf
Add the following lines at the end:
interface wlan0

static ip_address=192.168.4.1/24

denyinterfaces eth0
Save and exit the file, then restart your Pi:
sudo reboot
4. Configure Hostapd: Edit the hostapd configuration file:
sudo nano /etc/hostapd/hostapd.conf
Add the following settings:
interface=wlan0

driver=nl80211

ssid=YourNetworkName

hw_mode=g

channel=7

wmm_enabled=0

macaddr_acl=0

auth_algs=1

ignore_broadcast_ssid=0

wpa=2

wpa_passphrase=YourSecurePassword

wpa_key_mgmt=WPA-PSK

rsn_pairwise=CCMP
Save the file and run:
sudo nano /etc/default/hostapd
Uncomment and edit the following line to point to your new config file:
DAEMON_CONF="/etc/hostapd/hostapd.conf"
5. Set Up Dnsmasq: Next, edit the Dnsmasq configuration file:
sudo nano /etc/dnsmasq.conf
Add these settings:
interface=wlan0

dhcp-range=192.168.4.2,192.168.4.20,255.255.255.0,24h
6. Enable IP Forwarding: To allow internet access through your hotspot, edit the sysctl.conf file:
sudo nano /etc/sysctl.conf
Uncomment this line:
net.ipv4.ip_forward=1
7. Final Steps: Save everything, restart your Raspberry Pi, and your hotspot should now be active! Connect your devices to your new Wi-Fi network and enjoy.