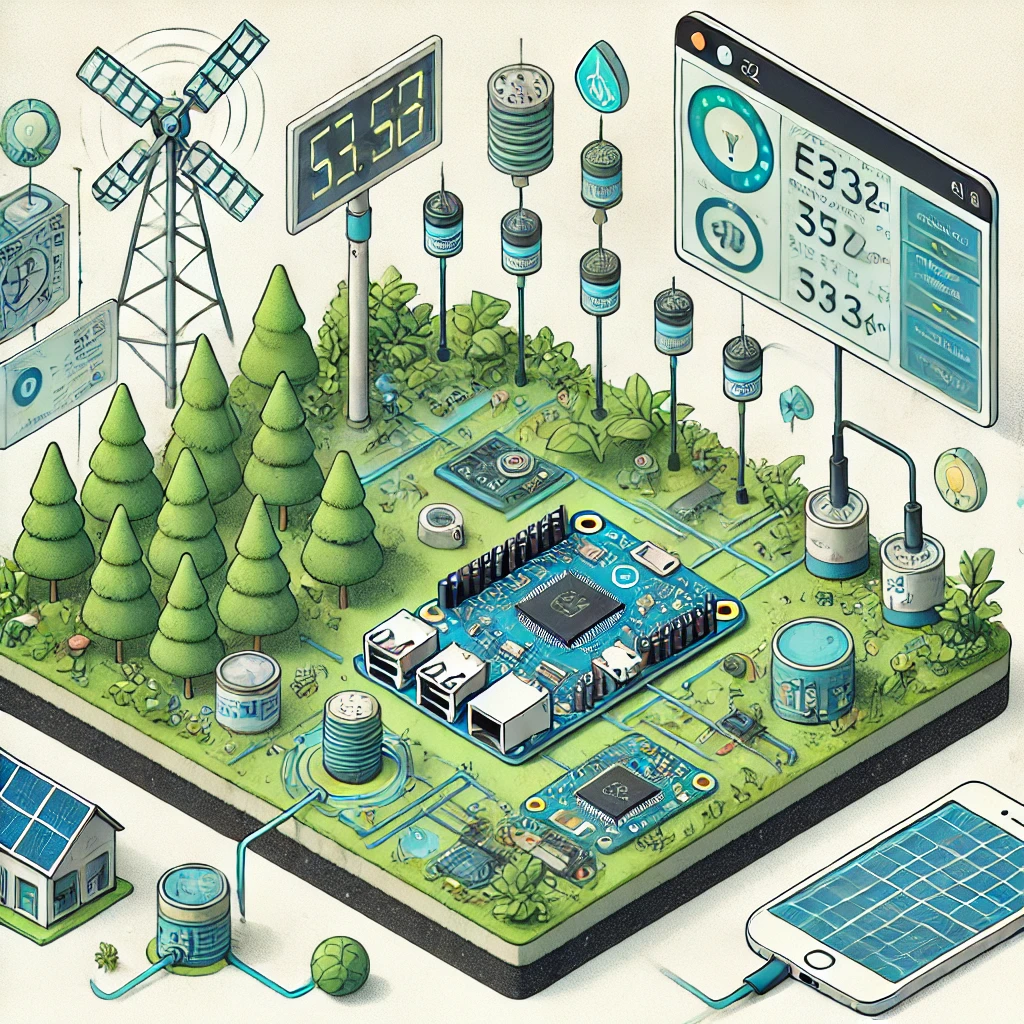
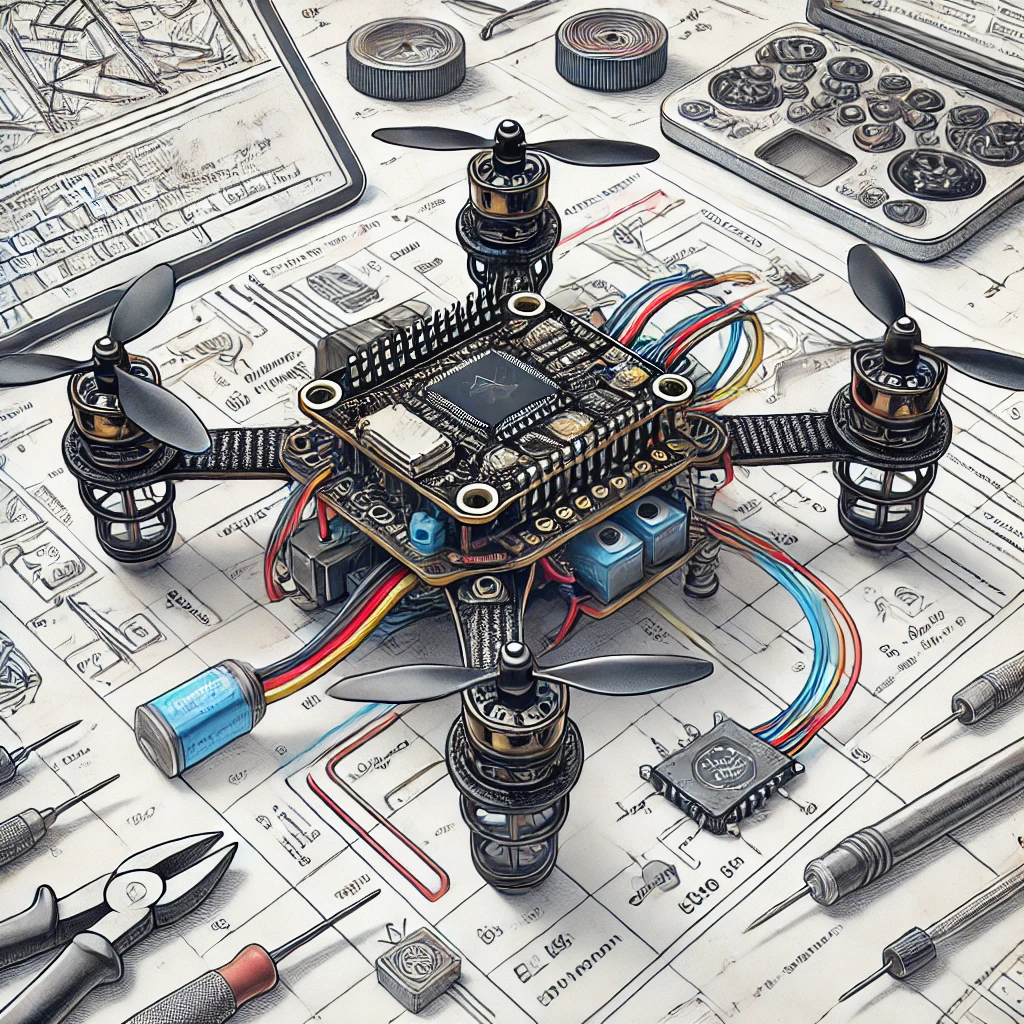
Discover how to turn your Banana Pi into a powerful digital signage system. Learn setup, software options, and tips for creating engaging displays.
Digital Signage
Digital signage has become a critical tool for businesses and organizations to communicate effectively with their audiences. In the digital age, systems elevate customer experiences and streamline information dissemination. Wh by displaying dynamic, real-time content either in interactive display in a retail store or a menu board at a café, digital signage delivers vibrant visuals and critical messages to viewers.
However, commercial digital signage systems often come with a high price tag, making them less accessible to small businesses or personal projects. This is where the Banana Pi shines as an affordable, versatile solution for building your customized system. A single-board computer (SBC), the Banana Pi offers ample power and flexibility for a range of applications, including digital signage.
The compact size and low power consumption of the Banana Pi make it an ideal choice for mounting behind a display. By leveraging open-source software and creative content, you can transform a Banana Pi into a professional-grade signage hub at a fraction of the cost of proprietary systems.
This article will provide a step-by-step guide to building a digital signage powerhouse with the Banana Pi. From understanding the concept of digital signage to selecting the right software and hardware, every aspect will be explored. Additionally, we’ll cover tips for managing and optimizing your signage system to ensure peak performance.
By the end of this guide, you’ll have a comprehensive understanding of how to deploy a fully functional digital signage solution. With a bit of technical know-how and a modest budget, you’ll create a system capable of delivering eye-catching content tailored to your needs.
Understanding Digital Signage and Its Applications
Digital signage refers to the use of digital displays to showcase multimedia content, such as images, videos, or web pages, for information or marketing purposes. These systems are commonly seen in retail stores, restaurants, airports, and corporate offices, where they serve to inform, advertise, or entertain audiences.
One of the key advantages of digital signage is its ability to deliver dynamic and targeted content. Unlike static signs, digital displays can be updated in real time, ensuring that the information presented is always current and relevant. This makes it particularly effective for displaying time-sensitive content like promotions, news updates, or transportation schedules.
In retail, digital signage is often used to enhance the shopping experience by showcasing product demonstrations, customer reviews, or limited-time offers. Restaurants employ digital menu boards to highlight daily specials, while hotels use them to provide guests with information about amenities and local attractions.
Digital signage also plays a vital role in corporate environments, where it is used for internal communication. Employees can stay informed about upcoming meetings, company news, or health and safety guidelines through strategically placed displays in office spaces.
Despite its versatility, implementing a traditional digital signage system can be prohibitively expensive, particularly for small businesses. Proprietary solutions often involve costly hardware, software subscriptions, and maintenance fees. This has led to a growing interest in DIY alternatives using affordable SBCs like the Banana Pi.
By utilizing a Banana Pi, you can create a digital signage system that is both cost-effective and highly customizable. With the right software and a creative approach, it’s possible to achieve professional-quality results without the need for a large budget or technical expertise.
Why Choose Banana Pi for Digital Signage?
The Banana Pi is an excellent candidate for digital signage projects due to its unique combination of affordability, power, and flexibility. As a single-board computer, it offers capabilities similar to those of the Raspberry Pi but with features that make it particularly well-suited for multimedia applications.
One of the standout features of the Banana Pi is its processing power. Many models, such as the Banana Pi M4, are equipped with quad-core processors and ample RAM, enabling smooth playback of high-definition videos and animations. This is crucial for creating visually engaging content that captures viewers’ attention.
In addition to its performance capabilities, the Banana Pi supports a wide range of operating systems, including Linux and Android. This versatility allows users to choose the platform that best meets their requirements. For digital signage, a Linux-based OS like Armbian is often recommended due to its stability and extensive software support.
Another advantage of the Banana Pi is its affordability. While commercial digital signage systems can cost hundreds or even thousands of dollars, a Banana Pi setup can be assembled for less than $100, including peripherals. This makes it an attractive option for small businesses, educational institutions, and hobbyists.
The device’s compact size and low power consumption further enhance its appeal. Measuring just a few inches in width and height, the Banana Pi can be discreetly mounted behind a display, keeping the setup tidy and professional-looking. Its energy-efficient design ensures that it can run continuously without significantly impacting electricity costs.
Finally, the open-source nature of the Banana Pi ecosystem allows for extensive customization. Users can modify software, integrate third-party applications, and even develop their own solutions to meet specific needs. This level of flexibility is unmatched by proprietary systems, which are often locked into vendor-specific platforms.
With these benefits in mind, the Banana Pi is an ideal choice for anyone looking to build a cost-effective and versatile digital signage system.

Choosing the Right Hardware for Your Setup
Building an efficient digital signage system with the Banana Pi starts with selecting the right hardware components. A well-planned hardware setup ensures that your system is both reliable and scalable, meeting your current and future needs. Below is an overview of the essential hardware and considerations for your Banana Pi-powered signage solution.
1. Banana Pi Model Selection
The first step is choosing the appropriate Banana Pi model. For digital signage, models like the Banana Pi M4 or M5 are ideal due to their quad-core processors and high-definition multimedia interface (HDMI) support. These models can handle HD video playback and run resource-intensive applications smoothly.
2. Display Selection
The display is the focal point of your signage system. Choose a screen that matches the resolution and size requirements of your project. For retail or menu boards, a 1080p display with a minimum of 24 inches is recommended. Ensure the screen has HDMI input for seamless integration with the Banana Pi.
3. Storage and Memory
Adequate storage is crucial for storing multimedia content and operating system files. A 32GB microSD card is a good starting point, but you can opt for external USB drives or SSDs for larger storage needs. For memory, models with at least 2GB of RAM are preferred for optimal performance.
4. Enclosures and Mounting Options
A durable enclosure protects the Banana Pi from environmental factors such as dust and heat. Choose a case with proper ventilation and mounting options for easy installation behind the display. Many cases come with pre-drilled holes for walls or VESA mounts.
5. Power Supply and Backup
Use a reliable power adapter that matches the voltage and current requirements of your Banana Pi. Additionally, consider integrating an uninterruptible power supply (UPS) to ensure uninterrupted operation during power outages.
6. Connectivity Accessories
If your digital signage requires internet connectivity, equip the Banana Pi with a Wi-Fi adapter or Ethernet cable. For interactive displays, you may need peripherals like touchscreens, keyboards, or sensors.
7. Cooling Solutions
Running the Banana Pi for extended periods can cause it to overheat. Use a cooling fan or heat sink to maintain an optimal operating temperature, especially in high-performance scenarios.
8. Cables and Adapters
Finally, ensure you have the necessary HDMI cables, USB adapters, and power cords. Proper cable management not only enhances the aesthetics of your setup but also reduces the risk of accidental disconnections.
By assembling these components thoughtfully, you’ll create a hardware setup that serves as the foundation for your digital signage system.
Setting Up the Software for Digital Signage
The software you choose determines the functionality and user experience of your digital signage system. Open-source solutions are highly recommended for their cost-effectiveness and flexibility. Below is a guide to setting up and configuring the software.
1. Operating System Installation
Begin by installing a compatible operating system on your Banana Pi. Armbian and Raspbian are popular Linux-based choices that offer stability and extensive community support. Download the OS image, flash it onto a microSD card using a tool like BalenaEtcher, and boot your Banana Pi.
2. Digital Signage Software Options
Several open-source digital signage platforms are available:
- Screenly OSE: Ideal for displaying images, videos, and web pages.
- Yodeck: Cloud-based solution with a free plan for small setups.
- PiSignage: Known for its scalability and enterprise-level features.
Select the software that aligns with your requirements and follow the installation guide provided by the developer.
3. Content Management System (CMS)
A CMS allows you to organize, schedule, and update your signage content. Platforms like Xibo and Concerto offer user-friendly interfaces for managing multiple displays remotely. Install the CMS server on your Banana Pi or a separate machine.
4. Network Configuration
Set up a secure Wi-Fi or Ethernet connection to enable remote updates and content syncing. Assign a static IP address to your Banana Pi for consistent connectivity.
5. Customizing Display Settings
Adjust display settings to optimize the viewing experience. Configure screen resolution, orientation, and refresh rates according to your screen specifications.
6. Testing and Troubleshooting
Test the system by uploading sample content and verifying playback. Check for issues like lag, display errors, or connectivity problems. Use diagnostic tools to resolve any discrepancies.
7. Automating Updates
Schedule content updates and system backups to minimize manual intervention. Automation ensures that your digital signage system remains current and operational.
With the software configured, your Banana Pi-powered signage system is ready to deliver compelling content.
Creating Engaging Content for Your Digital Signage
The success of any digital signage system depends on its content. Engaging, dynamic, and visually appealing material captures attention and effectively communicates your message. Below are steps and tips to create impactful digital signage content tailored to your audience and goals.
1. Define Your Objectives
Start by identifying the purpose of your signage. Are you aiming to increase sales, inform your audience, or entertain? Clear objectives help in designing focused and impactful content. For instance, a retail store might showcase promotions, while a café might display menu updates or daily specials.
2. Know Your Audience
Understanding your target audience is crucial for content creation. Consider factors like age, preferences, and habits. For example, vibrant visuals with quick animations may work well in a youth-oriented environment, while professional graphics with detailed information may suit a corporate setting.
3. Design Principles for Effective Visuals
Keep the design simple and clean to ensure clarity. Follow these principles:
- Contrast: Use contrasting colors for text and background to enhance readability.
- Typography: Choose bold, legible fonts and maintain a hierarchy in text sizes.
- Balance: Avoid overcrowding by leaving ample whitespace in your layout.
Use design tools like Canva or Adobe Express for professional-quality visuals without requiring advanced graphic design skills.
4. Multimedia Content Integration
Incorporate a mix of images, videos, and animations to create dynamic displays. Videos, especially those under 30 seconds, are highly effective in grabbing attention. Ensure all multimedia files are optimized for smooth playback on the Banana Pi.
5. Real-Time Content Updates
Integrate live data feeds for time-sensitive information such as news, weather, or stock updates. Many CMS platforms allow you to embed RSS feeds or APIs, enabling real-time updates.
6. Scheduling and Rotation
Keep your content fresh by rotating messages frequently. Use the CMS to schedule updates and maintain variety. For instance, schedule morning messages about breakfast specials and evening slides for dinner promotions.
7. Test and Analyze Performance
Before going live, preview the content on your display to identify issues like pixelation or off-centered elements. Use analytics tools provided by CMS platforms to measure audience engagement and make data-driven improvements.
By following these guidelines, you’ll create visually striking and relevant content that maximizes the impact of your digital signage system.
Optimizing Your Banana Pi Digital Signage System
Optimizing your system ensures reliability, scalability, and consistent performance. Below are actionable steps to enhance the efficiency of your Banana Pi-powered signage solution.
1. Monitor System Performance
Regularly monitor CPU and memory usage to ensure the Banana Pi is not overburdened. Tools like Htop or built-in Linux utilities can help you identify performance bottlenecks.
2. Update Software Regularly
Keep your operating system and signage software up to date to benefit from security patches and performance improvements. Automated update scripts can simplify this process.
3. Implement Caching
Caching frequently used content locally minimizes the load on your network and reduces latency. This is particularly useful for videos and animations displayed repeatedly.
4. Manage Heat and Ventilation
Prolong the lifespan of your Banana Pi by maintaining optimal temperatures. Use a cooling fan, and ensure the enclosure is not placed in direct sunlight or confined spaces.
5. Enhance Security
Prevent unauthorized access by implementing strong passwords and enabling a firewall. If your system is connected to the internet, consider using a VPN for additional security.
6. Plan for Scalability
If you intend to expand your signage network, plan for scalability from the start. Choose a CMS that supports multiple displays and ensure your hardware can handle increased demands.
7. Schedule Maintenance Downtime
Designate specific times for system maintenance to minimize disruption. During these periods, check hardware connections, clean components, and perform software updates.
A well-maintained system will deliver reliable performance and extend the usability of your signage solution.
FAQs About Turning a Banana Pi into a Digital Signage System
-
What is the approximate cost of setting up a Banana Pi digital signage system?
A typical setup costs around $100 to $200, depending on the hardware components and accessories. For details, visit https://bananapi.org. -
Which Banana Pi model is best for digital signage?
The Banana Pi M4 or M5 is recommended due to its processing power and multimedia capabilities. Check model specifications at https://www.banana-pi.com. -
What software can I use for digital signage on Banana Pi?
Popular options include Screenly OSE, Yodeck, and PiSignage. Explore more at https://pignage.com. -
Can I run the system without an internet connection?
Yes, you can use offline content stored on local storage. Read more about offline setups at https://cmsopensource.org. -
How can I ensure smooth video playback?
Use optimized video files with resolutions that match your display and sufficient hardware cooling. Learn optimization tips at https://linuxconfig.org. -
Can I connect multiple displays to a single Banana Pi?
While possible with splitters, performance may vary. Multi-display setups are better handled by multiple units. More at https://techsolutions.com. -
What is the lifespan of a Banana Pi in continuous use?
With proper cooling and maintenance, the Banana Pi can run continuously for years. Learn about durability at https://opensourcehardware.org. -
Is it possible to add interactive features?
Yes, interactive displays can be created using touchscreens or sensors. See examples at https://iotapplications.com. -
What file formats are supported for content?
Common formats like MP4, JPEG, and PNG are widely supported. Compatibility details are available at https://filesupport.org. -
Can I remotely manage the system?
Yes, most CMS platforms allow remote management through web interfaces. Learn how to set it up at https://cmsmanagement.com.

