The Raspberry Pi 4 is a versatile and powerful tool for both beginners and experienced programmers. In this guide, we’ll explore how to get started with coding on your Raspberry Pi 4. From setting up your device to writing your first lines of code, this article will cover everything you need to know.
Getting Started with Raspberry Pi 4
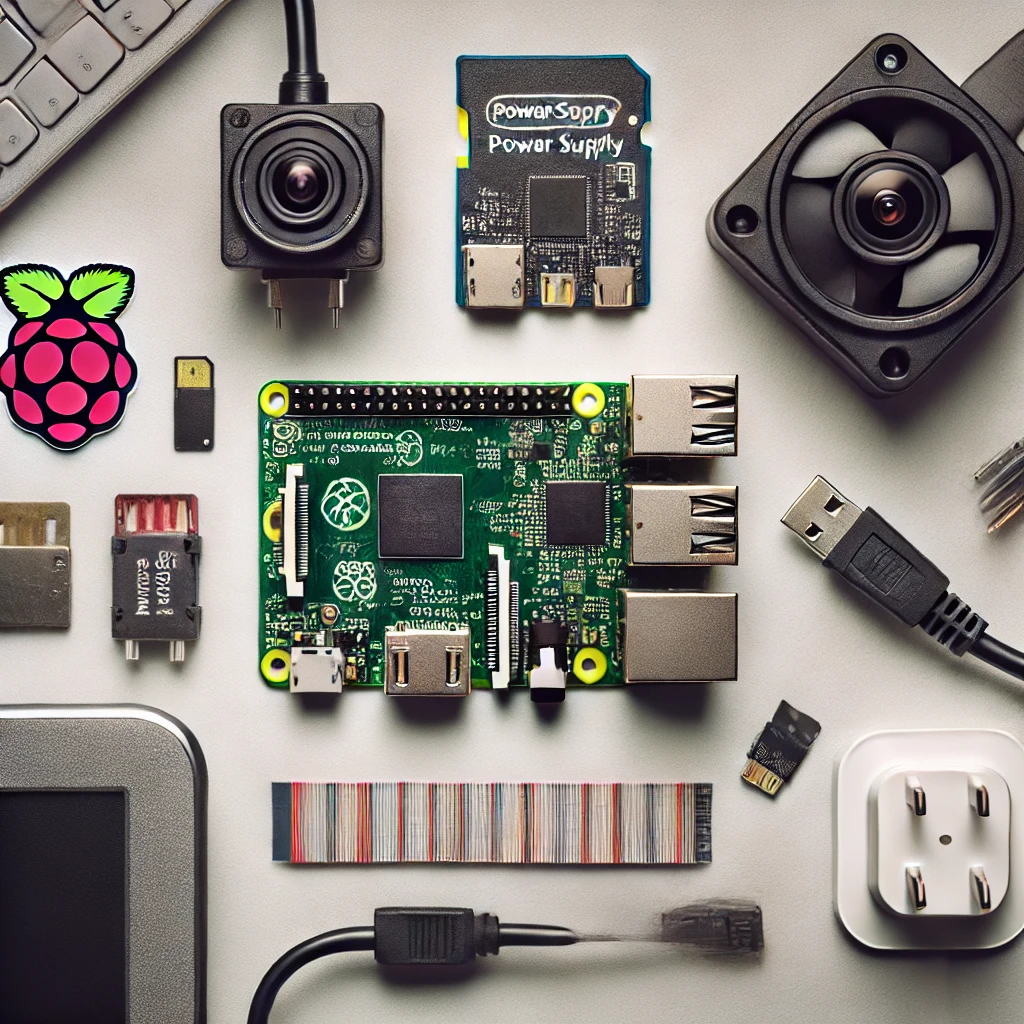
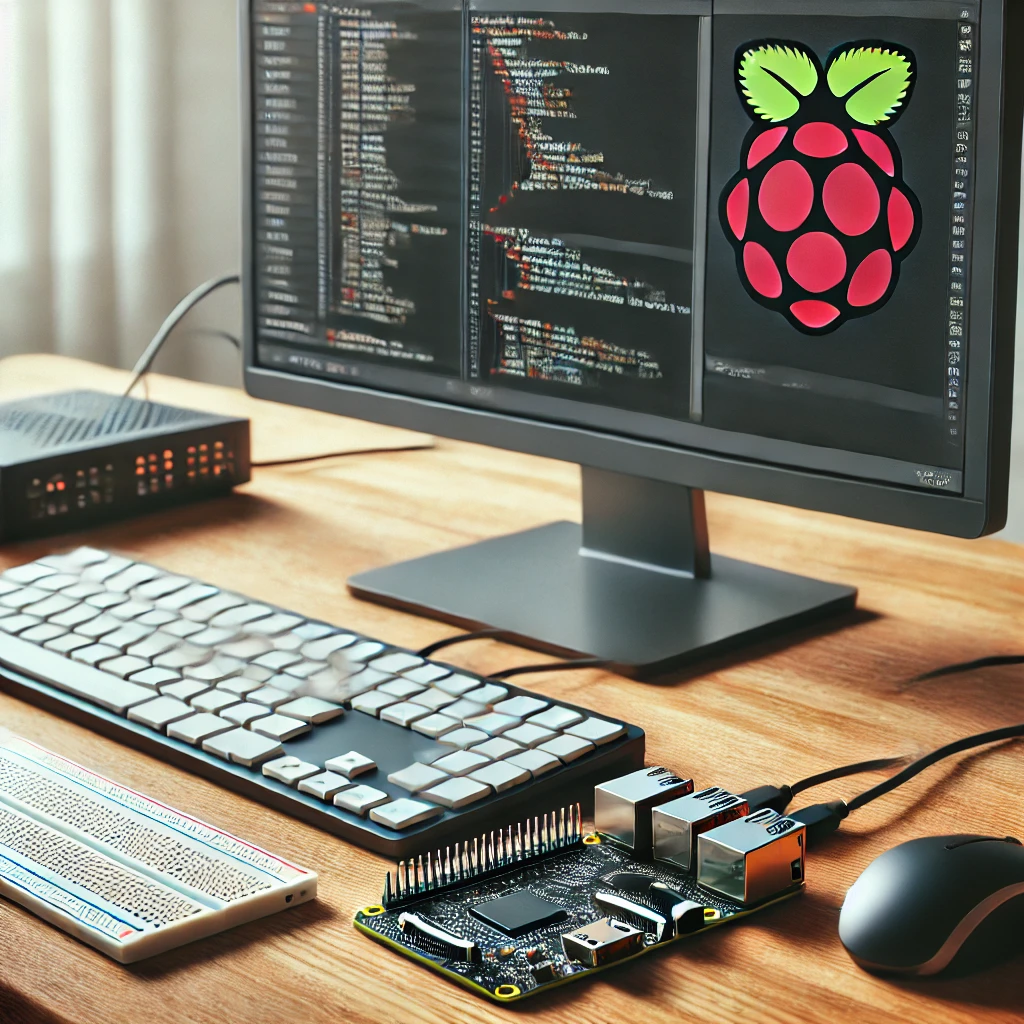
What You Need:
- Raspberry Pi 4 board
- MicroSD card (16GB or more)
- Power supply
- HDMI cable
- Monitor
- Keyboard and mouse
- Internet connection
Setting Up Your Raspberry Pi 4:
- Prepare the MicroSD Card: Download and install the Raspberry Pi OS onto your MicroSD card using the Raspberry Pi Imager.
- Assemble Your Raspberry Pi: Insert the MicroSD card into the Raspberry Pi, connect the HDMI cable to the monitor, and attach the keyboard and mouse.
- Power Up: Connect the power supply and switch on your monitor. The Raspberry Pi should boot up, displaying the desktop environment.
Writing Your First Python Program
Python is a great language to start with on the Raspberry Pi due to its simplicity and versatility.
Step-by-Step Guide:
- Open the Terminal: On the Raspberry Pi desktop, open the terminal.
- Create a New Python File: Type
nano hello_world.pyto create a new file namedhello_world.py. - Write the Code:
python
print("Hello, World!")
- Save and Exit: Press
Ctrl + X, thenY, andEnterto save the file and exit. - Run Your Program: In the terminal, type
python3 hello_world.pyand press Enter. You should see “Hello, World!” printed on the screen.
Exploring More Projects
Once you’ve mastered the basics, you can dive into more complex projects. Here are some ideas:
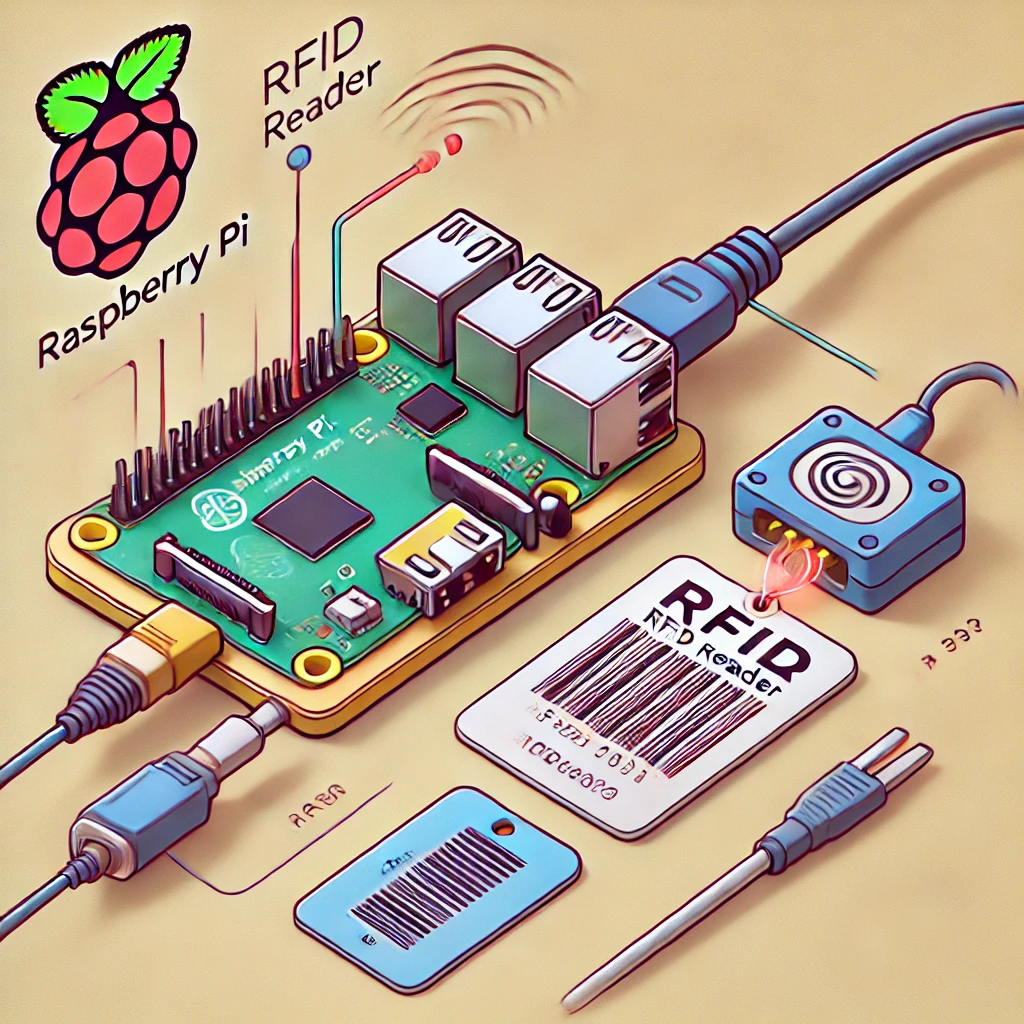
- Home Automation: Control lights and appliances using your Raspberry Pi.
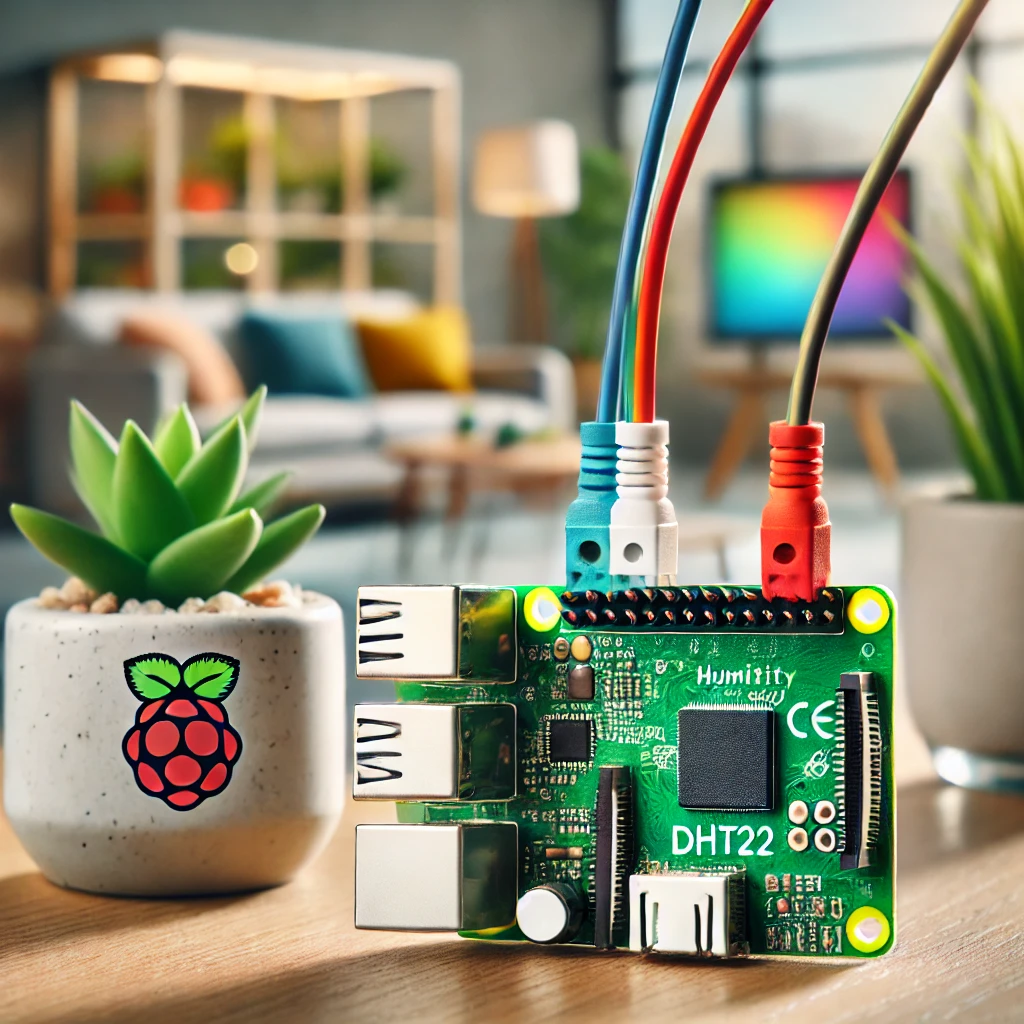
- Weather Station: Collect and display weather data using sensors.
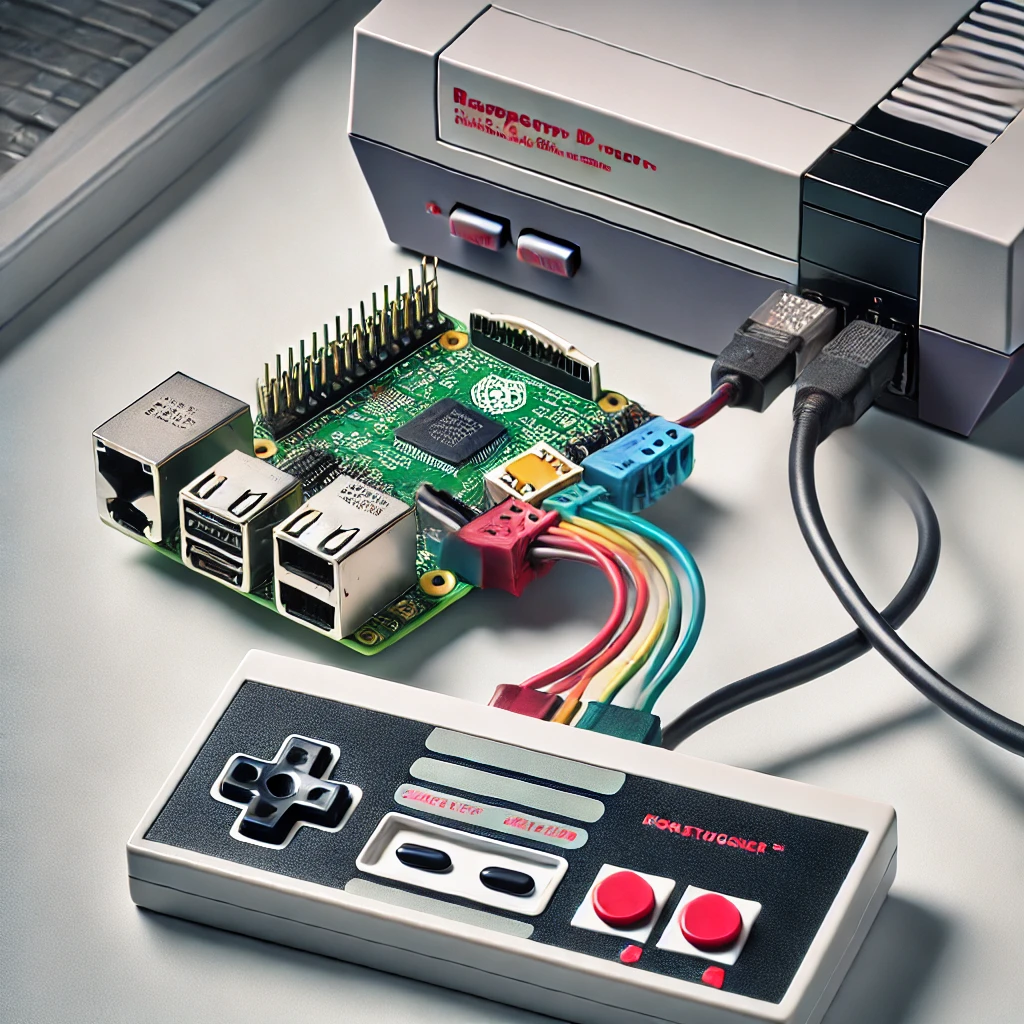
- Gaming Console: Turn your Raspberry Pi into a retro gaming console.
Troubleshooting Tips
- Boot Issues: Ensure the MicroSD card is correctly inserted and the OS is properly installed.
- No Display: Check the HDMI connection and ensure the monitor is on the correct input source.
- Internet Connectivity: Verify your Wi-Fi settings or use an Ethernet cable for a stable connection.
Conclusion
The Raspberry Pi 4 is an excellent platform for learning and experimentation. By following this guide, you can start your coding journey and unlock the potential of this amazing device. Whether you’re building simple projects or complex systems, the Raspberry Pi 4 offers endless possibilities.