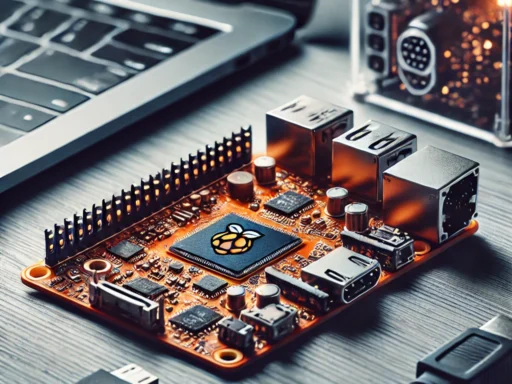
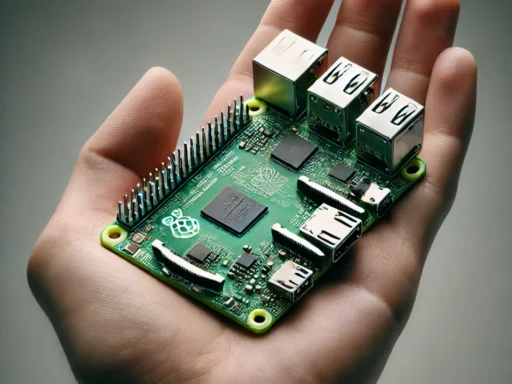
Raspberry Pi, a credit card-sized computer, has revolutionized the way individuals interact with computing. Originally designed as an educational tool to teach coding, Raspberry Pi has since become a beloved gadget for hobbyists, makers, and professionals. Thanks to its low cost, accessibility, and versatility, it has been used for a vast array of applications ranging from robotics to home automation.
One of the most exciting areas where Raspberry Pi has found success is in Artificial Intelligence (AI) and Machine Learning (ML). Once exclusive to powerful servers and high-end computing platforms, AI and ML can now be run on the humble Raspberry Pi, enabling anyone from beginners to advanced developers to explore these cutting-edge technologies.
This guide will take you through the steps of using Raspberry Pi for AI and ML projects, covering the hardware and software setup, the essential libraries and tools, and practical project ideas that can help you get started.
Understanding Raspberry Pi and its Capabilities
Raspberry Pi models vary in performance, and choosing the right one for AI and ML applications is crucial for a smooth experience. While earlier models were useful for basic tasks, recent versions have significantly improved processing power, RAM capacity, and GPU capabilities, making them more suitable for machine learning tasks.
Choosing the Right Raspberry Pi Model
For AI and ML applications, the Raspberry Pi 4 is the most powerful model, offering options with 2GB, 4GB, and 8GB of RAM. The enhanced CPU and better GPU performance make it the ideal choice for running machine learning algorithms.
- Raspberry Pi 4 (4GB or 8GB): This model offers the best balance of performance for AI tasks, particularly if you’re working with image recognition, computer vision, or natural language processing.
- Raspberry Pi 3B+: While still a capable board, the Pi 3B+ offers limited RAM (1GB) and slower performance. It’s suitable for lighter AI/ML applications but may struggle with larger models.
- Raspberry Pi Zero: With minimal computing power, the Pi Zero isn’t recommended for AI or ML applications unless working with very lightweight models or pre-trained neural networks.
When choosing your Raspberry Pi model, ensure that your project requirements align with the available resources on the board. However, the Raspberry Pi 4 should meet the demands of most AI and ML tasks.
Setting Up Raspberry Pi for AI/ML Projects
Once you’ve selected your Raspberry Pi model, the next step is to set up the device for AI and ML development. Raspberry Pi runs on Raspberry Pi OS (formerly Raspbian), a Linux-based operating system optimized for the Pi. To get started, follow these steps:
1. Installing Raspberry Pi OS
- Download Raspberry Pi OS from the official Raspberry Pi website.
- Flash the OS onto a microSD card (at least 16GB recommended) using the Raspberry Pi Imager or a tool like Balena Etcher.
- Boot up your Raspberry Pi by inserting the microSD card, connecting your peripherals (keyboard, mouse, monitor), and powering the device.
The Raspberry Pi OS comes pre-installed with essential tools, but you will need to install additional libraries for AI/ML tasks.
2. Installing Essential Tools for AI/ML
Once your Raspberry Pi is running, you can begin installing the libraries and tools that will enable you to run AI and ML algorithms.
- Python: The primary language used in AI and ML is Python. Check if Python is installed by typing
python3in the terminal. If it isn’t installed, use: - Pip:
pipis the Python package manager, allowing you to install various Python libraries. Install it by typing: - TensorFlow Lite: This is an optimized version of TensorFlow for running AI models on mobile and embedded devices. To install TensorFlow Lite, type:
- OpenCV: For computer vision tasks, OpenCV is the go-to library. Install it using:
- Jupyter Notebook: A powerful tool for experimenting with Python code in an interactive environment. Install it using:
Once these libraries are installed, you’re ready to dive into machine learning and artificial intelligence with your Raspberry Pi.
AI/ML Libraries for Raspberry Pi
Now that your Raspberry Pi is set up with the necessary tools, let’s take a look at some key libraries for AI and machine learning development.
TensorFlow Lite
TensorFlow Lite is a version of TensorFlow designed specifically for resource-constrained devices like Raspberry Pi. It allows you to run pre-trained machine learning models with optimized performance. By converting standard TensorFlow models to TensorFlow Lite format, you can make them more efficient and faster to execute.
- Installation:
TensorFlow Lite supports models such as image classification, object detection, and even speech recognition. It is ideal for edge devices like Raspberry Pi, which may not have the computational power of a server but can still run smaller, optimized AI models.
OpenCV for Computer Vision
OpenCV is an open-source library designed for computer vision and image processing. Raspberry Pi’s camera module integrates seamlessly with OpenCV, making it a perfect choice for AI projects involving image recognition or live video processing.
- Installation:
OpenCV provides access to a wide variety of image processing tools, including facial recognition, object tracking, and video analysis. Raspberry Pi’s camera module, combined with OpenCV, allows for real-time applications such as security systems or gesture control.
Keras and PyTorch
Keras and PyTorch are two high-level deep learning frameworks that provide easier access to neural networks. Keras is built on top of TensorFlow, while PyTorch is an independent framework that emphasizes dynamic computation graphs and flexibility.
-
Installation for Keras:
-
Installation for PyTorch:
Both libraries are suitable for more advanced machine learning tasks like training neural networks for classification, object detection, and natural language processing.
Practical AI/ML Projects for Raspberry Pi
Let’s explore some exciting and practical AI/ML projects that you can build with your Raspberry Pi.
1. Face Recognition System
Face recognition is one of the most popular AI applications. With Raspberry Pi and OpenCV, you can build a basic system that detects and identifies faces.
Steps:
- Install OpenCV and the
face_recognitionlibrary. - Use a pre-trained Haar Cascade classifier to detect faces.
- Implement the face recognition logic using
face_recognitionfor identifying individuals.
This project will help you understand how machine learning models can be applied to real-time video feeds, making it an excellent introduction to computer vision and deep learning.
2. AI-Powered Voice Assistant
You can create your own AI-powered voice assistant using libraries like SpeechRecognition for speech-to-text and pyttsx3 for text-to-speech conversion. This assistant can understand voice commands and perform tasks like controlling smart home devices, playing music, or checking the weather.
Steps:
- Install
SpeechRecognitionandpyttsx3libraries. - Set up the microphone and configure the assistant to recognize voice commands.
- Use APIs like Google’s Text-to-Speech for speaking back to the user.
3. Object Detection with Raspberry Pi Camera
Using TensorFlow Lite and the Raspberry Pi Camera module, you can set up an object detection system to identify and classify objects in real-time.
Steps:
- Install TensorFlow Lite and OpenCV.
- Load a pre-trained object detection model (e.g., MobileNet).
- Capture video using the Raspberry Pi Camera and run object detection on each frame.
This project is great for learning how to deploy machine learning models in real-world applications, such as automated surveillance or inventory management.
Optimizing Performance for AI/ML on Raspberry Pi
Running AI and ML models on Raspberry Pi requires optimization due to the device’s limited processing power. Here are some tips to improve performance:
1. Model Quantization and Pruning
Quantization reduces the size of AI models by using lower precision numbers, while pruning removes unnecessary weights from neural networks. These techniques help to make models more efficient, enabling them to run faster on Raspberry Pi.
2. Use Edge TPU for Faster Inference
The Coral USB Accelerator, powered by Google’s Edge TPU (Tensor Processing Unit), can significantly speed up machine learning model inference on Raspberry Pi. By offloading the computation to the Edge TPU, you can run more complex models in real-time.
3. Offload to the Cloud
If a project requires significant computational power, consider using cloud-based machine learning platforms like Google Cloud AI or Amazon AWS to train models. You can then download the trained model to your Raspberry Pi for inference.
Raspberry Pi is a powerful and affordable platform for experimenting with AI and machine learning. With the right setup, libraries, and models, you can bring AI to life through exciting and practical projects. Whether you’re interested in creating a face recognition system, a voice assistant, or an object detection application, Raspberry Pi makes AI and ML accessible to anyone willing to learn.
By starting with small projects and gradually tackling more complex applications, you’ll gain the skills needed to build sophisticated AI-driven systems on your Raspberry Pi. So, grab your Raspberry Pi, install the necessary tools, and start exploring the incredible possibilities of AI and machine learning!
Visit our other website: aibrainpowered.com


