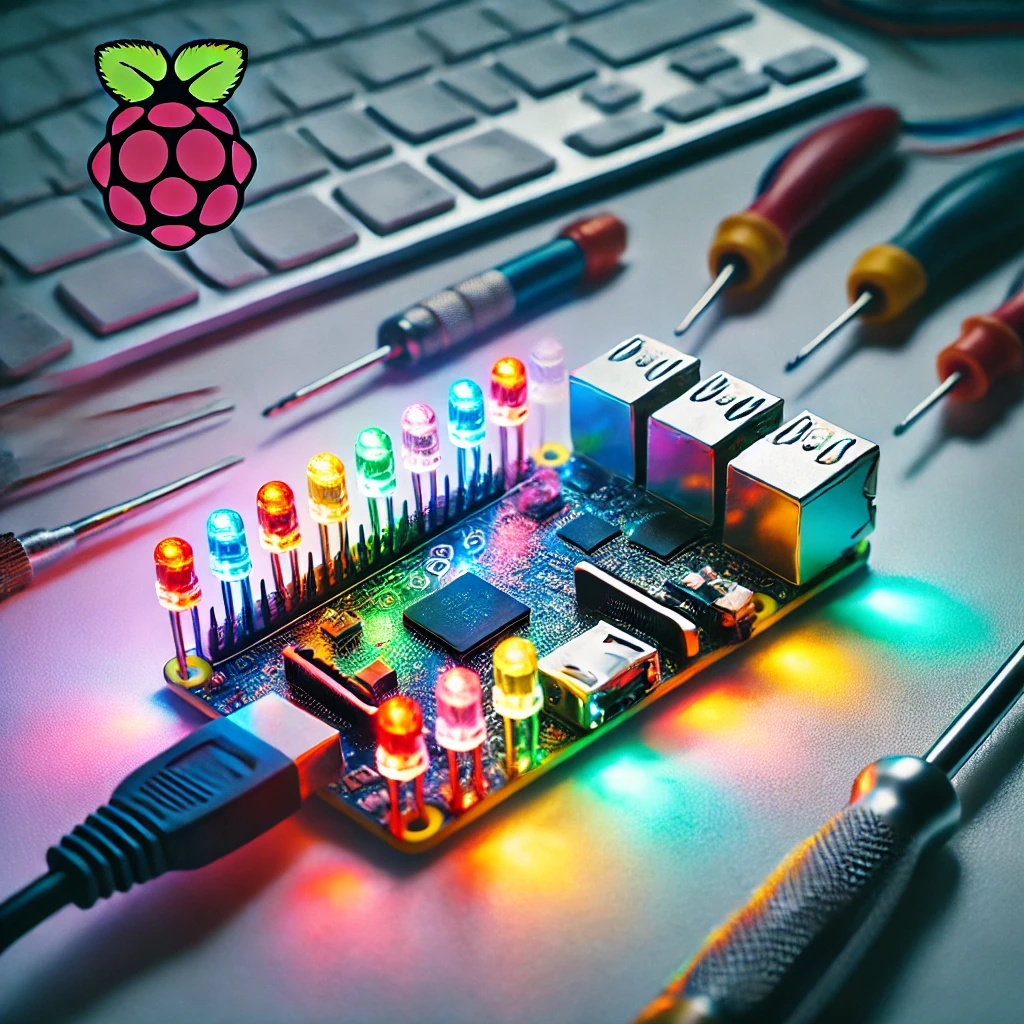
The Raspberry Pi is a versatile mini-computer that can be used for countless DIY projects. One exciting and visually rewarding project is using the Raspberry Pi to control LED lights. This project is perfect for beginners and can be expanded upon for more advanced users.
Materials Needed
- Raspberry Pi (any model with GPIO pins)
- LED lights (single color or RGB)
- Breadboard
- Resistors (appropriate for your LED)
- Jumper wires
- Power supply for Raspberry Pi
- Python installed on Raspberry Pi
Step-by-Step Instructions
1. Set Up Your Raspberry Pi
- Ensure your Raspberry Pi is up and running with the latest version of Raspbian OS installed.
- Connect your Raspberry Pi to a monitor, keyboard, and mouse, or access it remotely via SSH.
2. Connect the LED Lights
- Connect the longer leg (anode) of the LED to a GPIO pin on the Raspberry Pi through a resistor.
- Connect the shorter leg (cathode) to a ground (GND) pin on the Raspberry Pi.
- For RGB LEDs, connect each color leg to a separate GPIO pin, each through a resistor, and the common leg to GND.
3. Write the Python Code
Create a Python script to control the LED lights. Open a terminal and type the following command to create a new Python file:
nano led_control.py
Enter the following Python code to blink an LED connected to GPIO pin 17:
import RPi.GPIO as GPIO

import timeGPIO.setmode(GPIO.BCM)
GPIO.setup(17, GPIO.OUT)
while True:
GPIO.output(17, GPIO.HIGH) # Turn on
time.sleep(1) # Wait for 1 second
GPIO.output(17, GPIO.LOW) # Turn off
time.sleep(1) # Wait for 1 second
except KeyboardInterrupt:
pass
GPIO.cleanup()
Save and exit the file by pressing Ctrl + X, then Y, and Enter.
4. Run Your Python Script
Execute your Python script by typing:
python3 led_control.py
You should see the LED blink on and off every second.
Expanding the Project
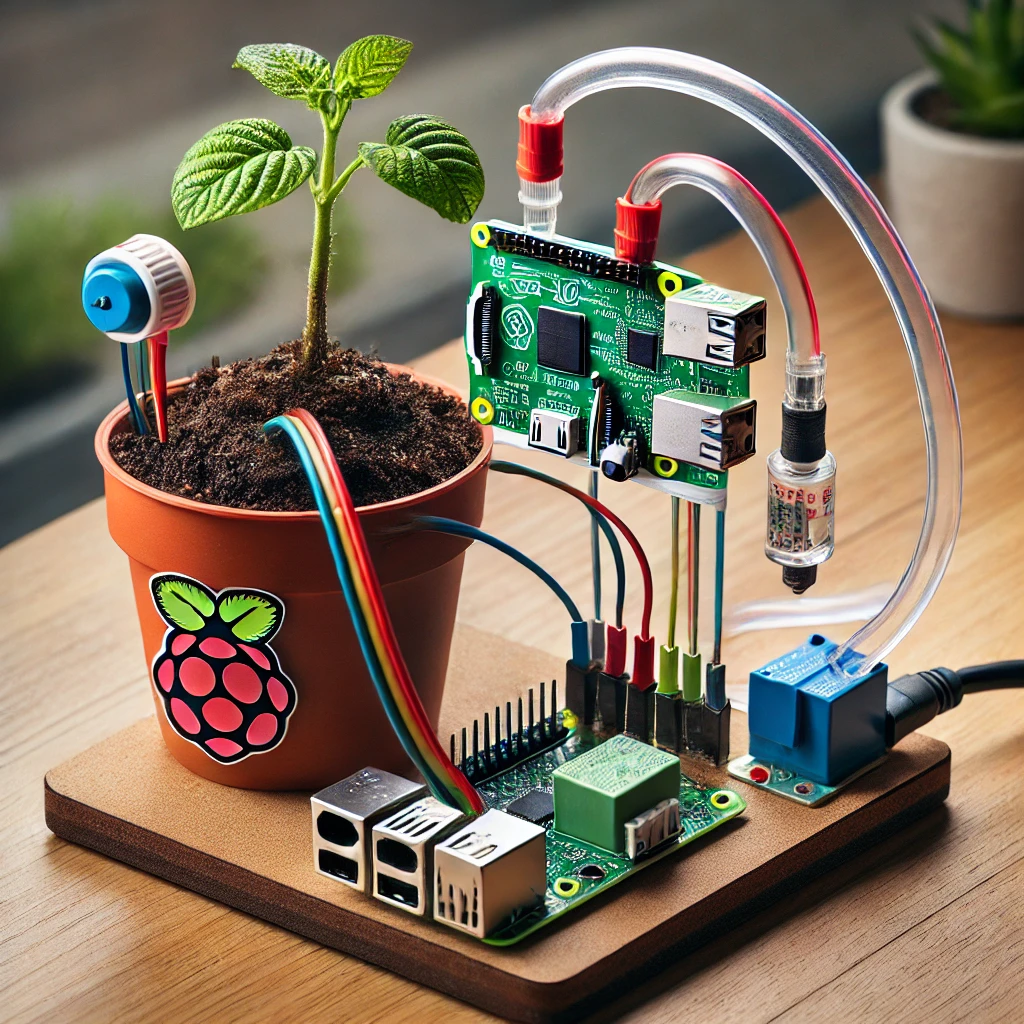
Once you’ve mastered controlling a single LED, try adding more LEDs or using an RGB LED to create colorful light patterns. You can also integrate other sensors to make the LED react to temperature, light, or motion.
Conclusion
Controlling LED lights with a Raspberry Pi is a fun and educational project that introduces you to the basics of electronics and programming. With endless possibilities for expansion, it’s a great way to get started with Raspberry Pi and build your skills.