The Raspberry Pi is a versatile and affordable mini-computer that has captured the imagination of tech enthusiasts worldwide. While it’s commonly used with various Linux distributions, many users are interested in controlling their Raspberry Pi with iOS devices. This guide will show you how to connect and control your Raspberry Pi using an iPhone or iPad.
Requirements
Before we begin, ensure you have the following:
- A Raspberry Pi (any model)
- An iPhone or iPad running iOS
- A microSD card with Raspberry Pi OS installed
- A power supply for the Raspberry Pi
- A stable Wi-Fi connection
- The VNC Viewer app from the App Store
Step-by-Step Guide
1. Set Up Your Raspberry Pi
- Install Raspberry Pi OS: Use the Raspberry Pi Imager to write the Raspberry Pi OS to your microSD card. Insert the microSD card into your Raspberry Pi.
- Connect to Wi-Fi: Boot up your Raspberry Pi and connect it to your Wi-Fi network. Note down the IP address assigned to your Raspberry Pi.
- Enable VNC: Open the terminal on your Raspberry Pi and enter the following commands:
bash
sudo raspi-config
Navigate to Interfacing Options > VNC and enable it.
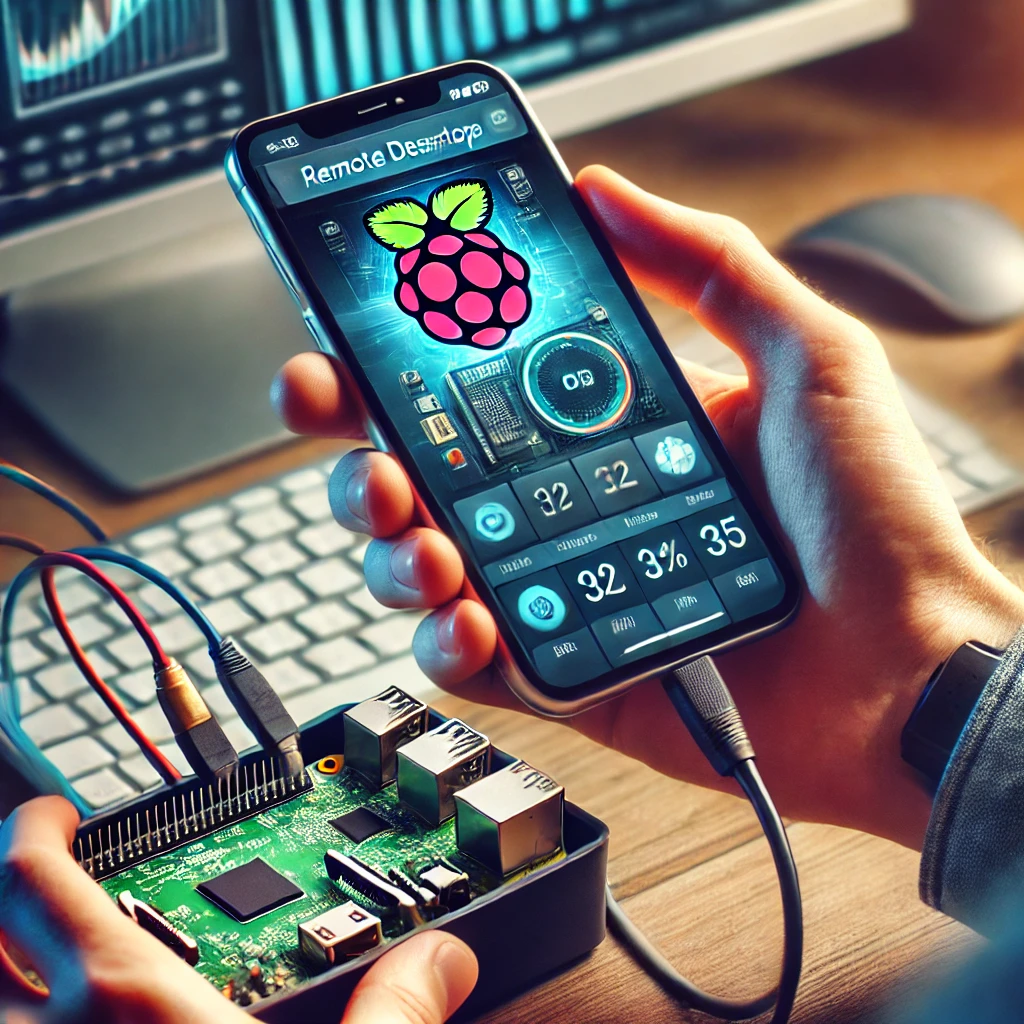
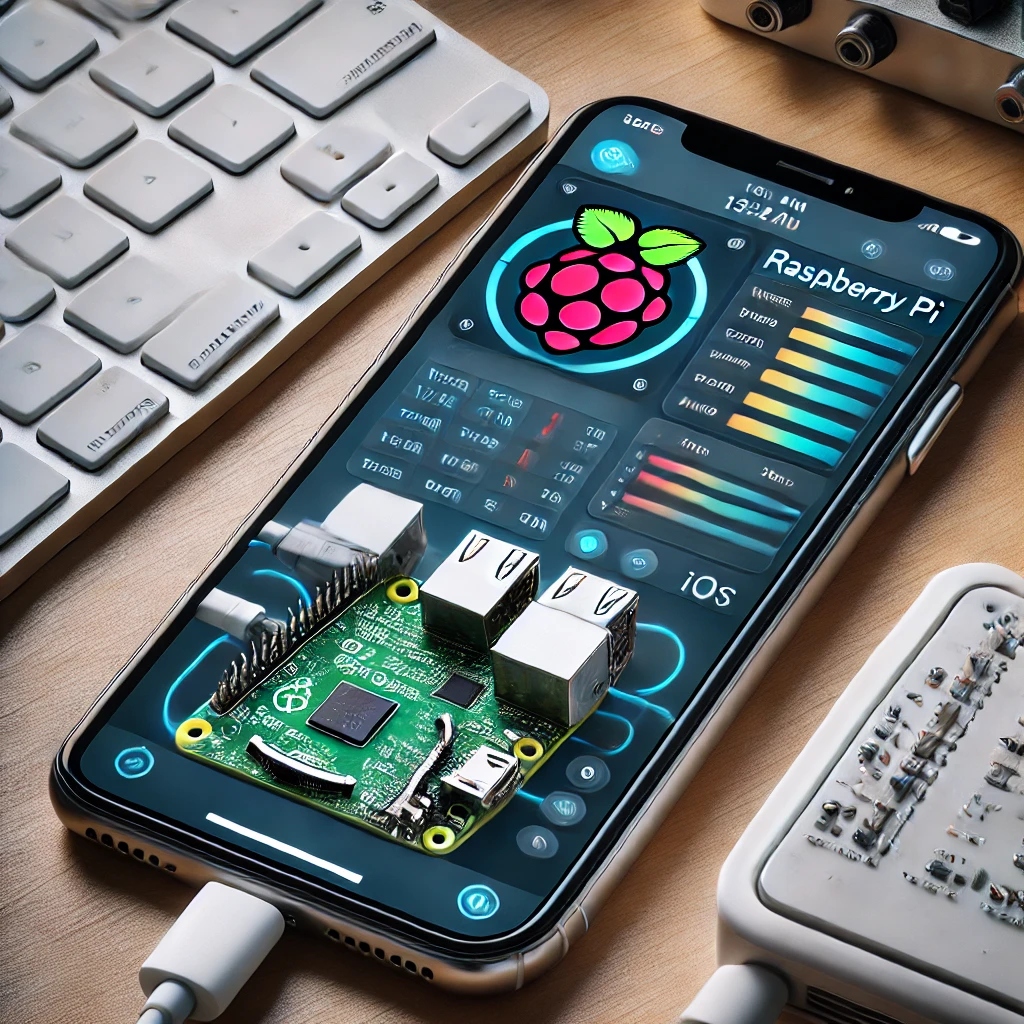
2. Install VNC Viewer on iOS
- Download VNC Viewer: Install the VNC Viewer app from the App Store on your iPhone or iPad.
- Set Up Connection: Open the VNC Viewer app and tap the + icon to add a new connection. Enter the IP address of your Raspberry Pi and give it a friendly name.
- Connect: Tap the newly created connection. Enter your Raspberry Pi’s username and password when prompted.
3. Control Your Raspberry Pi
Once connected, you can see the Raspberry Pi desktop on your iOS device. You can now control your Raspberry Pi using the touch interface of your iPhone or iPad. This setup is perfect for managing your projects, coding on the go, or even using your Raspberry Pi as a media server.
Tips and Tricks
- Secure Your Connection: For added security, consider setting up SSH and disabling password-based login. Use key-based authentication for a secure connection.
- Use a Static IP: Assign a static IP to your Raspberry Pi to ensure you can always connect without needing to check the IP address.
- Explore Apps: There are various apps available on the App Store that can help you manage and control your Raspberry Pi more efficiently.
Conclusion
Using a Raspberry Pi with iOS devices opens up new possibilities for remote control and management. Whether you’re a hobbyist, a student, or a professional, this setup can enhance your productivity and creativity.