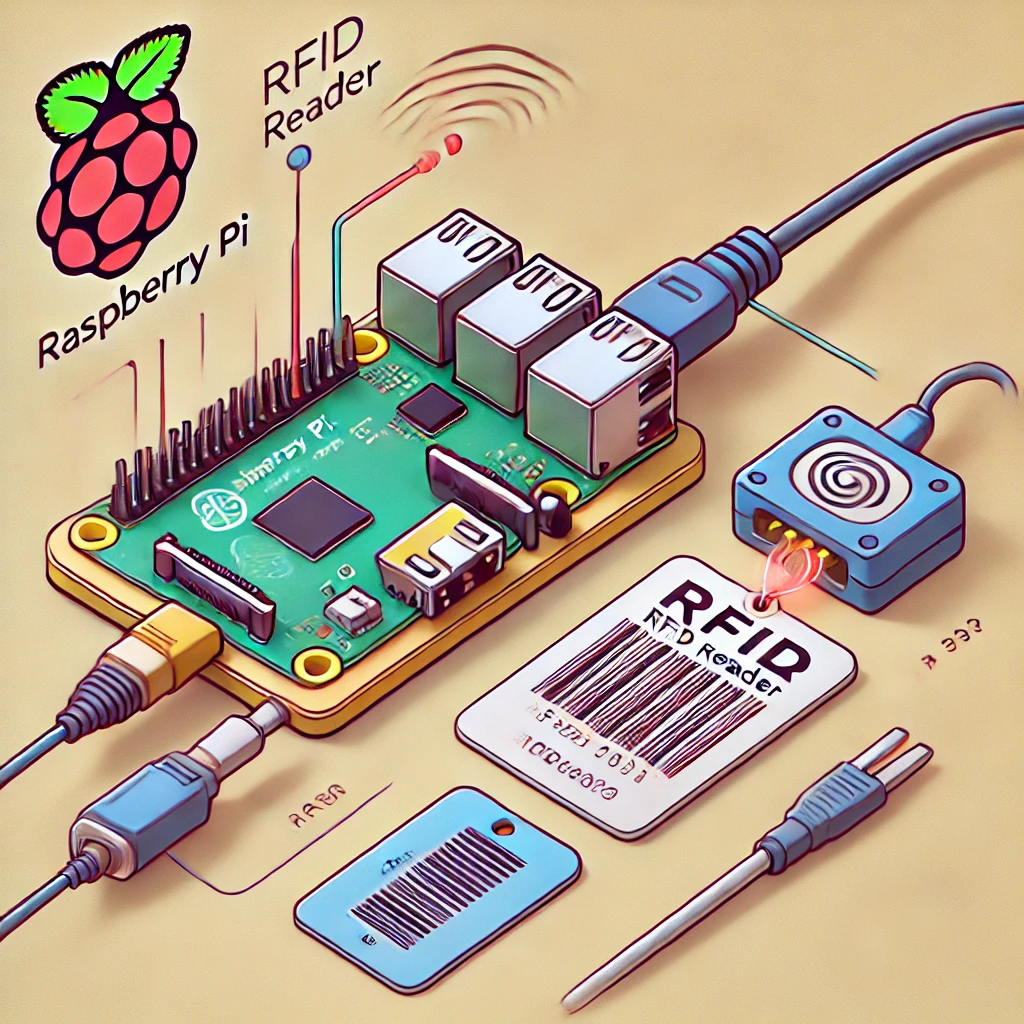
RFID (Radio Frequency Identification) technology has a wide range of applications, from access control systems to inventory management. Integrating an RFID reader with a Raspberry Pi can open up numerous project possibilities. This guide will walk you through the process of setting up and using an RFID reader with your Raspberry Pi.
What You Need
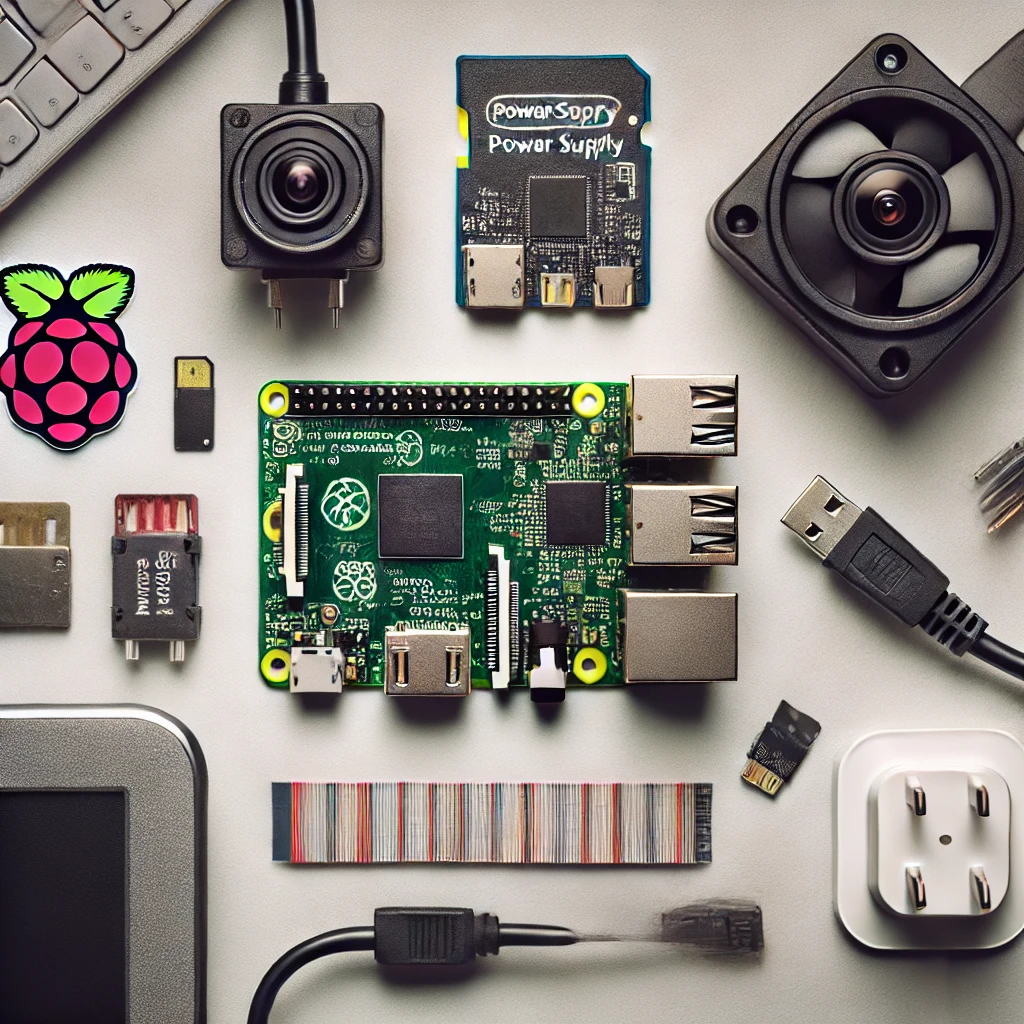
- Raspberry Pi (any model, but we recommend Raspberry Pi 4)
- RFID reader module (e.g., RC522)
- RFID tags/cards
- Jumper wires
- Breadboard
- Display screen (optional)
Step 1: Setting Up the Hardware
- Connect the RFID Reader to the Raspberry Pi:
- MISO (Master In Slave Out) to GPIO 9 (pin 21)
- MOSI (Master Out Slave In) to GPIO 10 (pin 19)
- SCK (Serial Clock) to GPIO 11 (pin 23)
- SDA (Serial Data) to GPIO 8 (pin 24)
- RST (Reset) to GPIO 25 (pin 22)
- 3.3V to 3.3V (pin 1)
- GND to GND (pin 6)
Step 2: Installing Required Libraries
To communicate with the RFID module, you need to install the SPI-Py and MFRC522 libraries. Open a terminal and run the following commands:
bash
sudo apt-get update

sudo apt-get install python3-pip

pip3 install spidev

pip3 install mfrc522
Step 3: Writing the Code
Create a Python script to read data from the RFID tags. Save the following code as read_rfid.py:
python
import RPi.GPIO as GPIO

from mfrc522 import SimpleMFRC522
print(“Place your tag near the reader”)
id, text = reader.read()
print(“ID: %s\nText: %s” % (id, text))
finally:
GPIO.cleanup()
Step 4: Running the Script
Run your script using the following command:
bash
python3 read_rfid.py
When you place an RFID tag near the reader, the ID and text data from the tag will be displayed.
Conclusion
Integrating an RFID reader with a Raspberry Pi is straightforward and can be used in a variety of projects. Whether you’re building a security system, an inventory tracker, or a simple identification system, RFID technology paired with the Raspberry Pi is a powerful combination.