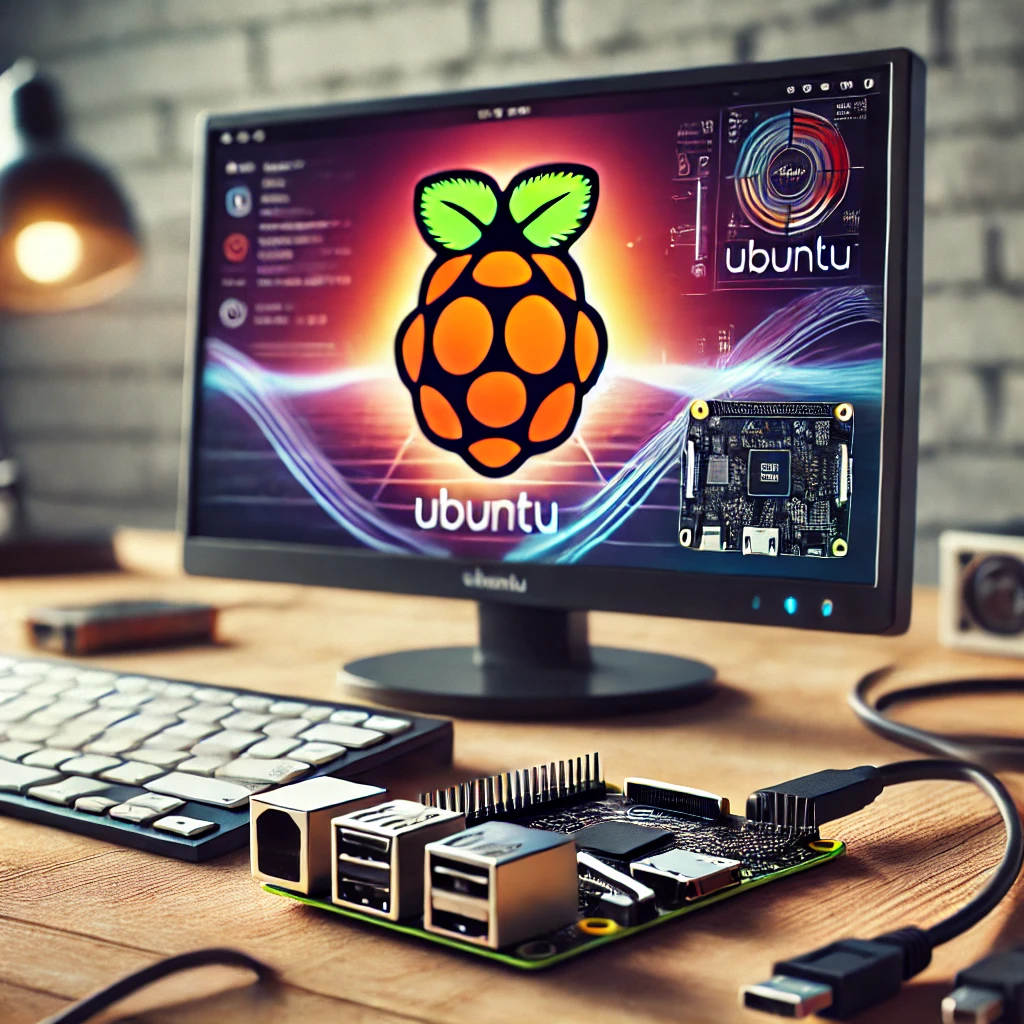
Are you looking to set up Ubuntu on your Raspberry Pi? Whether you’re aiming to use it as a media center, server, or personal computing device, the combination of Raspberry Pi and Ubuntu offers an affordable and powerful solution. In this guide, we’ll walk you through everything you need for a successful Raspberry Pi Ubuntu installation.
1: Choosing the Right Raspberry Pi Model
Not all Raspberry Pi models are compatible with Ubuntu. The recommended models for Ubuntu installations include Raspberry Pi 4 or Raspberry Pi 3, as these offer the processing power and RAM necessary for running the operating system smoothly. Opt for a model with at least 2GB of RAM to avoid performance issues.
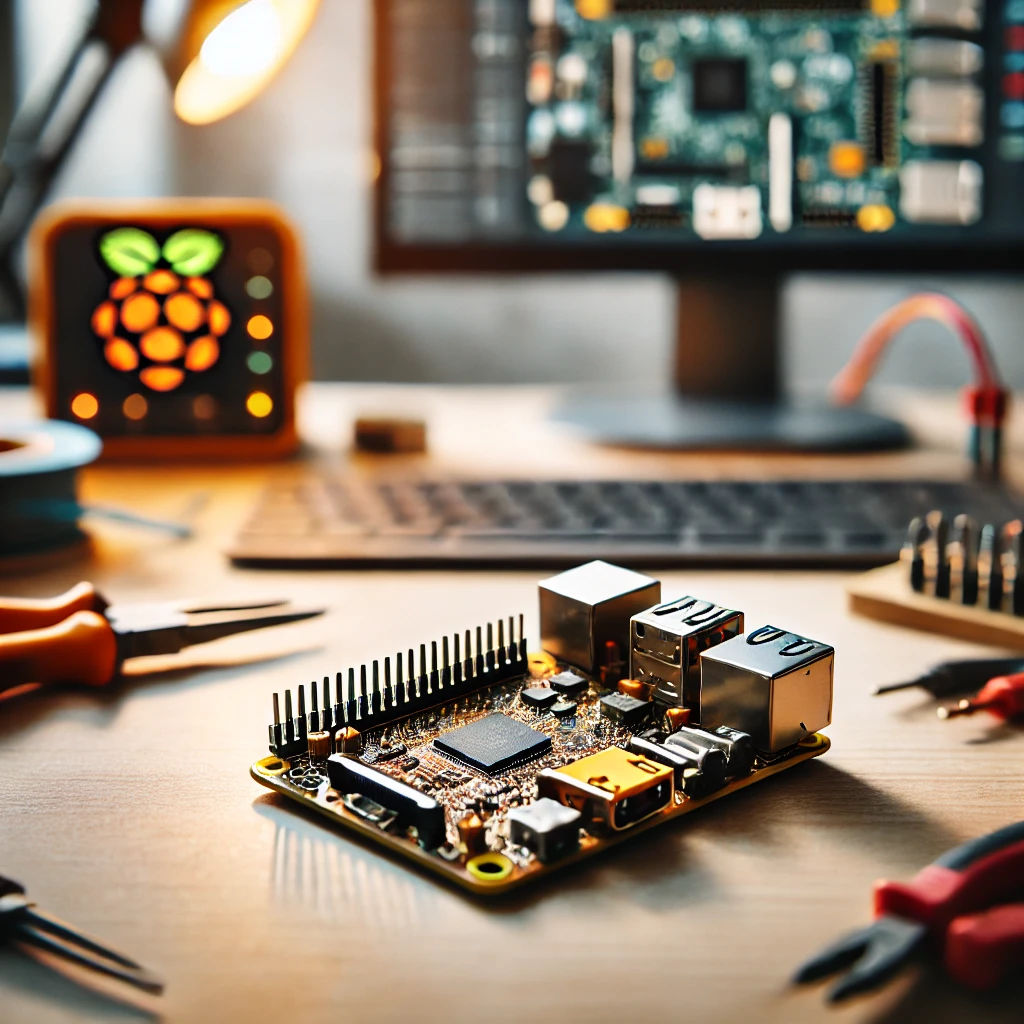
2: Essential Hardware Requirements
To begin your Raspberry Pi Ubuntu installation, you’ll need the following hardware:
-
Raspberry Pi 4 or 3
Ensure your model is supported. -
MicroSD Card
A minimum of 8GB storage is recommended, but 16GB or more ensures smooth operation. -
Power Supply
A stable 5V power supply, typically 3A for Raspberry Pi 4. -
HDMI Cable and Monitor
For the initial setup, you’ll need a monitor connected via HDMI. -
Keyboard and Mouse
Essential for navigating through the installation process.
3: Downloading Ubuntu for Raspberry Pi
You can download Ubuntu for Raspberry Pi from the official Ubuntu website. Make sure you select the correct version based on your Raspberry Pi model. For most users, Ubuntu Server is a popular choice, but you can opt for Ubuntu Desktop if you need a GUI (Graphical User Interface).
4: Creating a Bootable MicroSD Card
Once you’ve downloaded the Ubuntu image, you need to write it to a MicroSD card. Tools like balenaEtcher or the official Raspberry Pi Imager can help you do this effortlessly. Insert the MicroSD card into your computer, open the tool, and follow the prompts to create a bootable card.
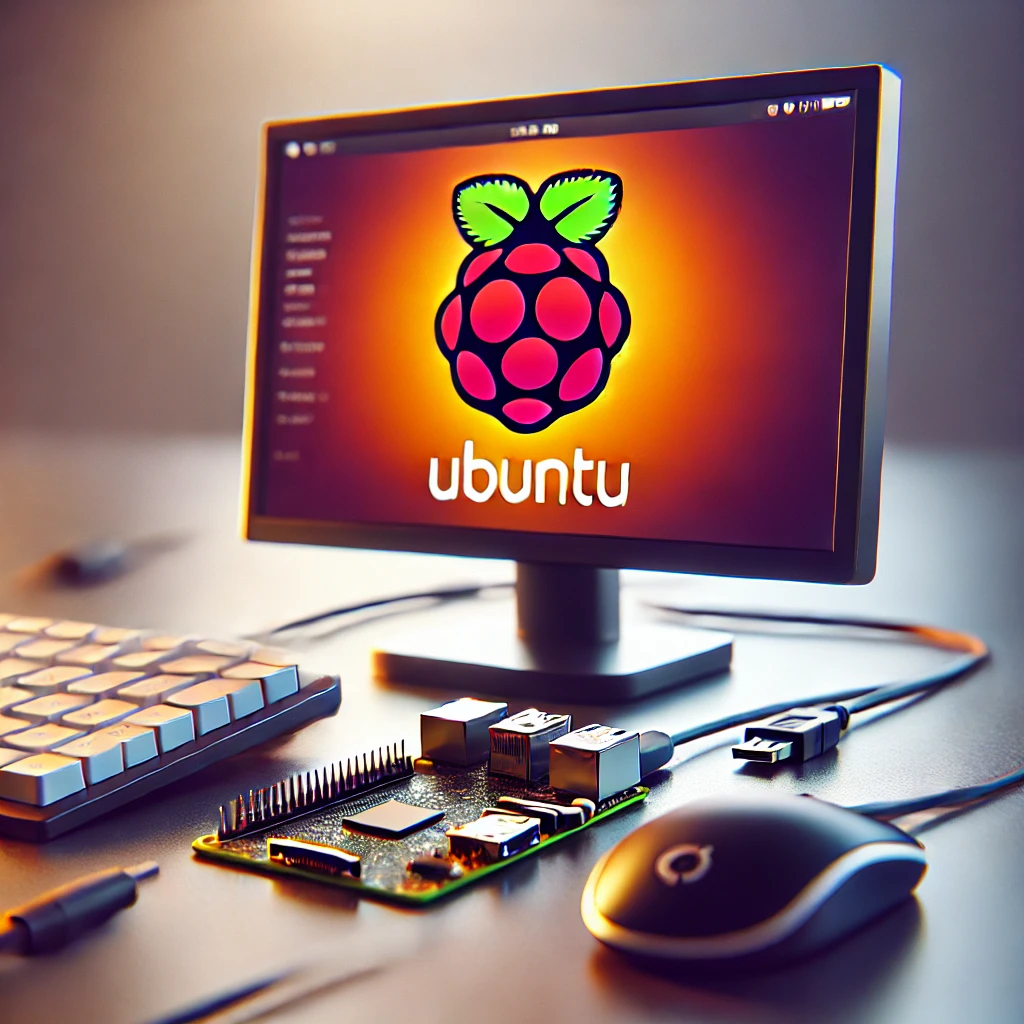
5: Starting the Installation
After preparing your MicroSD card, insert it into your Raspberry Pi, connect the power supply, monitor, keyboard, and mouse, and boot up your device. You’ll be greeted with the Ubuntu setup process. Follow the instructions on-screen to configure your language, time zone, and user credentials.
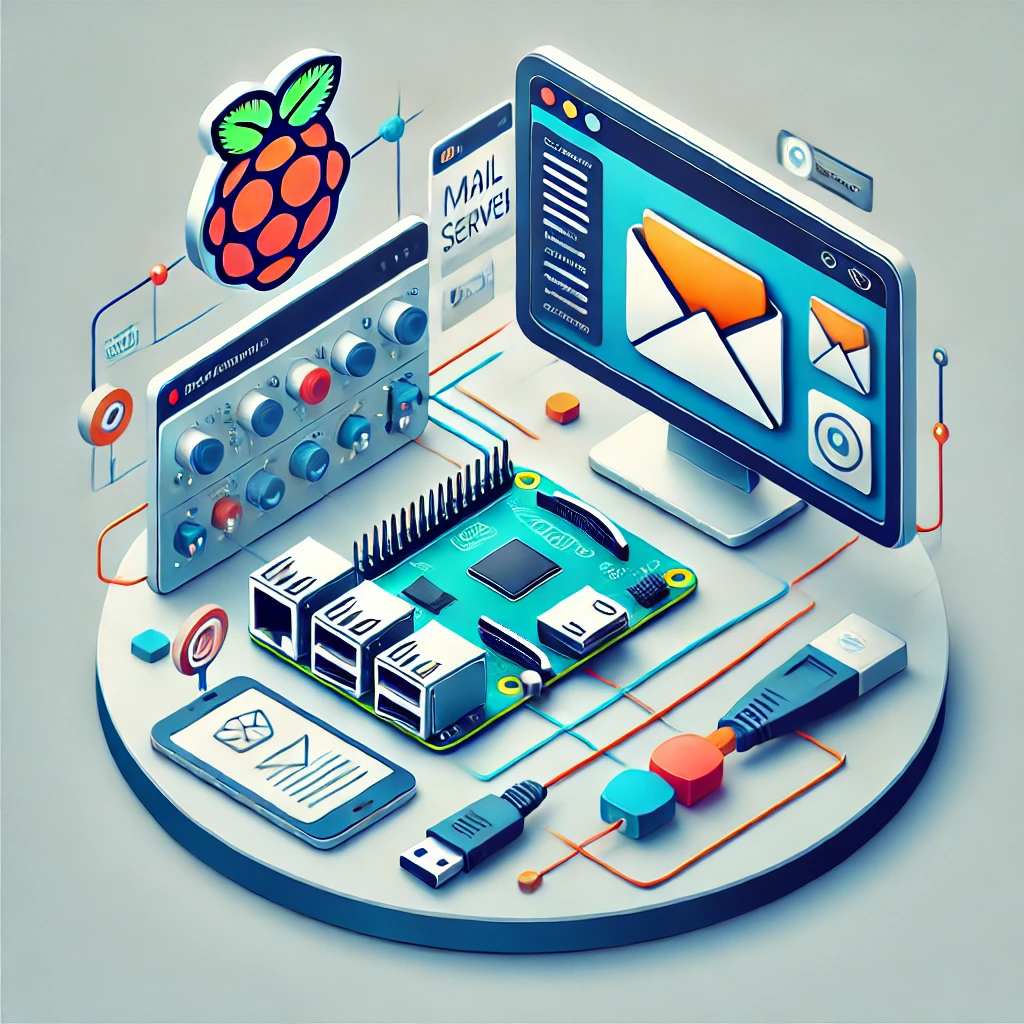
6: Post-Installation Setup
Once Ubuntu is installed, you’ll want to configure your Raspberry Pi to suit your needs. This might include setting up Wi-Fi, installing additional software like Apache, or configuring the firewall for security.
Setting up Ubuntu on a Raspberry Pi is straightforward if you have the right hardware and follow the correct steps. Whether you’re a beginner or experienced with Raspberry Pi, this guide should help you get up and running quickly. Explore more advanced options by configuring software and making your Raspberry Pi a versatile tool for various projects.