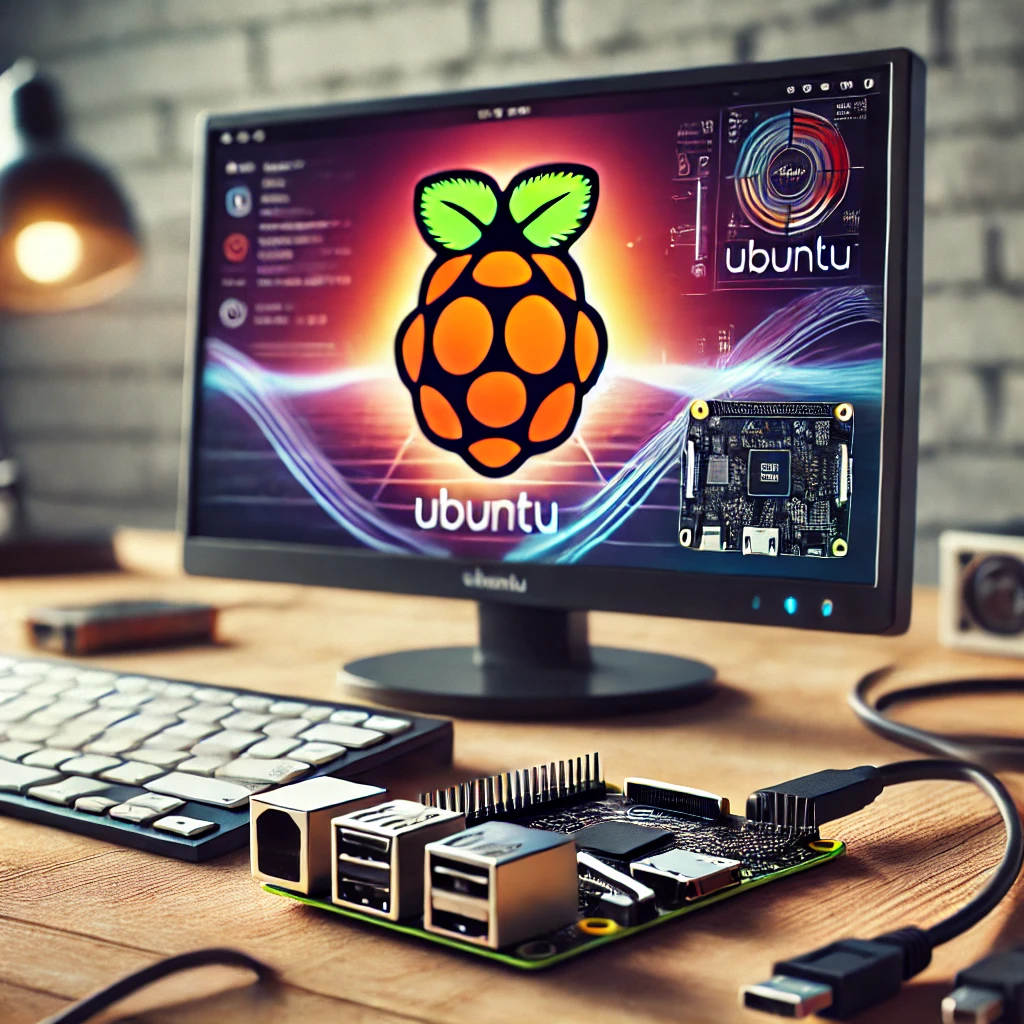
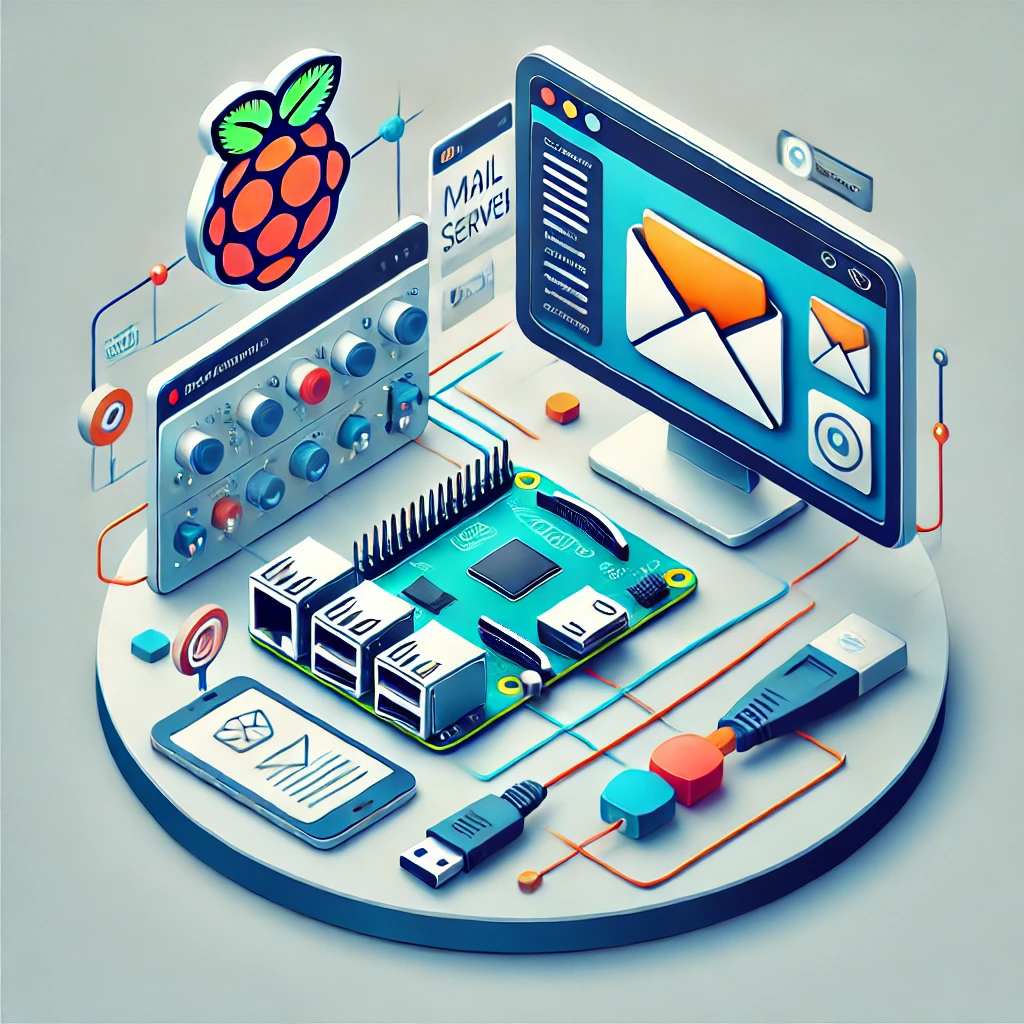
The Raspberry Pi, known for its affordability and versatility, has become a revolutionary tool in the world of computing. Originally designed to promote computer science education, it has grown into a platform for diverse applications, ranging from robotics and IoT projects to gaming and media servers. With its compact size and remarkable processing capabilities, the Raspberry Pi is now widely adopted by developers, educators, and hobbyists alike.
Pairing the Raspberry Pi with Ubuntu, a Linux-based operating system renowned for its stability, scalability, and developer-friendly ecosystem, enhances its functionality. Ubuntu offers features that complement the Raspberry Pi’s hardware, making the combination suitable for both beginners and professionals. By leveraging Ubuntu’s advanced tools, users can push the Raspberry Pi beyond basic applications and into areas like artificial intelligence, web hosting, and IoT.
This article provides a detailed look at why Raspberry Pi and Ubuntu form a perfect partnership, delving into their individual strengths, the benefits of using them together, and step-by-step guidance for setting up Ubuntu on Raspberry Pi. With this guide, even beginners can confidently explore the vast possibilities of this powerful duo.
Understanding Raspberry Pi and Ubuntu
What Makes Raspberry Pi Unique?
The Raspberry Pi is a credit-card-sized single-board computer that offers a complete computing experience at a fraction of the cost of traditional PCs. Despite its small form factor, it includes essential components such as a CPU, RAM, USB ports, HDMI output, and GPIO pins for hardware interfacing. These features enable the Raspberry Pi to support an extensive range of projects.
Since its launch in 2012, the Raspberry Pi has undergone several upgrades, with models like the Raspberry Pi 4 boasting up to 8GB of RAM, quad-core processors, and dual-display support. Such advancements make the Raspberry Pi suitable for resource-intensive tasks, including AI modeling and media processing, while still retaining its low-cost appeal.
What is Ubuntu?
Ubuntu is one of the most popular Linux distributions, recognized for its user-friendly design, reliability, and strong community support. Developed by Canonical, Ubuntu provides a variety of versions tailored to specific use cases, such as Ubuntu Desktop for general-purpose computing, Ubuntu Server for server deployments, and Ubuntu Core for IoT and embedded systems.
Ubuntu’s open-source nature allows users to modify the operating system to meet their specific requirements. This flexibility, combined with regular updates and comprehensive security features, makes it an excellent choice for developers and enterprises. Moreover, Ubuntu supports a wide array of software packages and programming tools, enabling users to work on diverse projects without compatibility concerns.
Why Combine Them?
The combination of Raspberry Pi and Ubuntu brings together affordability and functionality. While Raspberry Pi OS is the default operating system, Ubuntu provides additional capabilities, such as better security features, a richer software ecosystem, and support for advanced applications. Together, they create a platform that caters to both hobbyists experimenting with small projects and professionals working on large-scale systems.
Benefits of Using Ubuntu on Raspberry Pi
1 Enhanced User Experience
Ubuntu’s polished interface makes it easy for users of all skill levels to navigate and perform tasks. The desktop version features an intuitive GUI, while the server edition offers a streamlined command-line interface (CLI) for users who prefer efficiency and resource savings.
The operating system also includes essential software out of the box, such as LibreOffice and Firefox, enabling immediate productivity. For advanced users, the CLI provides greater control over the system, allowing for customization and optimization based on project needs.
2 Broad Software Compatibility
Ubuntu provides access to thousands of software packages through its repositories and Snap Store. Whether you’re working on programming, multimedia production, or server management, Ubuntu has the tools you need. Popular IDEs like PyCharm and Visual Studio Code, databases like MySQL, and media software like Kodi are readily available.
For developers, Ubuntu supports multiple programming languages, including Python, Java, and C++, ensuring compatibility with most software development projects. The inclusion of Snap packages ensures that users can install software with minimal compatibility concerns, even on the Raspberry Pi’s ARM architecture.
3 Robust Security
Security is a key consideration for any computing platform, especially for devices connected to the internet. Ubuntu offers several built-in security features, including a robust firewall, secure boot processes, and regular updates. These features protect your Raspberry Pi from malware, data breaches, and other vulnerabilities.
In addition to its default security protocols, Ubuntu supports advanced encryption methods and secure SSH access. These features are particularly valuable for IoT projects and server applications, where the Raspberry Pi might be deployed in sensitive environments.
Applications of Raspberry Pi with Ubuntu
1 IoT Development
Ubuntu Core, a minimalistic version of Ubuntu, is tailored for IoT applications. It provides a lightweight environment with robust security features, making it an ideal choice for building IoT devices. The Raspberry Pi’s GPIO pins enable hardware interfacing, allowing developers to connect sensors, actuators, and other peripherals to create smart devices.
For instance, you could use Ubuntu Core on a Raspberry Pi to develop a home automation system that controls lighting, temperature, and security through a mobile app or voice commands. The operating system’s support for IoT frameworks like Node-RED and MQTT simplifies the process of building and managing these systems.
2 Artificial Intelligence and Machine Learning
The Raspberry Pi’s hardware may be limited compared to high-end computers, but Ubuntu bridges this gap by providing access to AI and machine learning tools like TensorFlow and PyTorch. These tools enable developers to run models for tasks such as image recognition, voice processing, and predictive analytics.
By leveraging the Raspberry Pi’s affordability, developers can set up distributed systems using multiple devices. This approach is cost-effective and allows for experimentation with complex AI models, making Raspberry Pi and Ubuntu an excellent combination for AI enthusiasts.
3 Media Servers and Gaming
Ubuntu’s compatibility with media server software like Plex and Kodi enables users to transform their Raspberry Pi into a home entertainment system. By connecting the Raspberry Pi to a TV or audio system, you can stream movies, music, and photos directly from your device.
For gaming enthusiasts, Ubuntu supports a variety of emulators, such as RetroPie, allowing users to play classic games on their Raspberry Pi. With the addition of game controllers, the Raspberry Pi becomes a portable gaming console.
How to Install Ubuntu on Raspberry Pi
Step 1: Prepare Your Hardware
Before installing Ubuntu, gather the necessary hardware:
- A Raspberry Pi 3B+, 4, or higher.
- A microSD card (minimum 16GB recommended).
- A microSD card reader.
- A monitor, keyboard, mouse, and power supply.
Ensure that all components are in good working condition and compatible with your Raspberry Pi model.
Step 2: Download the Ubuntu Image
Visit the official Ubuntu website and download the appropriate image for your Raspberry Pi model. Ubuntu offers several options, including:
- Ubuntu Desktop: For general-purpose computing with a GUI.
- Ubuntu Server: For command-line-based setups.
- Ubuntu Core: For IoT and minimalistic environments.
Ensure you download the correct version to match your Raspberry Pi’s architecture.
Step 3: Flash the Image onto the MicroSD Card
Use flashing software like Balena Etcher to write the downloaded Ubuntu image to the microSD card:
- Insert the microSD card into your card reader.
- Launch Balena Etcher and select the Ubuntu image file.
- Choose the microSD card as the target device.
- Click “Flash” and wait for the process to complete.
Step 4: Boot and Configure Ubuntu
- Insert the microSD card into the Raspberry Pi.
- Connect the Raspberry Pi to a monitor, keyboard, and mouse.
- Power on the Raspberry Pi and follow the on-screen setup instructions.
- Configure language preferences, Wi-Fi settings, and create a user account.
Step 5: Optimize Performance
After installation, update the system to ensure it runs smoothly:
To further optimize performance, consider enabling swap memory and using lightweight applications to minimize resource usage.
Challenges and Tips for Success
Hardware Limitations
While the Raspberry Pi is powerful for its size, it has limitations compared to traditional computers. To maximize performance, use quality peripherals and optimize the operating system by disabling unnecessary services.
Software Compatibility
Not all software may run smoothly on the Raspberry Pi’s ARM architecture. To overcome this, prioritize lightweight applications or use Ubuntu’s Snap packages, which offer better compatibility.
Power Management
Ensure a stable power supply to avoid system crashes or performance issues. A dedicated power adapter designed for the Raspberry Pi is recommended.
The combination of Raspberry Pi and Ubuntu creates a powerful platform for innovation and creativity. By leveraging Ubuntu’s advanced features and the Raspberry Pi’s versatility, users can explore applications ranging from IoT and AI to media servers and gaming.
Whether you’re a beginner or a professional, Raspberry Pi with Ubuntu offers endless possibilities for personal and professional projects. With proper setup and optimization, this duo empowers users to bring their ideas to life in an affordable and efficient manner.
Feel free to check out our other website at http://master3dp.com/ where you can learn to 3D print anything needed for a project.


